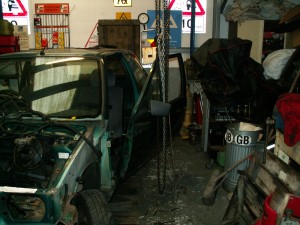
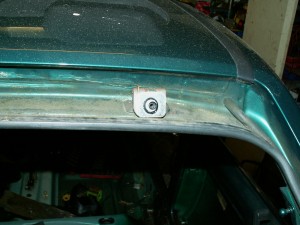
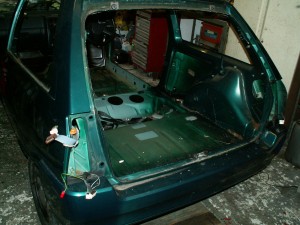
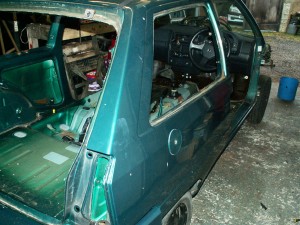
Having removed the engine I then got carried away and decided to strip the rest of the car back to a bare shell so I could get at all the rust. So what started as a quick resurrection of a cheap and economical run around has turned (inevitably!) into pretty much a full restoration!
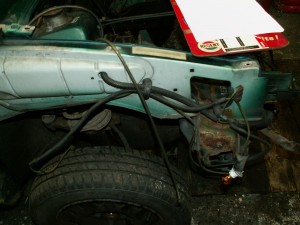
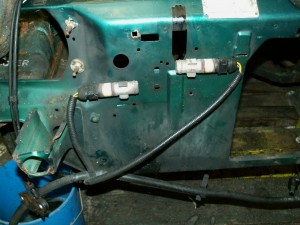
1. Start at the drivers side front, remove the remaining wiring and the washer tubing to the windscreen.
2. Remove the washer bottle, warm the washer tubing going to the rear screen with a heat gun to make it easy to remove from the pump.
3. Undo the M10 bolt on the rear of the slam panel which acts as the earthing point for the drivers side lights.
4. Nearly all clear this side.
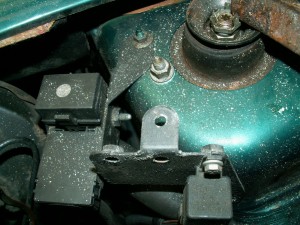
5. Now work along the front of the car, unclip the inertia sensors from the front of the slam panel, also remove the metal clips. Not sure why there are two of them!
6. Now on to the passenger side. Remove the brown pad warming wire.
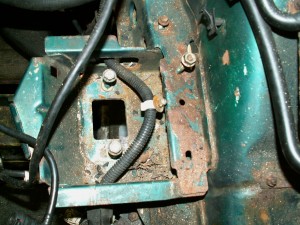
7. Unclip the wiring loom where it goes through the battery tray.
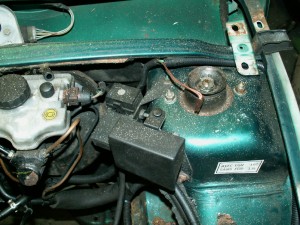
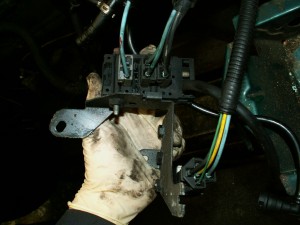
8. Next the junction boxes – I took more pictures so I can see how they went when it comes to reassembly.
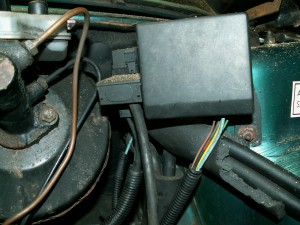
9. This shows the cover removed.
10. After unbolting the junction boxes unplug the three cables – note the order, the connectors do not appear to be keyed!
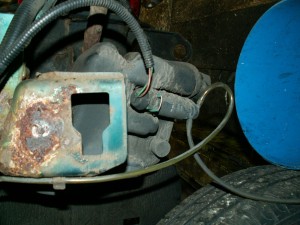
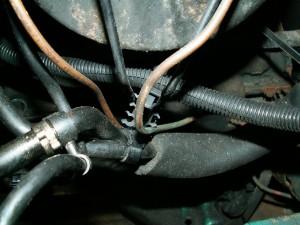
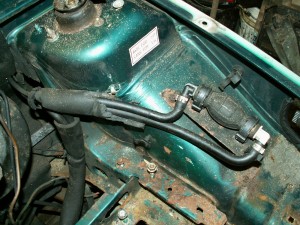
11. Now onto the fuel pipes, note how it is all routed under the servo, note also the copper replacement brake pipes! Not the neatest job I’ve seen.
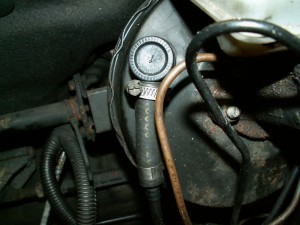
12. Disconnect the vacuum pipe from the servo.
13. Unbolt the priming pump from the inner wing and disconnect the fuel pipes. Flow is at the top, return at the bottom.
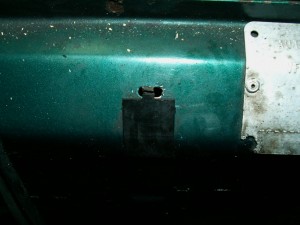
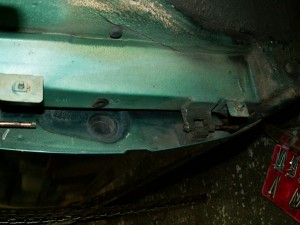
14. Remove the small plastic guide from the slam panel.
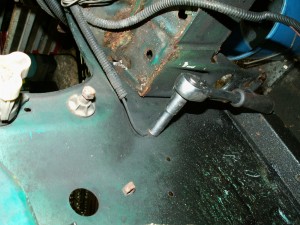
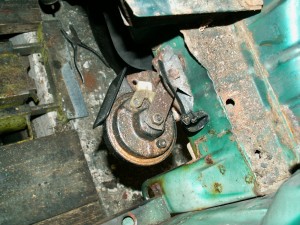
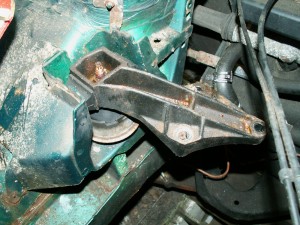
15. Now unbolt the horn from the bracket (13mm) and the bracket from the inner wing (10mm)
16. Now remove the drivers side engine mount. The top nut was seized and was just turning and stressing the rubber so I undid the larger nut accessible underneath from the inner wing, (hidden behind a plastic cover)
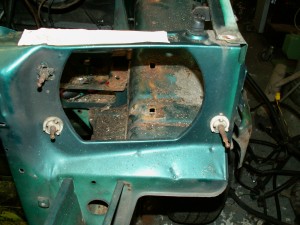
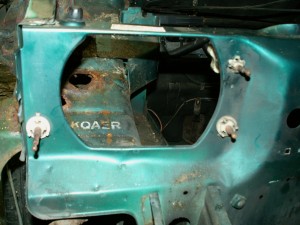
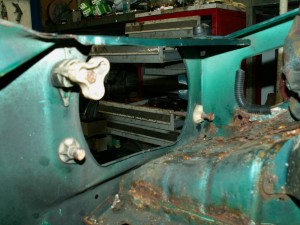
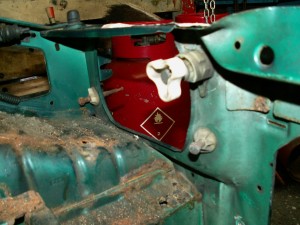
17. Remove the three headlamp adjusters from the passenger side, noting their orientation. The two lower ones are held in with a plastic locking ring on the outside. The upper one just twists out.
18. Same with the drivers side.
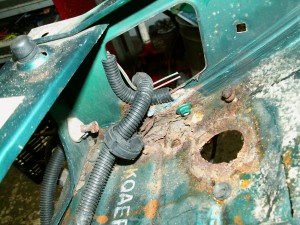
19. This is the view from behind.
20. And the other side.
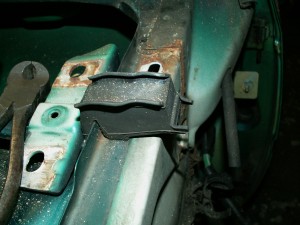
21. Remove the bonnet rest rubbers, two square blocks, one either side, just lift off – held on by a spring clip.
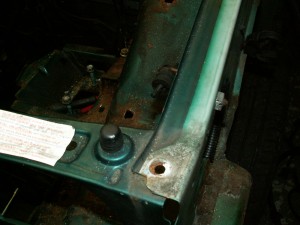
22. Then the front adjustable rubber stops, these simply unscrew.
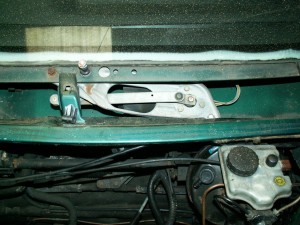
23. Finally at the front is the windscreen wiper moter and mechanism. The AX has a single wiper and the whole unit is held in with a 13mm nut and 13mm nut & bolt. Undo these, unplug the loom and lift out.
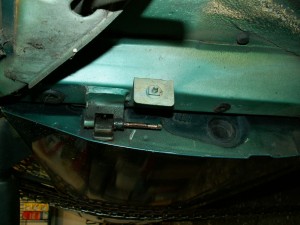
24. Next it is on to the doors. Bash out the roll pin holding the door stay in place, do theis with the door open. Close the door and then bash the hing roll pins down wards. Use a 40mm long M6 bolt as a drift to drive the pin down through the hinge. Make sure the door is fully shut! When the pins have been drifted through simply lift the door away.
25. Same the other side.
26. Weight of the door taken by the hoist – though they are not that heavy.
27. Now the interior. I have already removed the seats, the rear seats just lift out, the fronts are held in by four torx bolts. Once out remove the handbrake lever surround, 2 torx screws at the front and one Philips at the back under the ashtray.
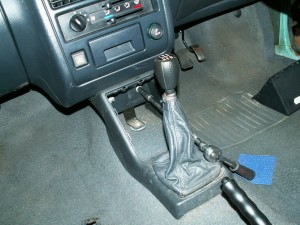
28. Pull out the storagage bin and undo the two 10mm nuts holding the centre console.
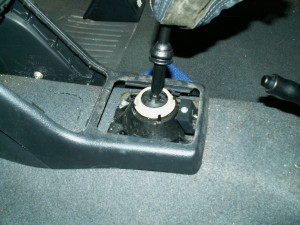
29. Lever up the base of the gear lever gaiter, it just un clips. Then remove the single torx screw holding the rear end of the console.
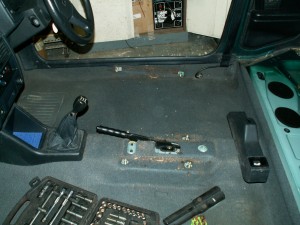
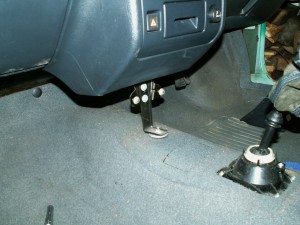
30. Undo the centre bracket, one 10mm nut and two 10mm bolts.
31. Bracket removed.
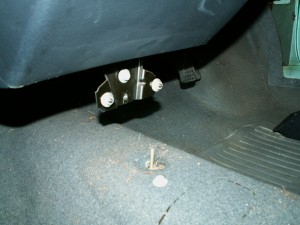
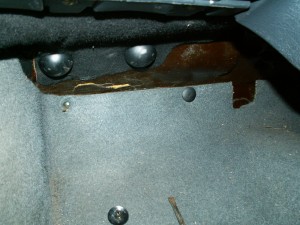
32. Unscrew the six retaining plastics along the front edge of the carpet – they are under the dashboard.
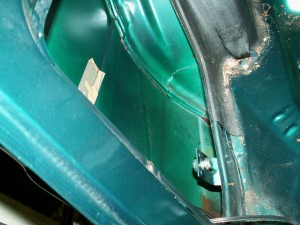
33. Unscrew the Phillips screws holding the door sill trim in place – both sides. Then pull of the door seal rubbers. Also remove the lower seat belt mounts.
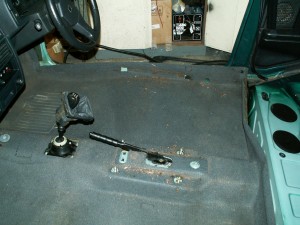
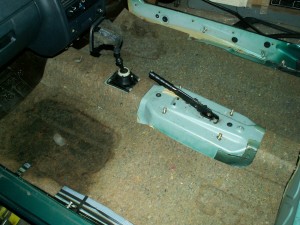
34. Now remove the carpet, feed it carefully over the gear lever and handbrake.
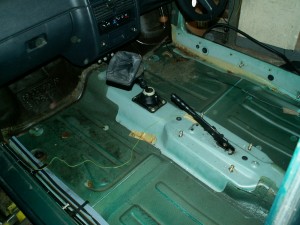
35. Then lift out the sound deadening/underlay – note the wet patch in the passenger foot well!
36. Undo the two torx screws holding the rear cubbies in place
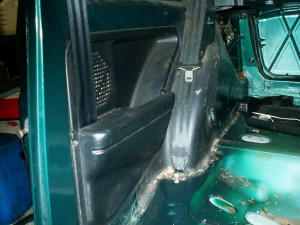
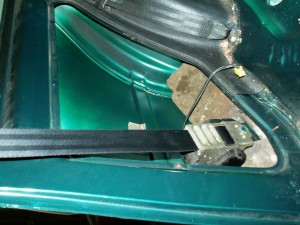
37. Now unbolt the inertia real seat belt and remove the piece of sound deadening.
38.
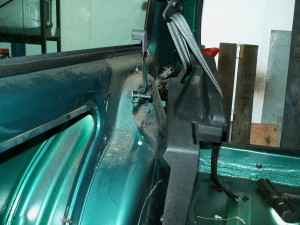
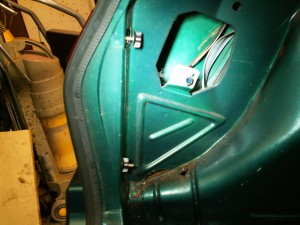
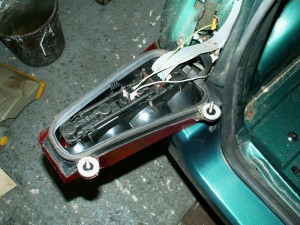
39. Next there are 3 M10 bolts holding the rear trim in place – as well as the top wing nut on the rear lamp. Also undo the rear seat belt mountings.
40. Shows wing nuts holding rear lamps.
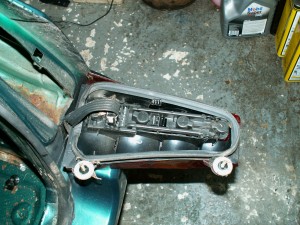
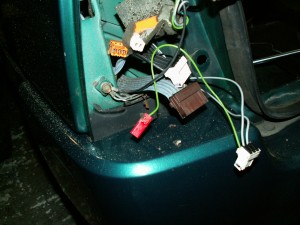
41. Passenger side rear lamp removed, disconnect wiring.
42. And the drivers side.
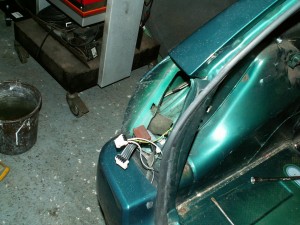
43. Remains of the loom
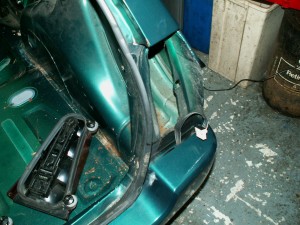
44. Drivers side (pics for reference)
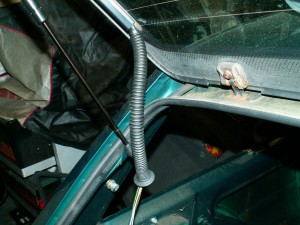
45. Separate off the wires going up to the tailgate.
46. Pull out the rubber protection tube that feeds the wires to the tailgate and pull the wires through. The connectors are a bit of a fiddle to get out.
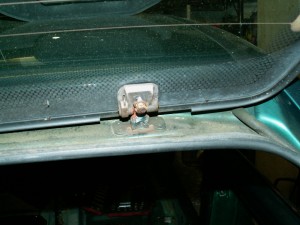
47. Undo the M10 bolts on the two hinges on the tailgate. Take the weight of the tailgate.
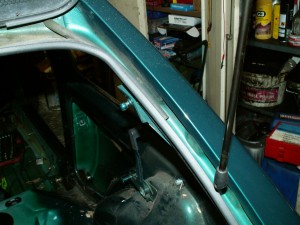
48. Unclip the ends of the two struts, then lift the tailgate off. The hinges are stuck to the glass with mastic but they will separate with a little bit of pressure.
49. Tail gate removed, now pull off the rubber as well.
50. Feed the cable back through the car and over the wheel arch and finally pull it from the sill inside the car, this ensures the wires won’t get melted when I weld up the sills!
51. Nearly stripped and ready!
That about concludes the strip down on the inside. I can now see all of the rust – well all that except that underneath! See the next post for pics. Just the rear beam, fuel tank and front struts to remove to get the shell ready for welding.

