Category Archives: The Shed

Stuff that boys play with in their cave – usually metallic! Engines, machines etc. Note Cars are so big that they have their own section.

Making a Car Spit….

Not literally… this is how I made a rotisserie to mount a car body so that it is easily rotated to any angle to make it easy to access the underside primarily for cleaning, repairing rust and painting without getting covered in muck.

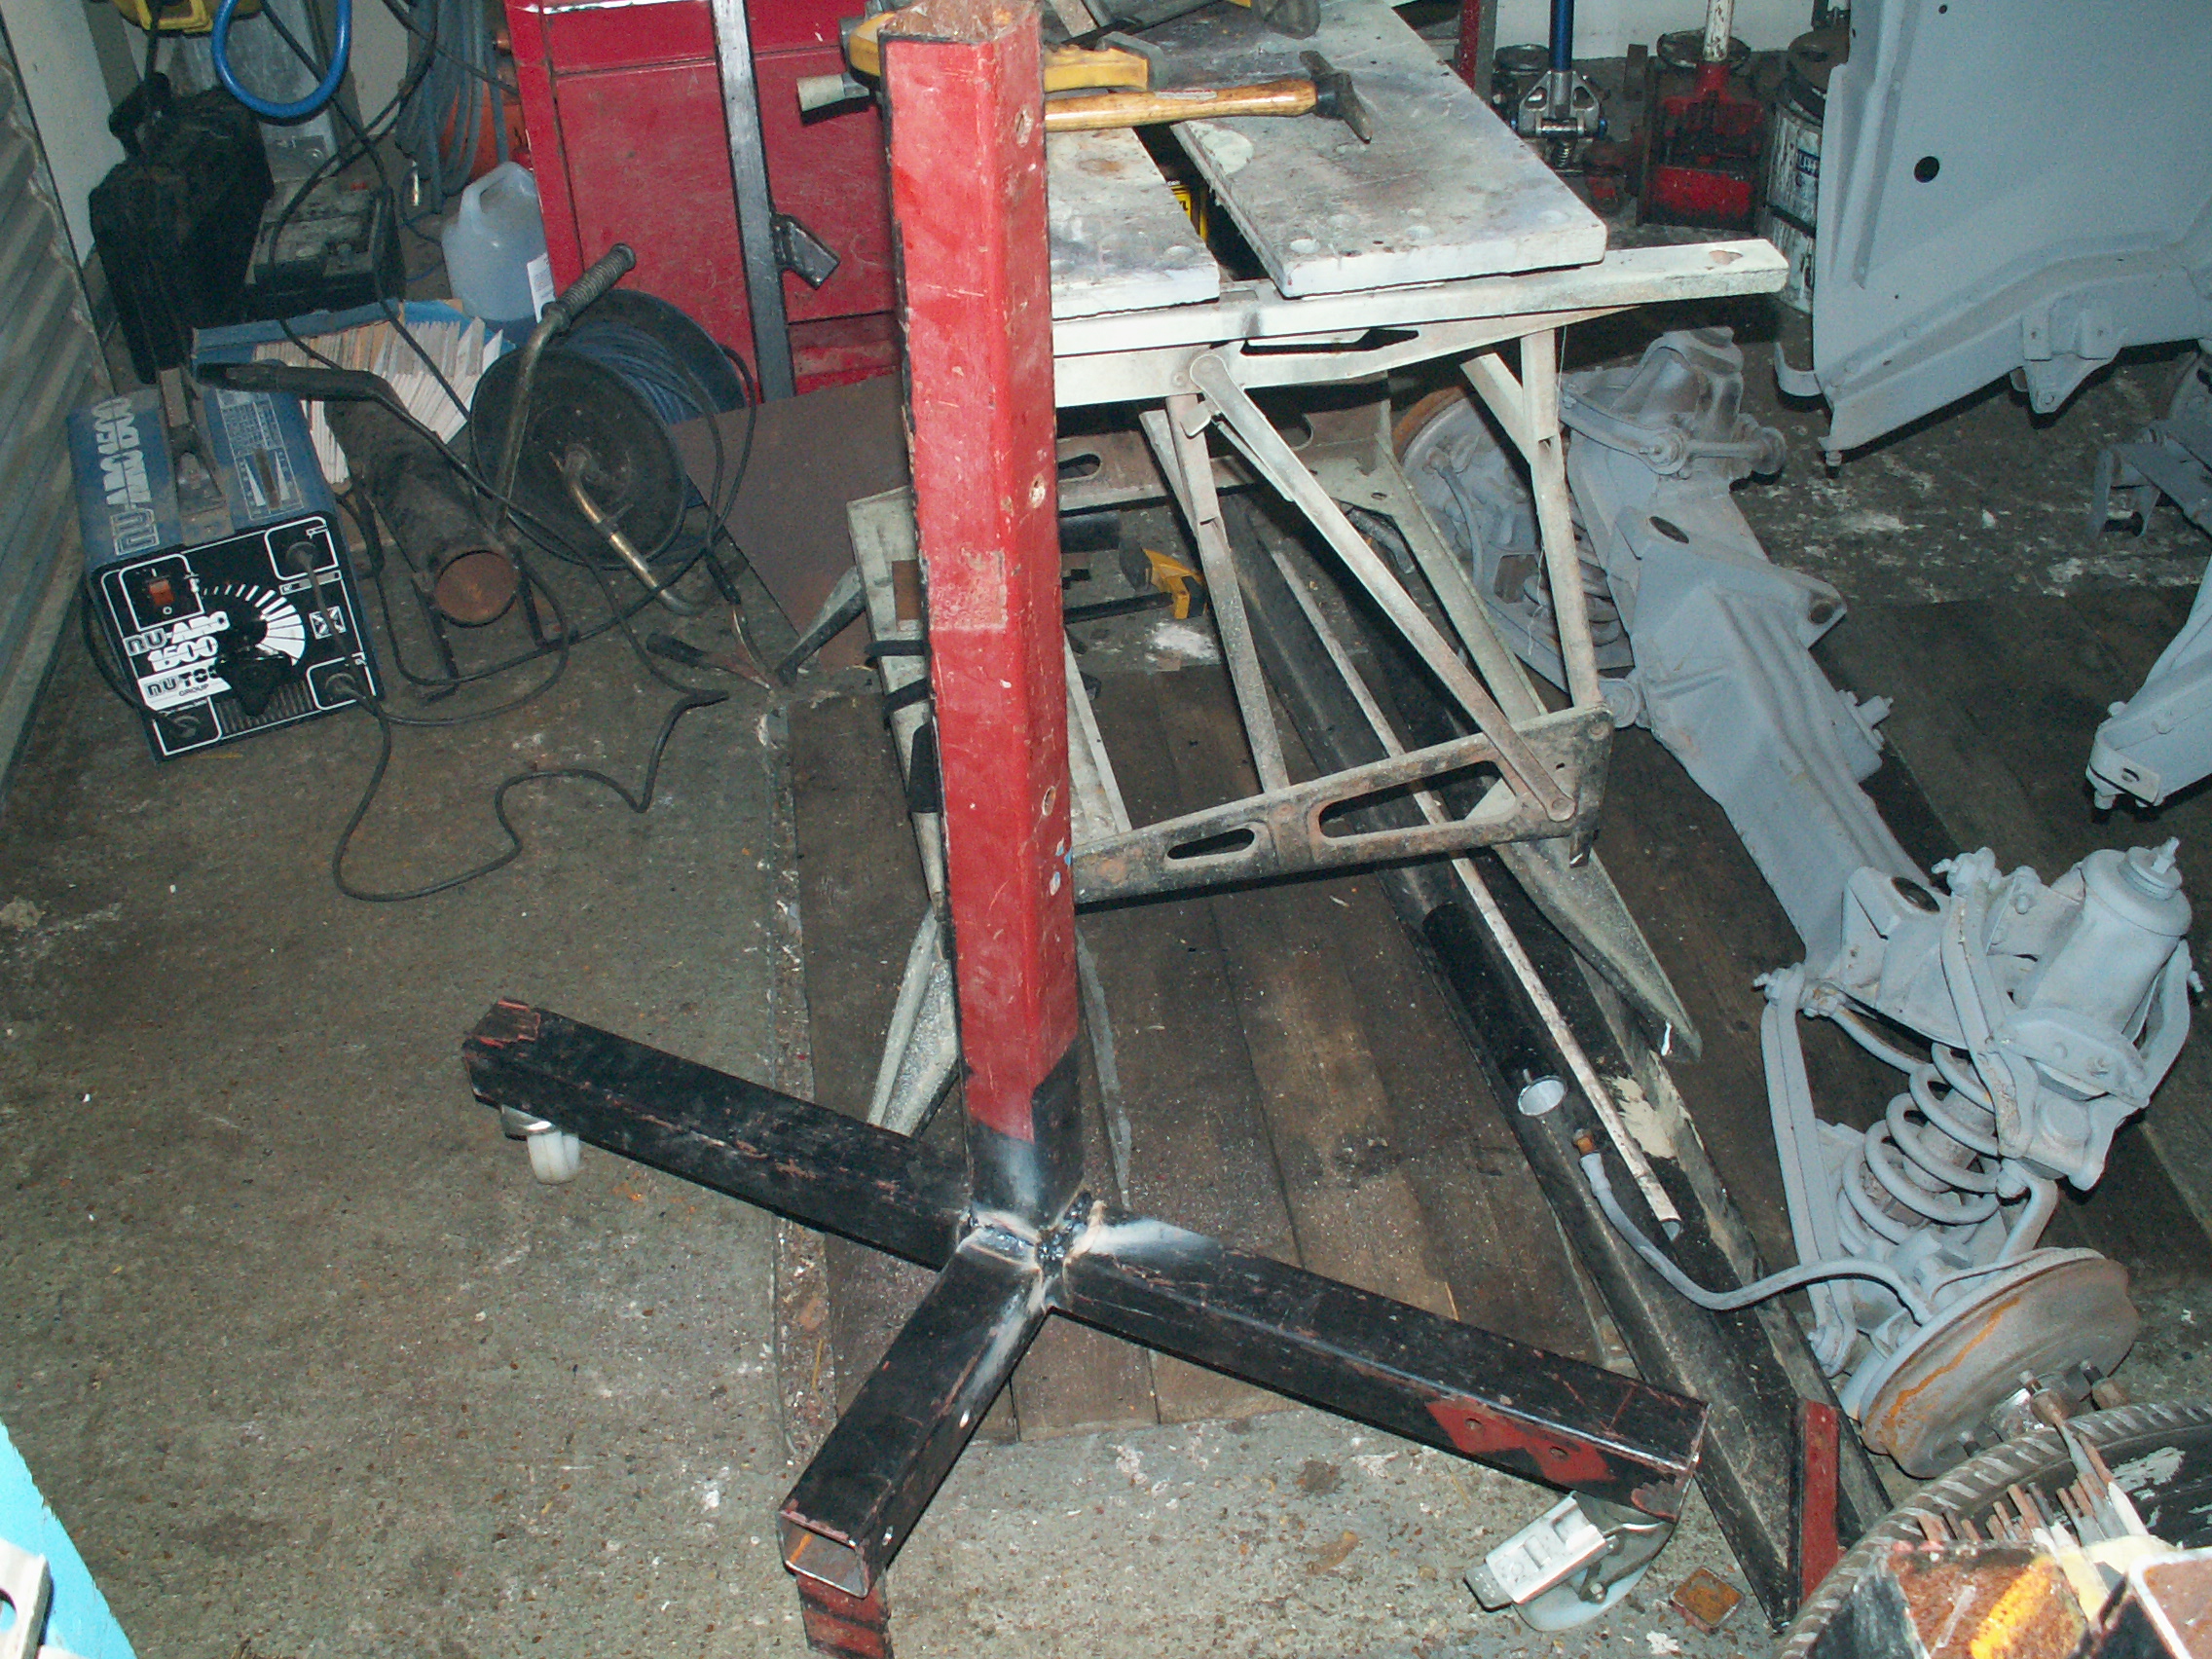
1. Find some scrap 2″ square box section to make the end supports. Weld together as shown.

KONICA MINOLTA DIGITAL CAMERA

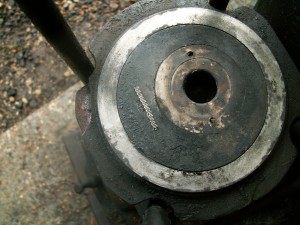
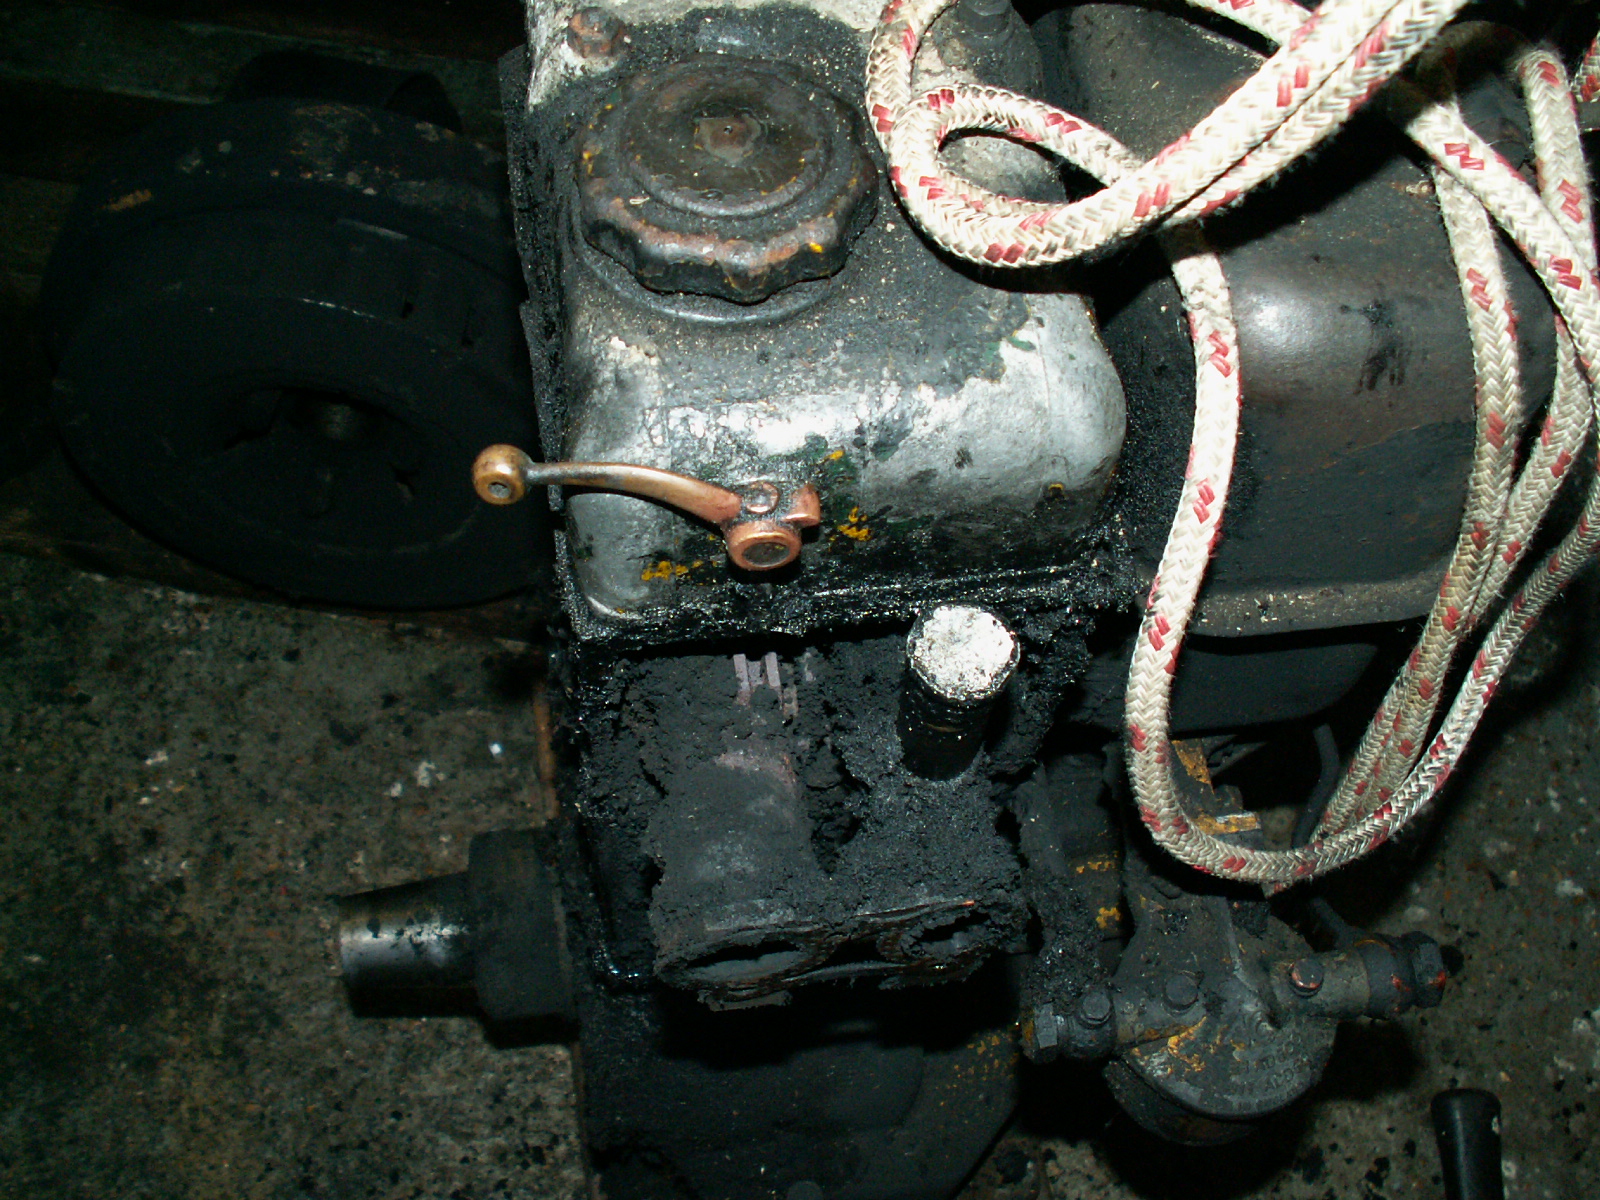
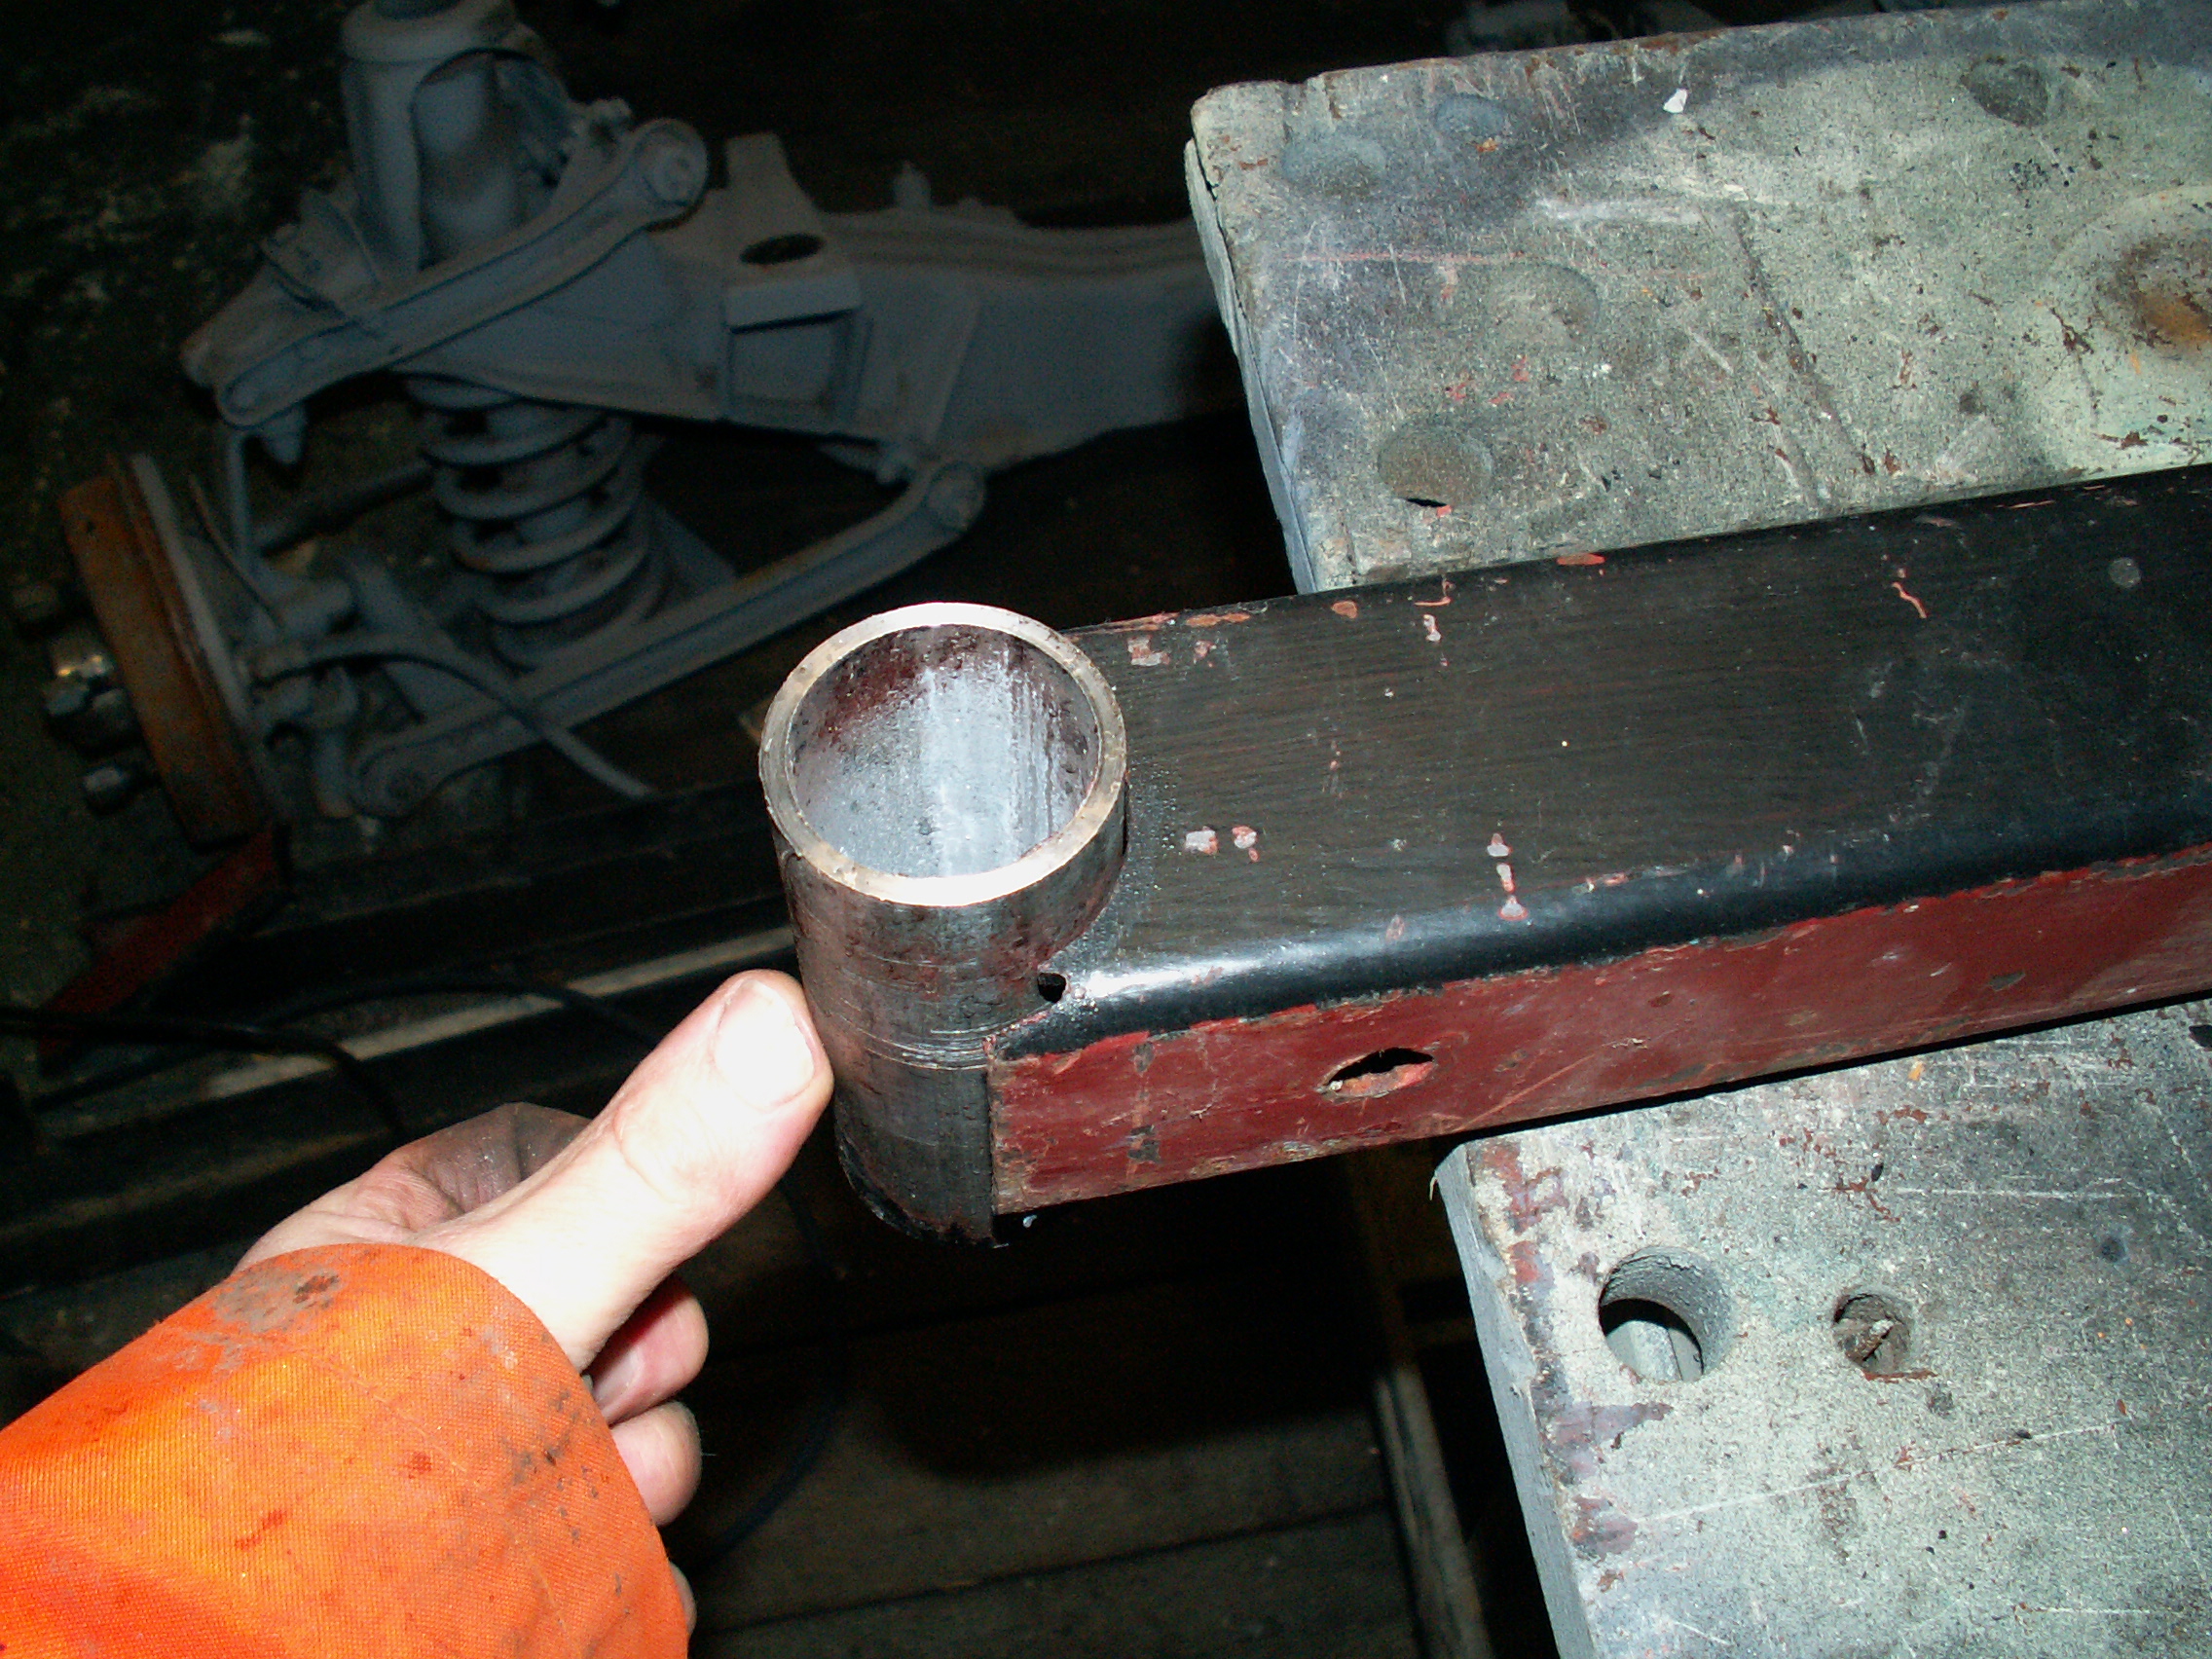
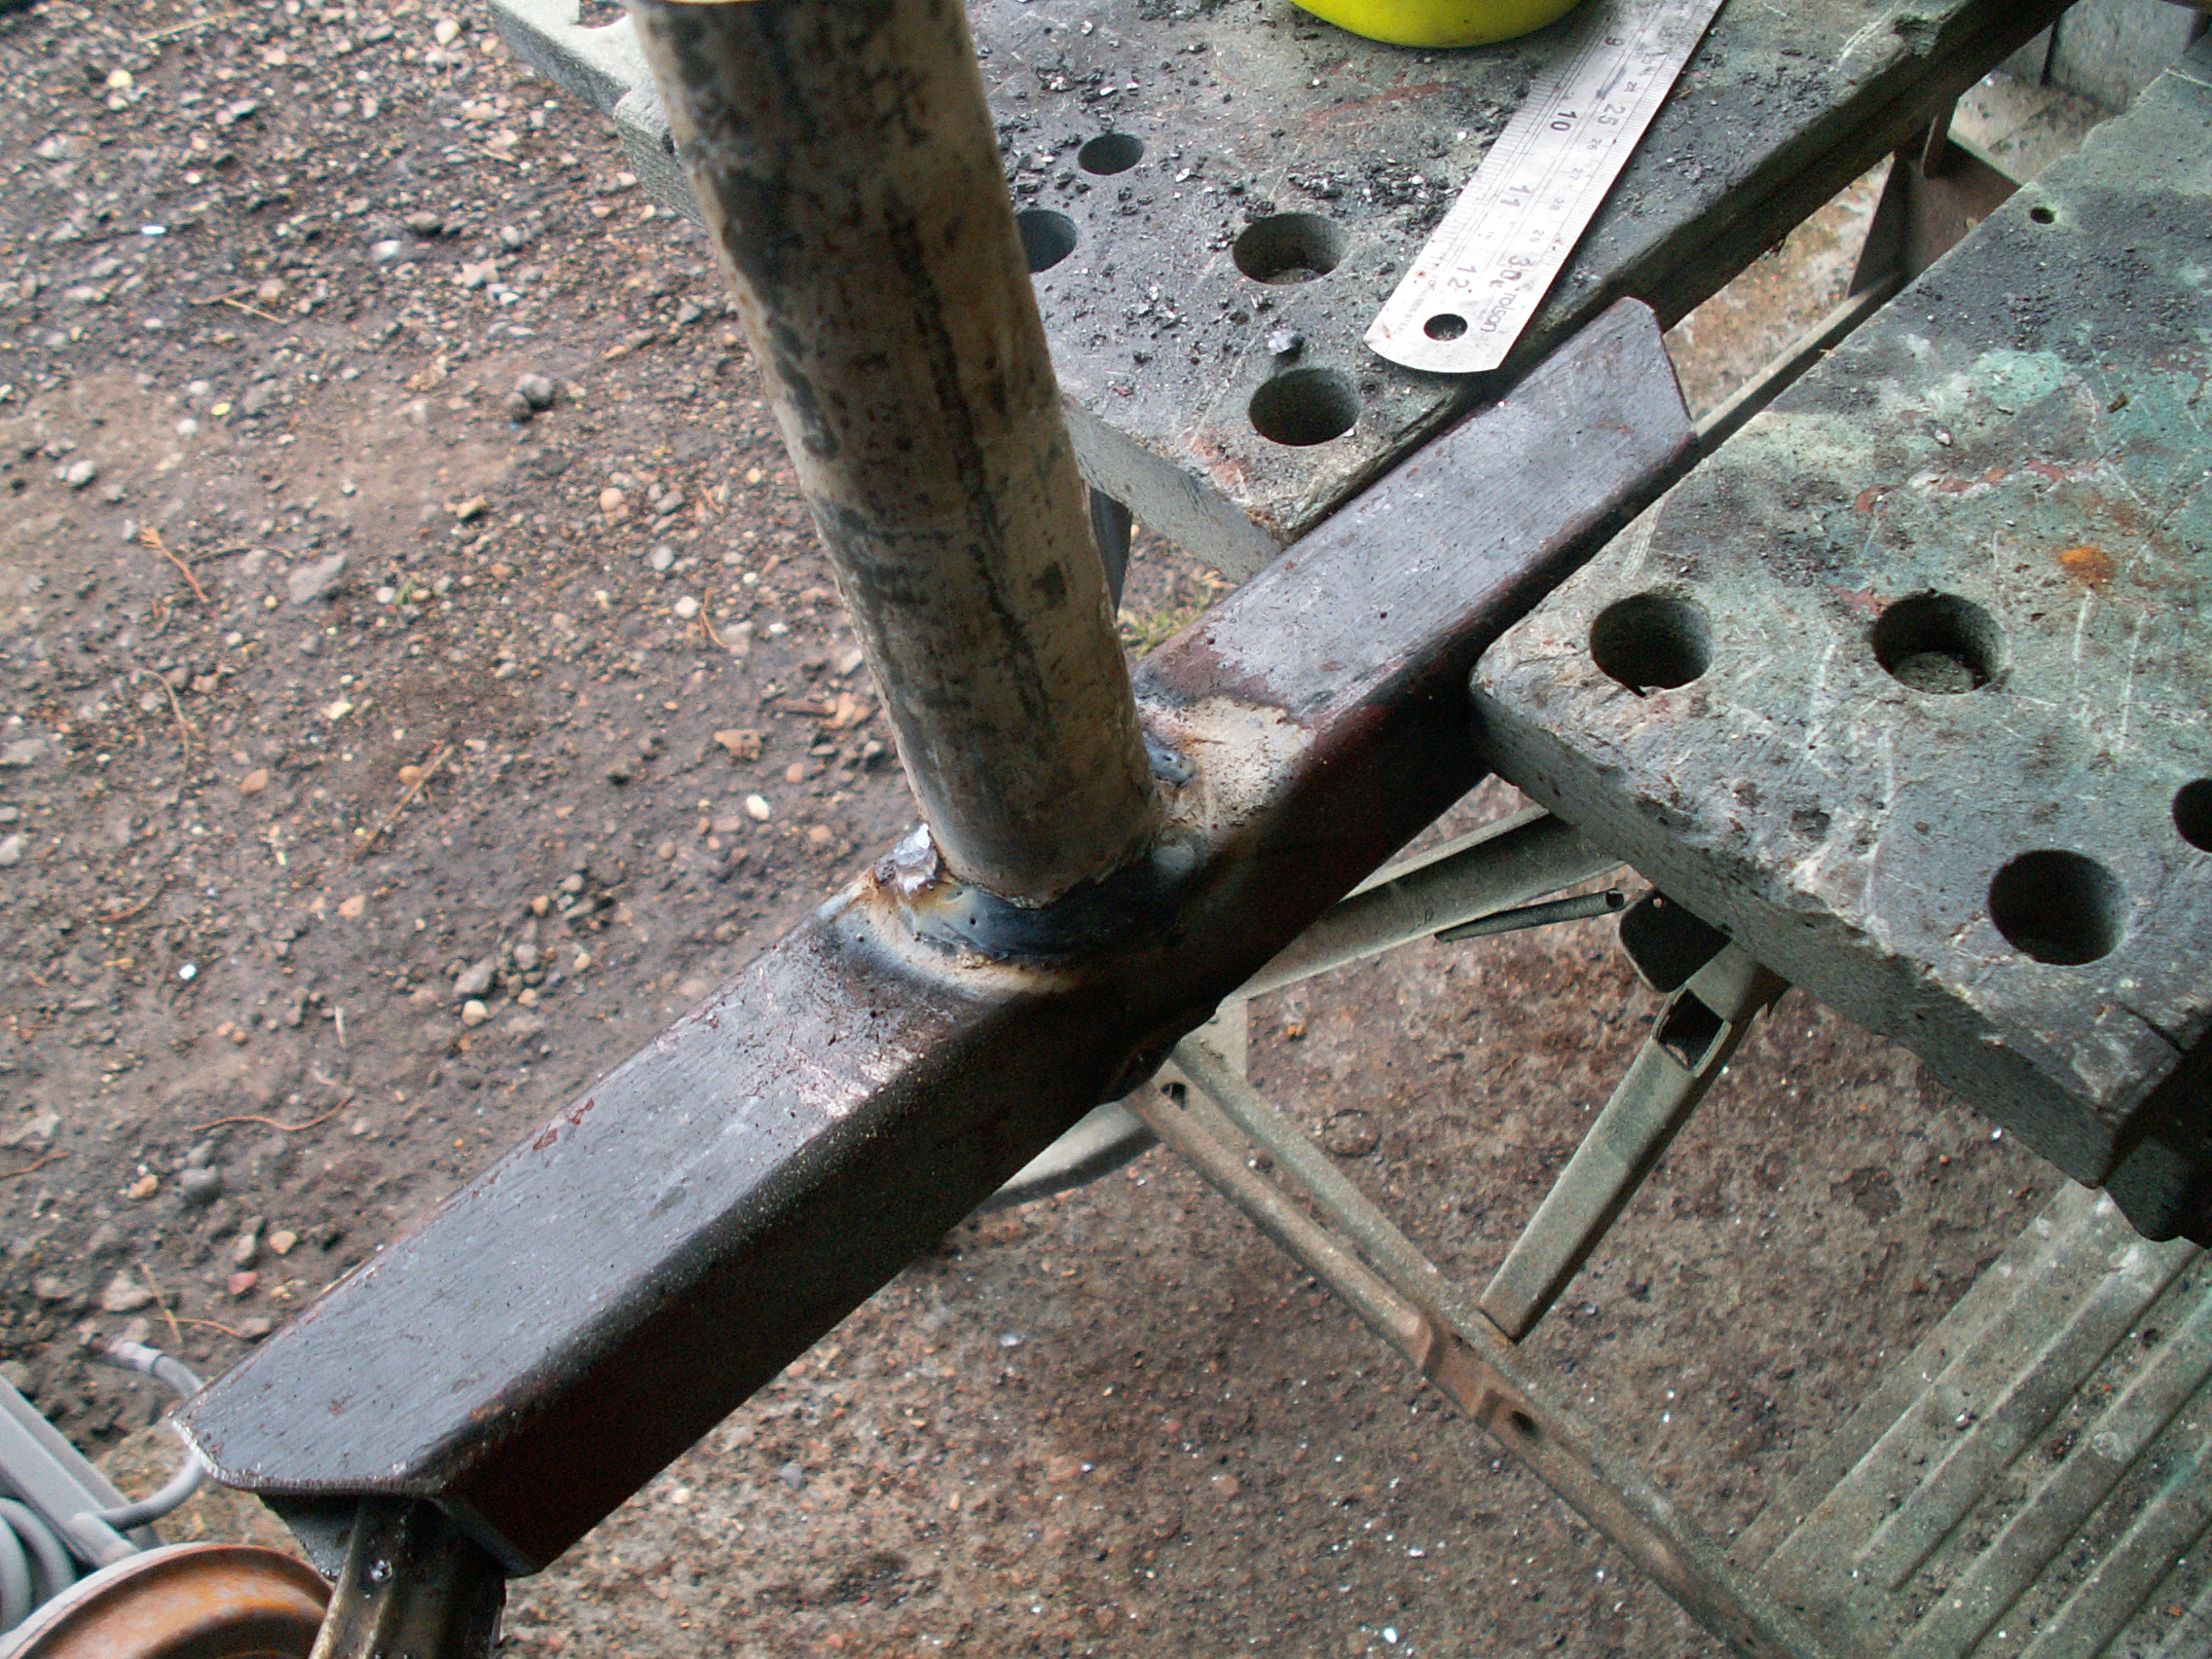
2. Fabricate the swivel/pivots bits. A short square section is where the shell will bolt onto the spit. A couple of offcuts of old galvanised iron pipe – approx 1 1/4″ diameter was used. I found some tube that they just about fitted in. A few minutes on the lathe to bore out the outer tubes to get a good fit.

KONICA MINOLTA DIGITAL CAMERA

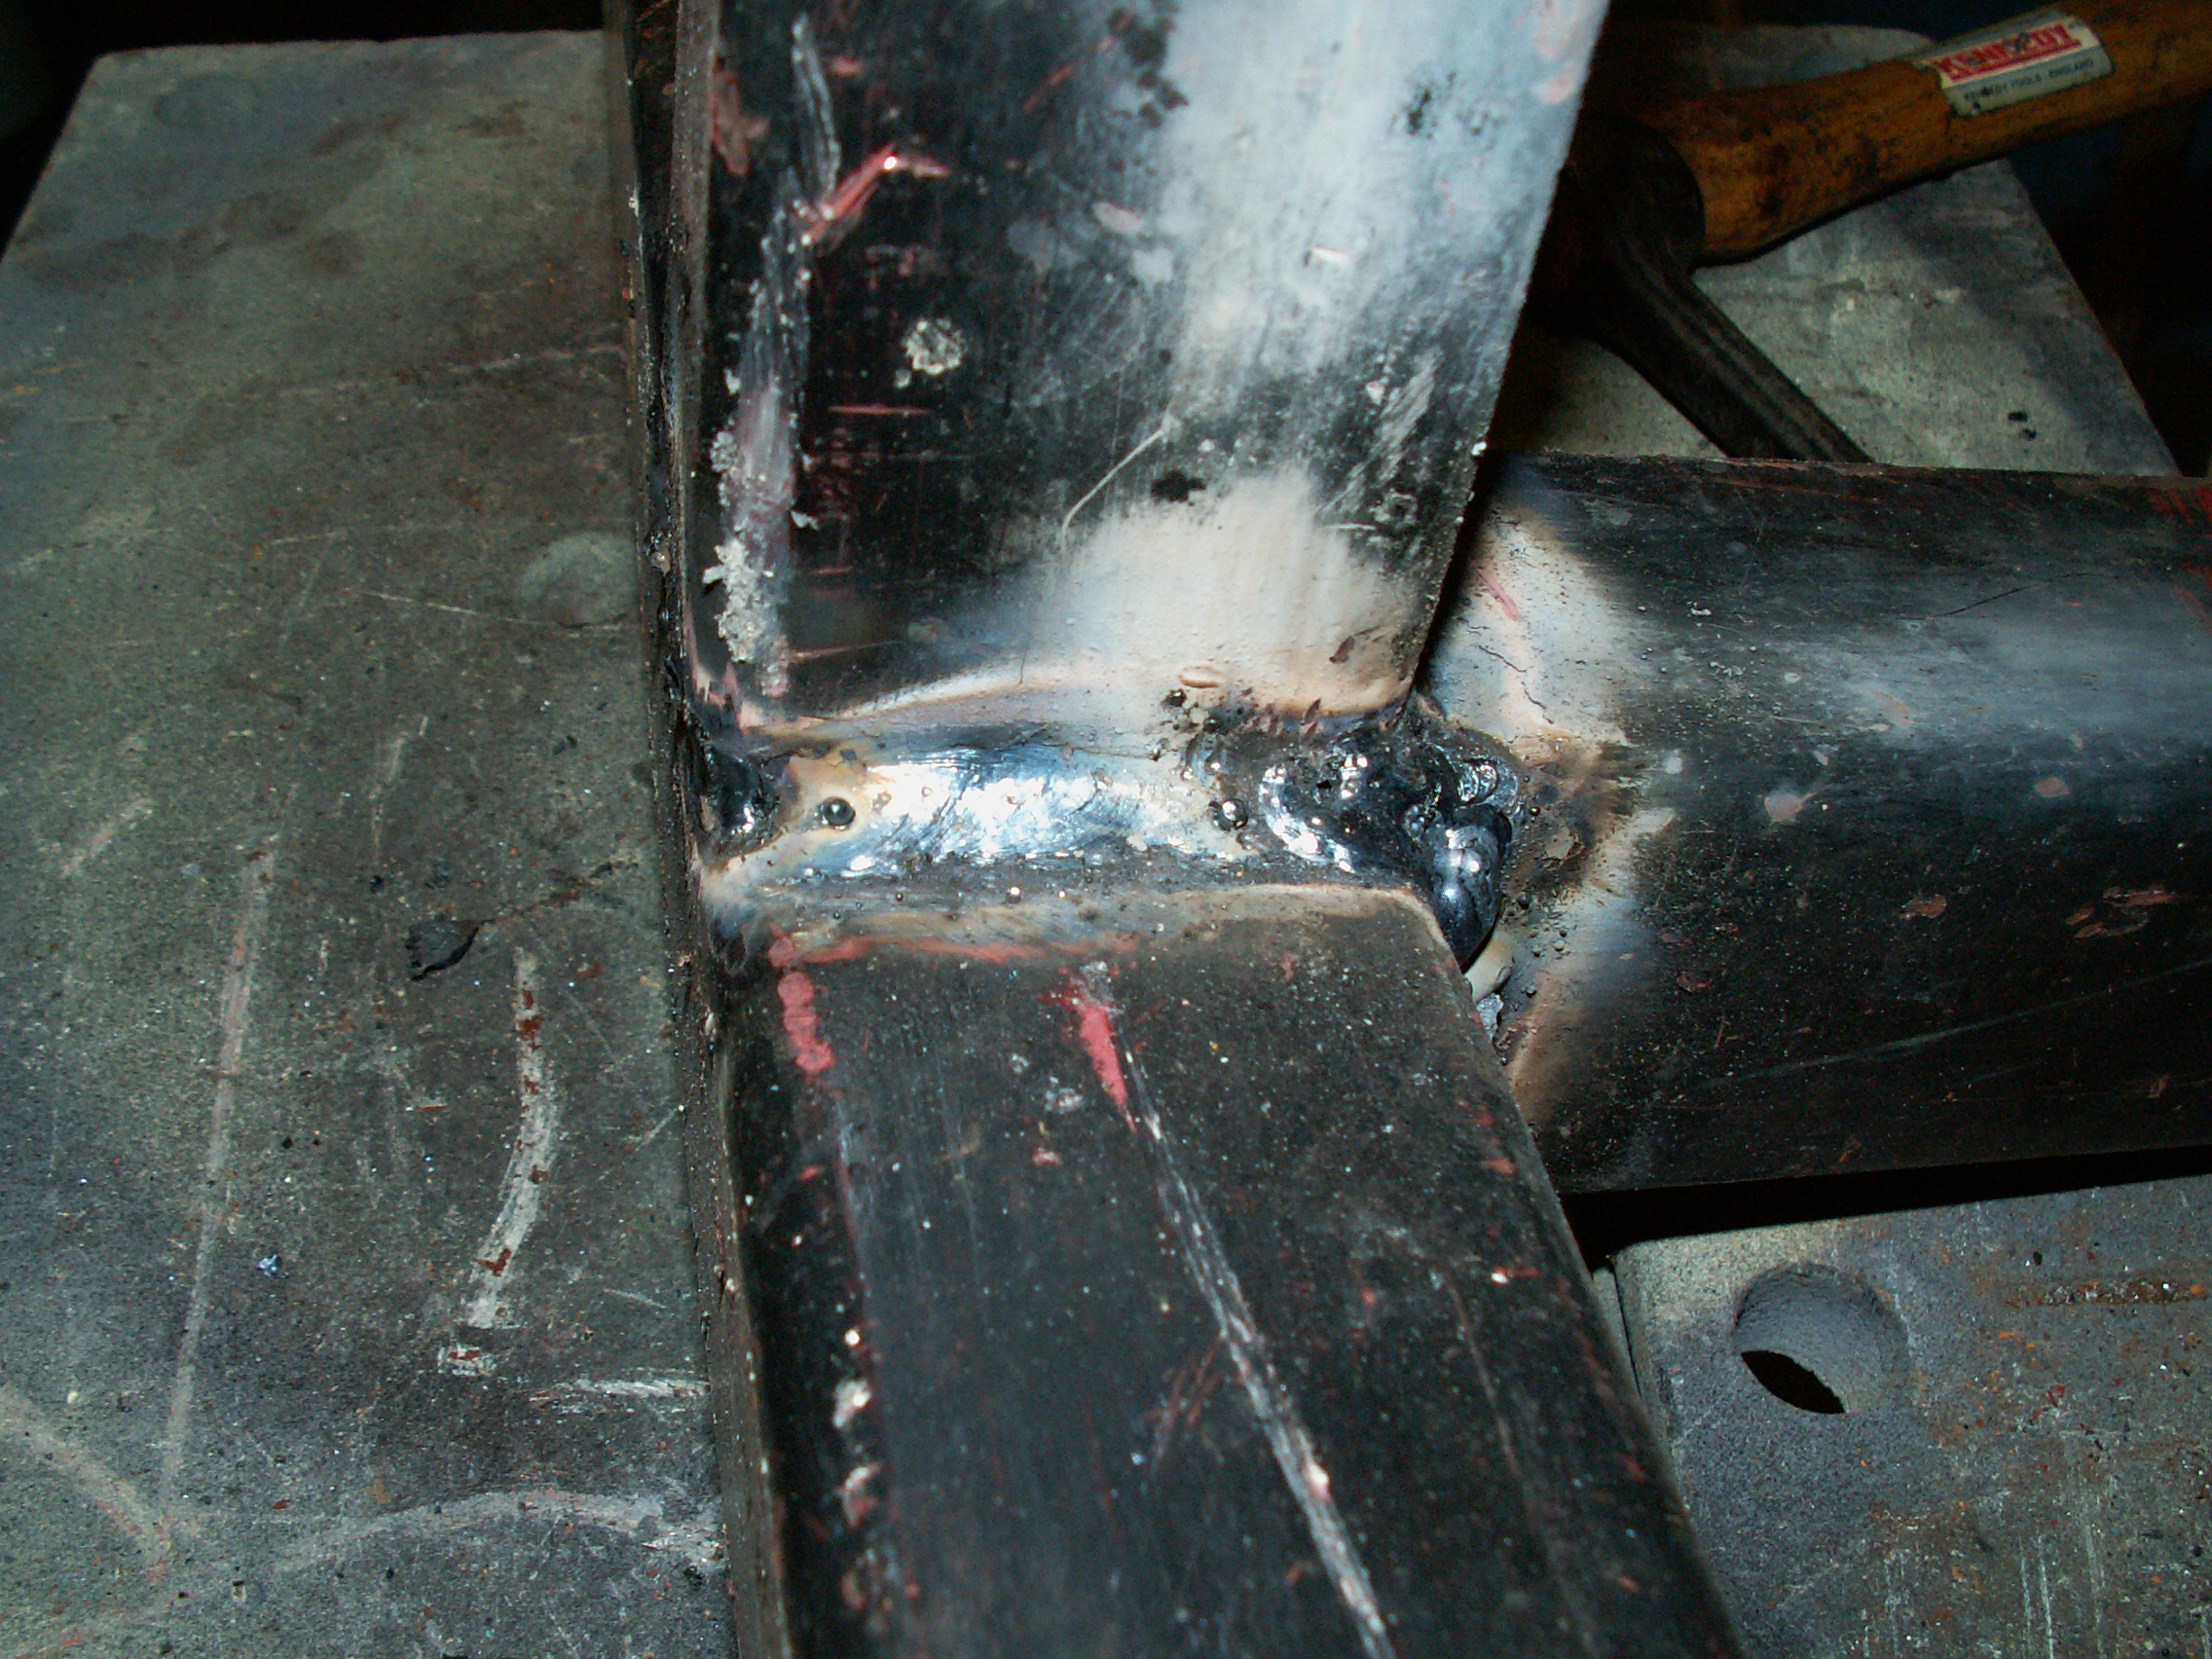
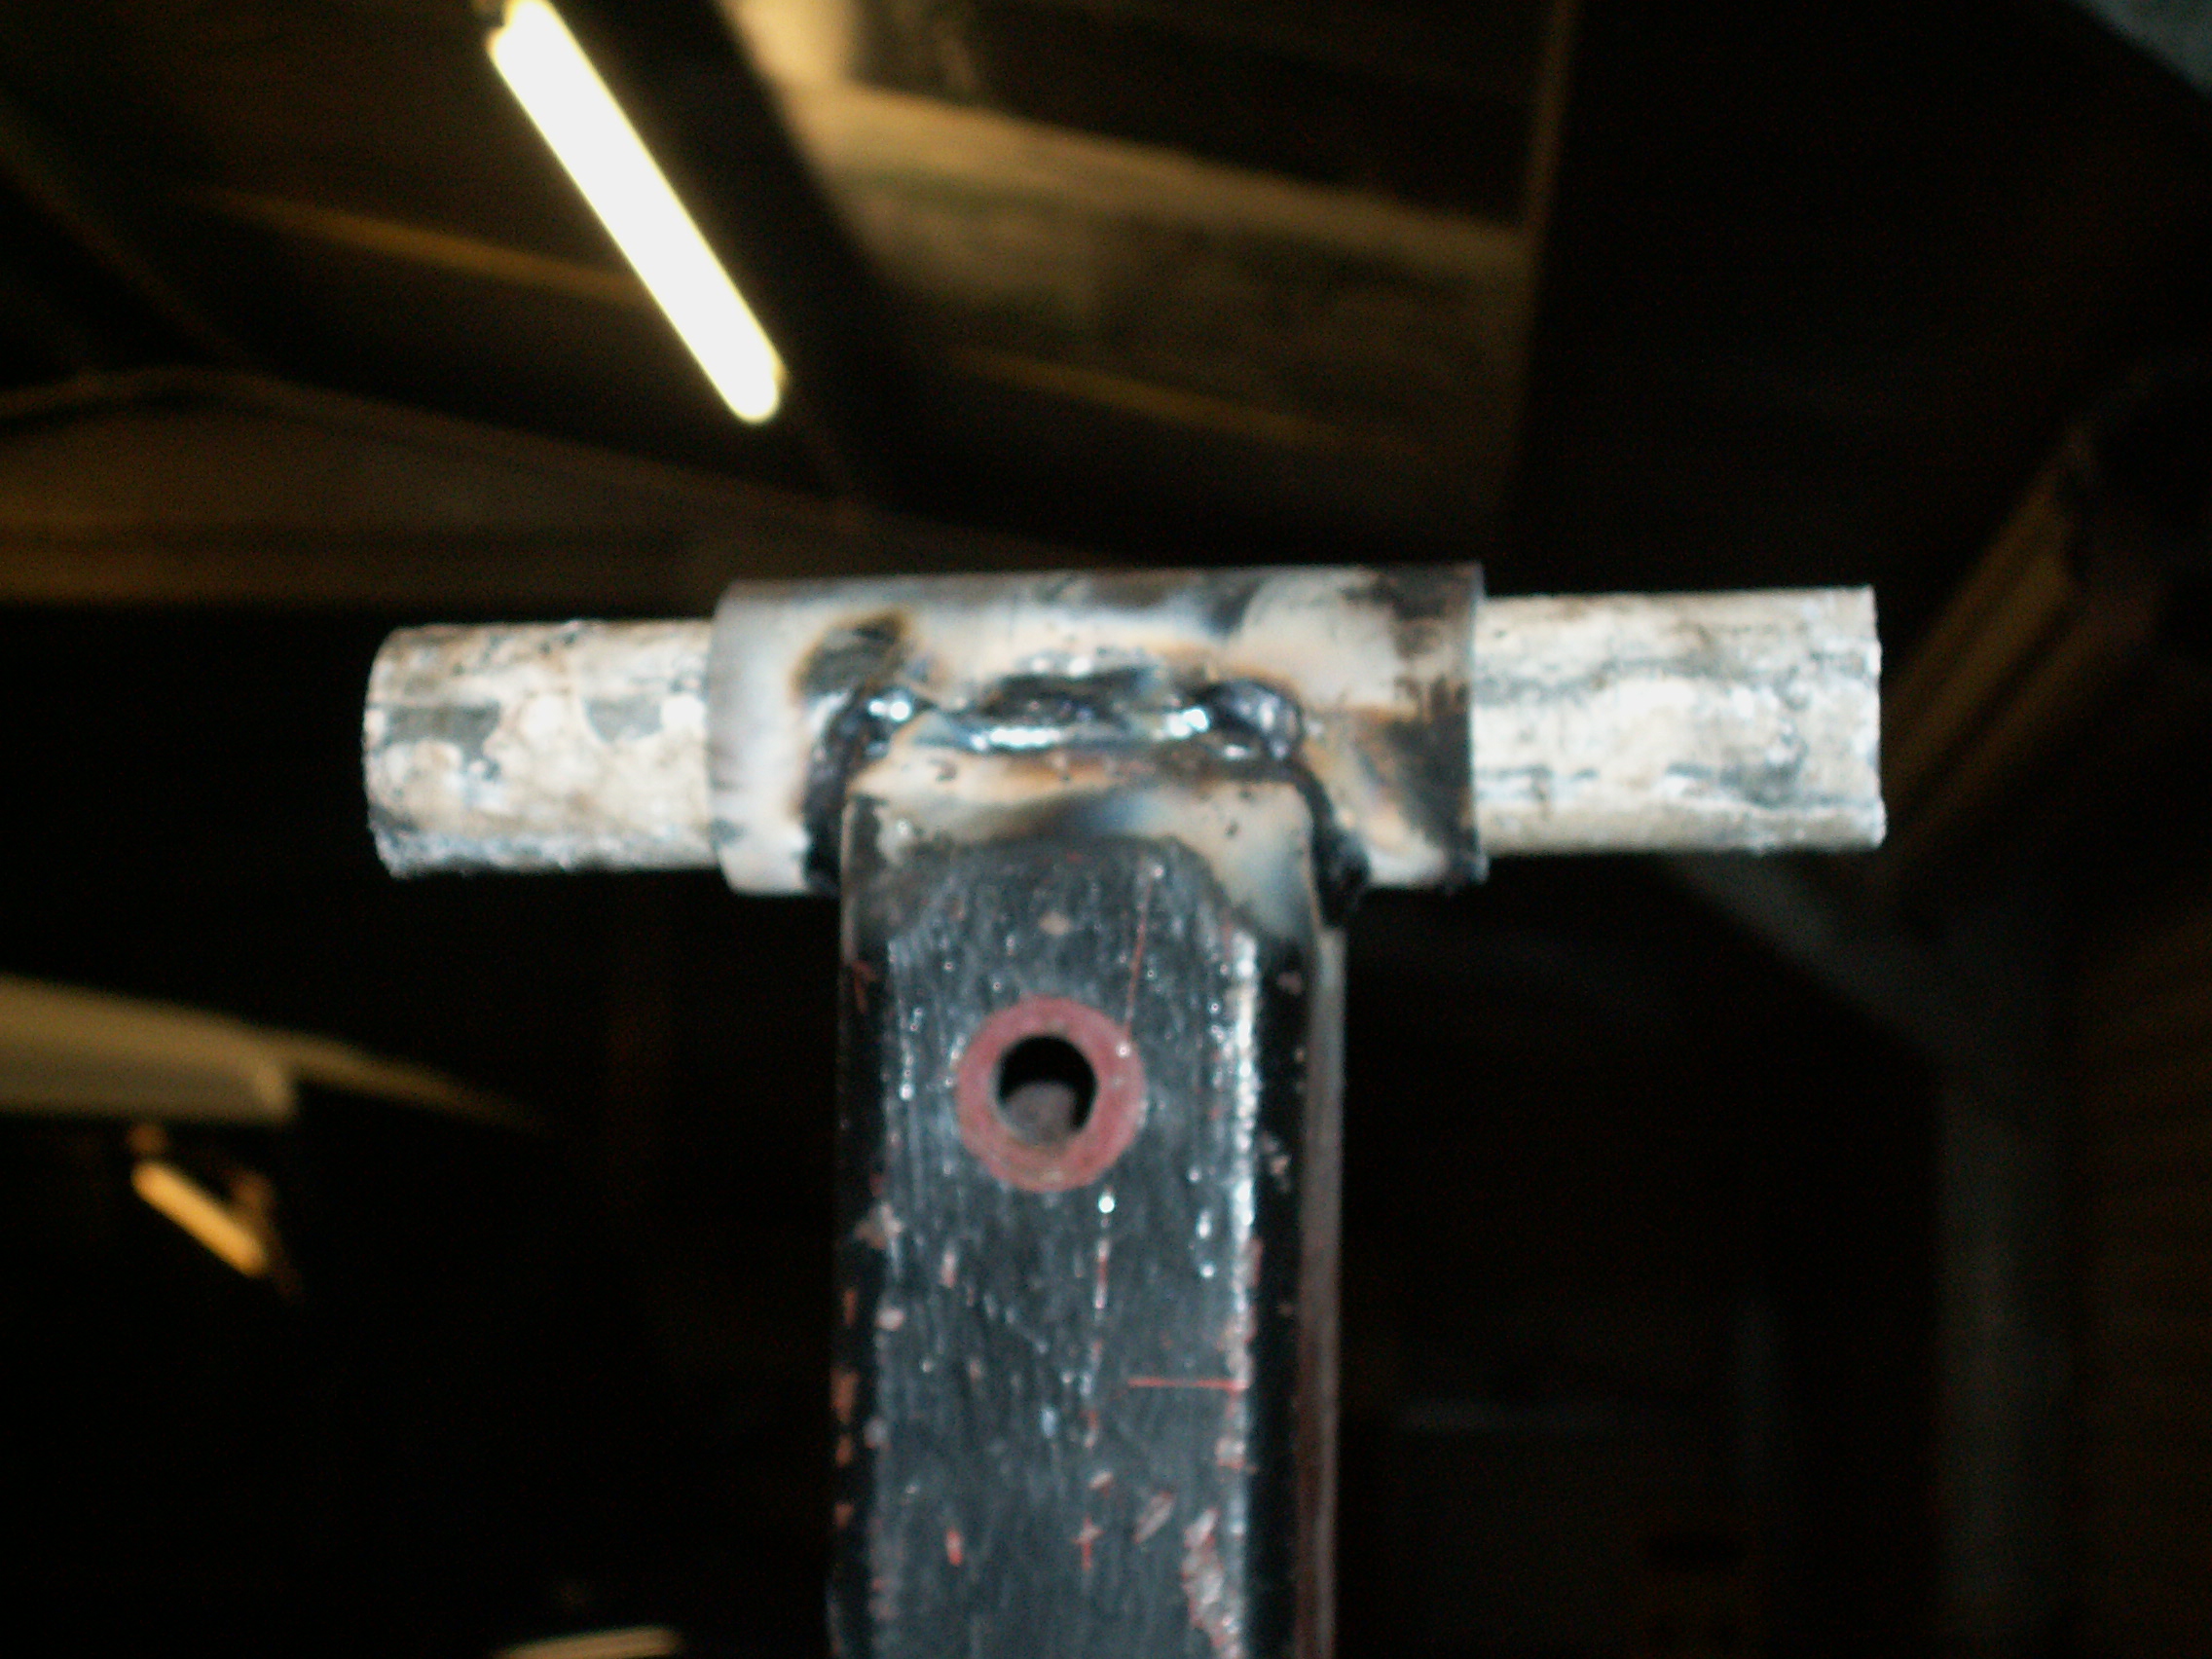
3. Close up of the welds. It was all arc welded in my best joined up welding – it will carry quite a lot of weight so need to make sure its not going to snap!

KONICA MINOLTA DIGITAL CAMERA

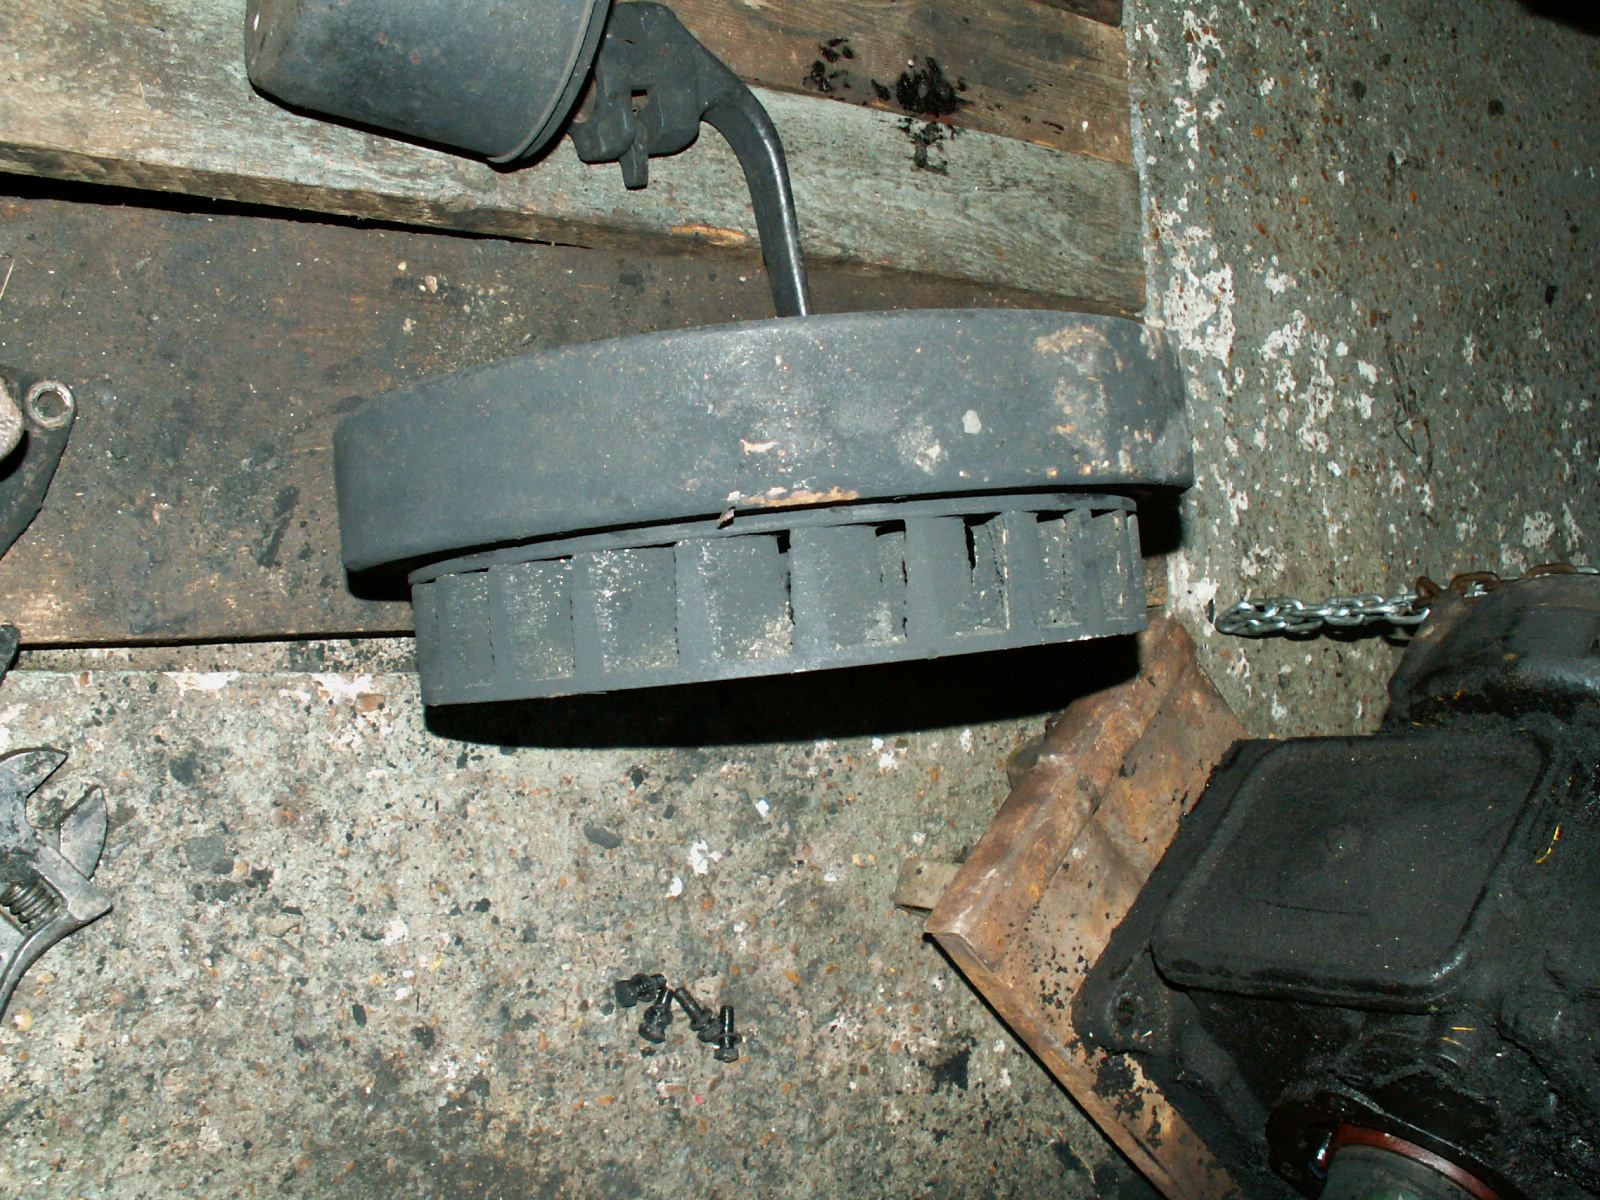
4.  Leg 1 complete. The castors are heavy duty industrial ones with hard nylon wheels. I fitted one braked caster to each end.

KONICA MINOLTA DIGITAL CAMERA

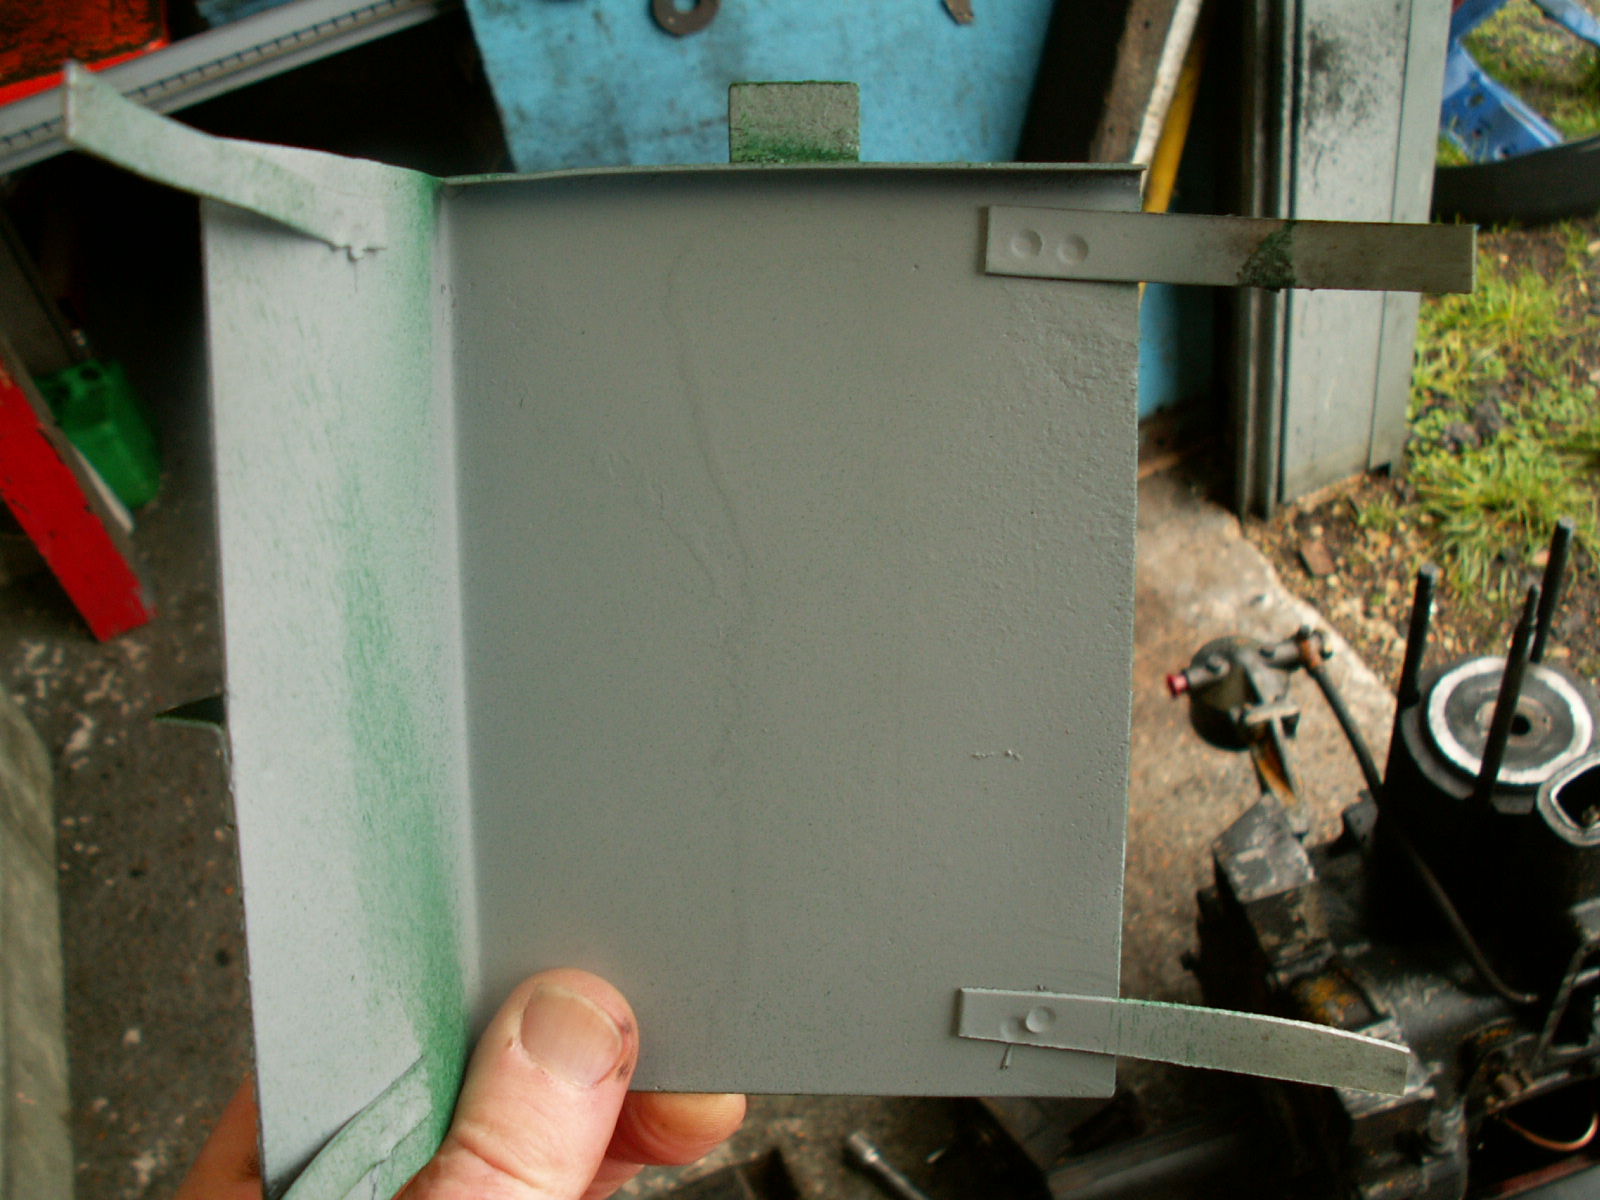
5. Next is the inserts to the legs, this was some box section that slide quite nicely into the leg section. I then profiled the top to accept the pivot tubes.

KONICA MINOLTA DIGITAL CAMERA

6. Check the fit before welding!

KONICA MINOLTA DIGITAL CAMERA

7. Leg complete with insert. The insert can be raised or lowed to get the shell the right height.

KONICA MINOLTA DIGITAL CAMERA

8. Close up of the pivot.

KONICA MINOLTA DIGITAL CAMERA

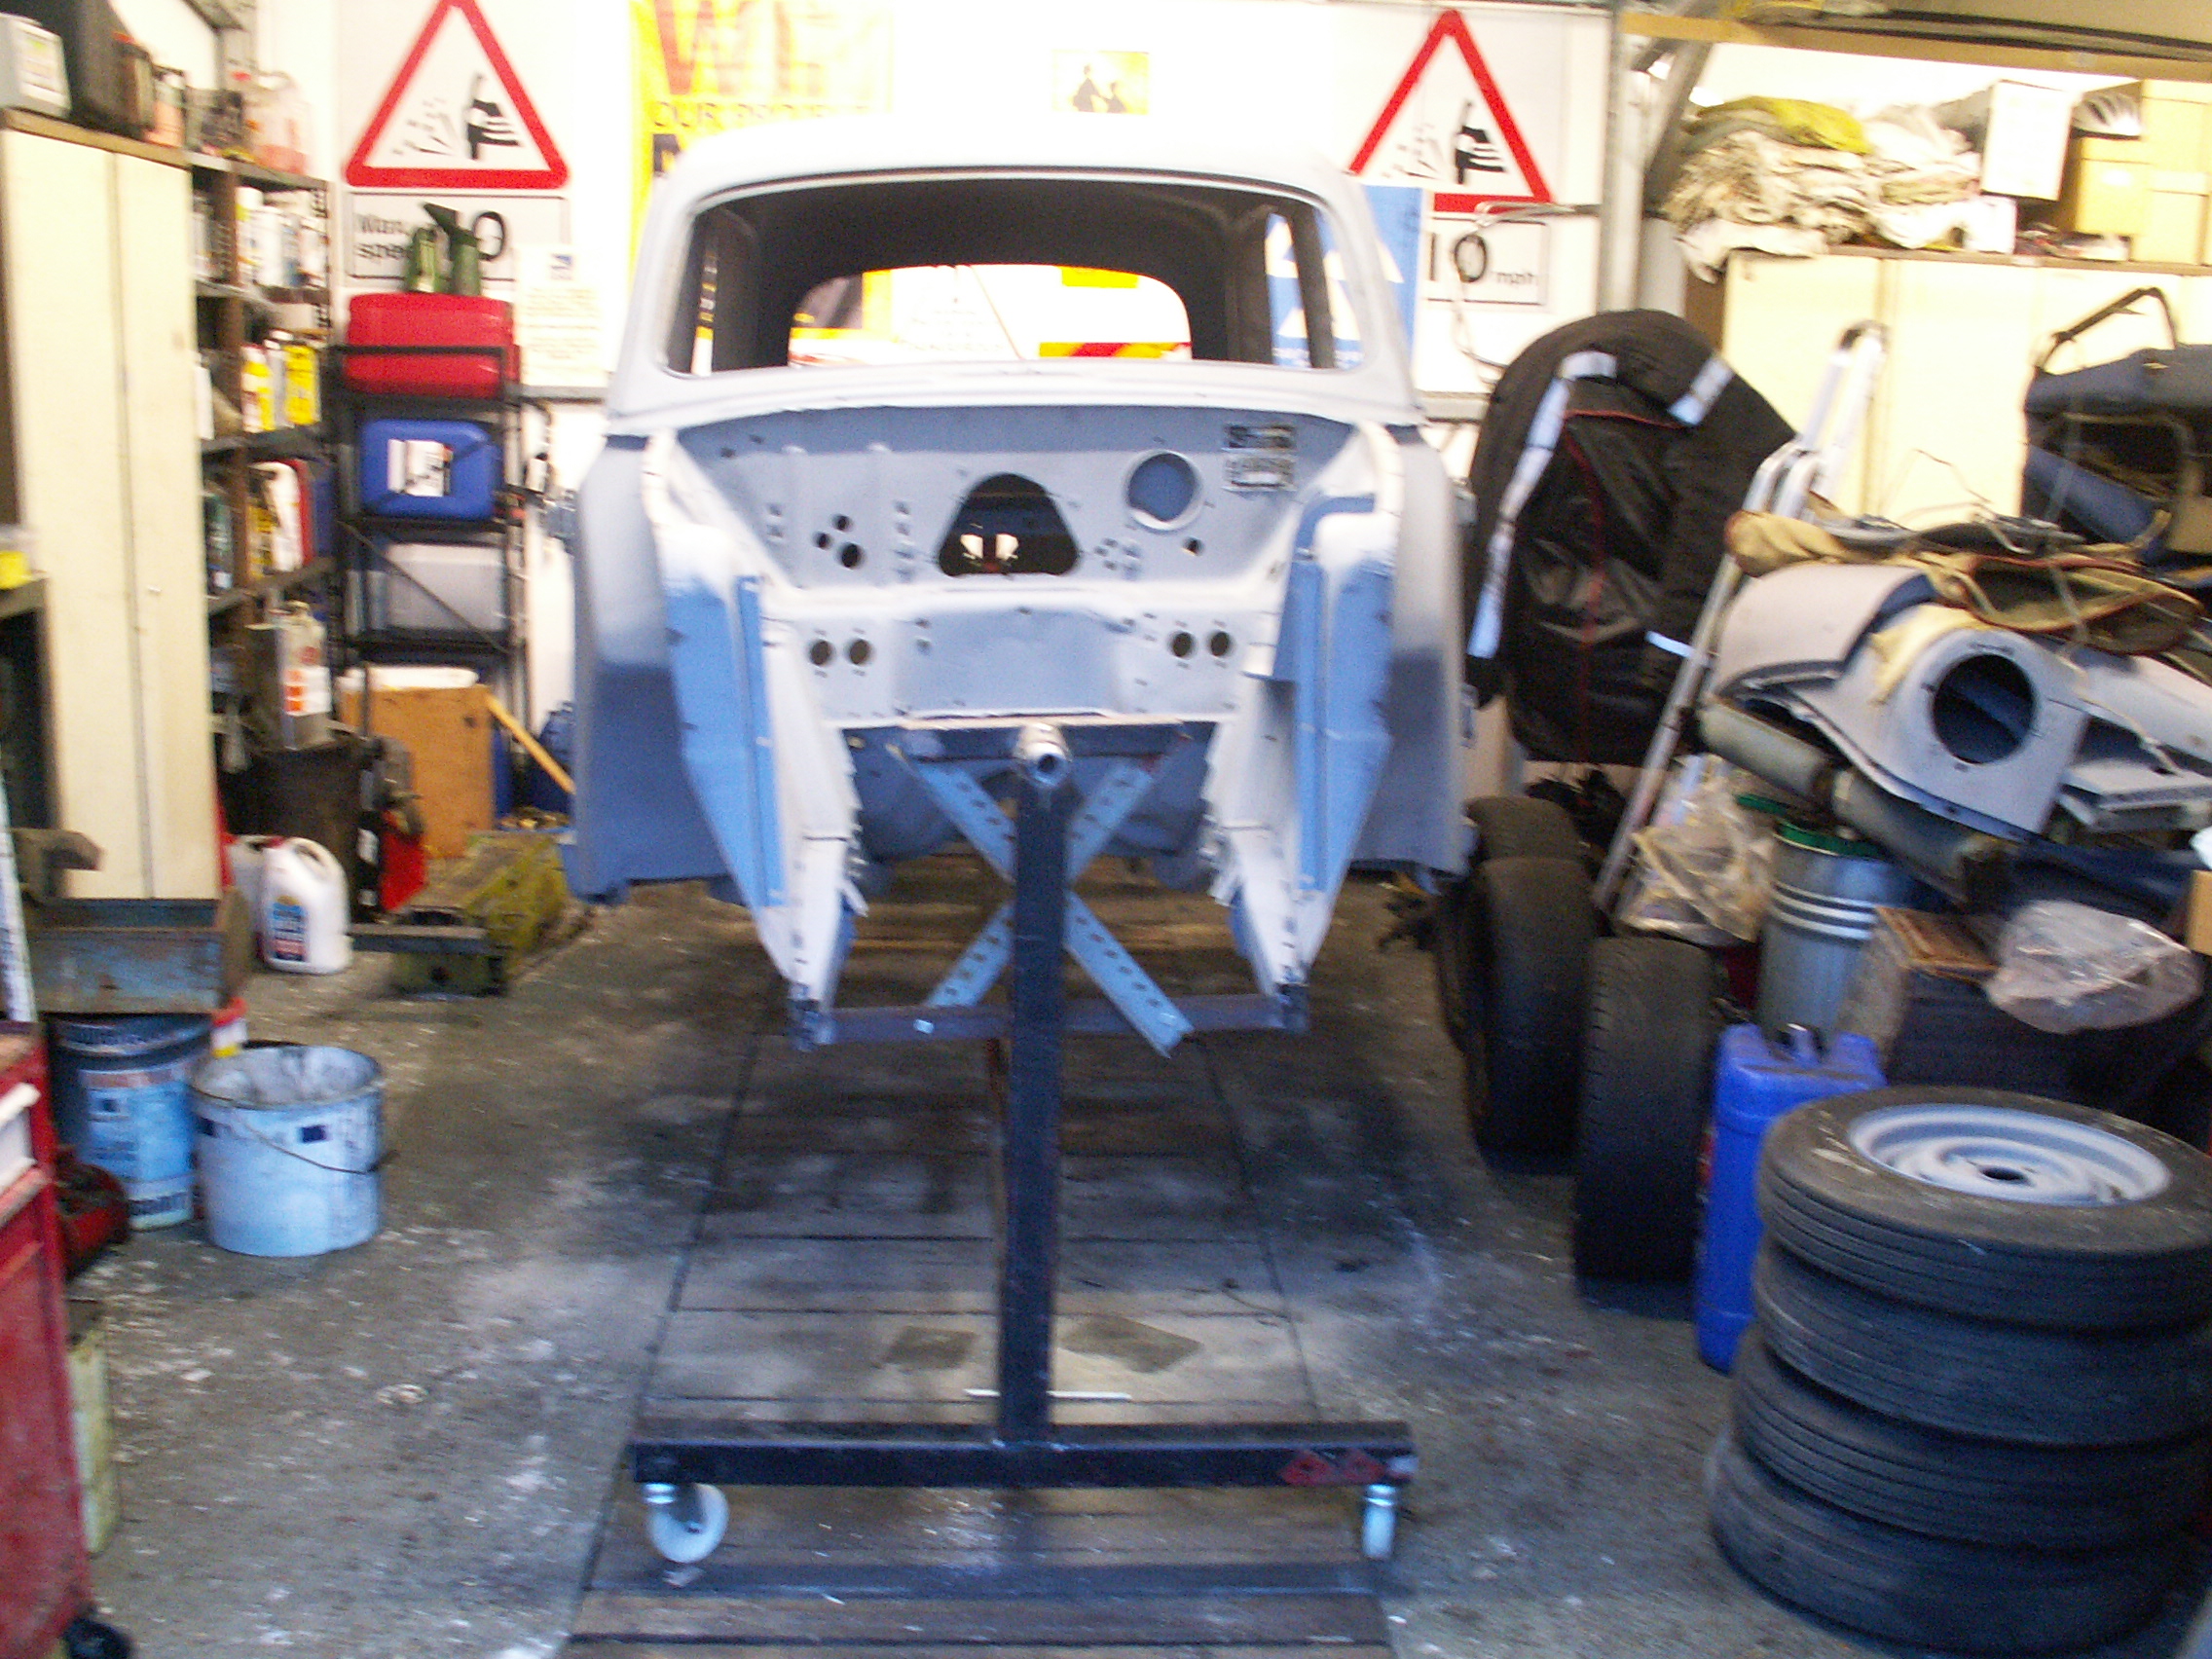
9. Spindle mounted to a body shell – this shell is a 1955 Standard Eight I am supposed to be restoring.

KONICA MINOLTA DIGITAL CAMERA

10. Slightly in the wrong order but this pic shows the spindle welded onto the support bar.

KONICA MINOLTA DIGITAL CAMERA

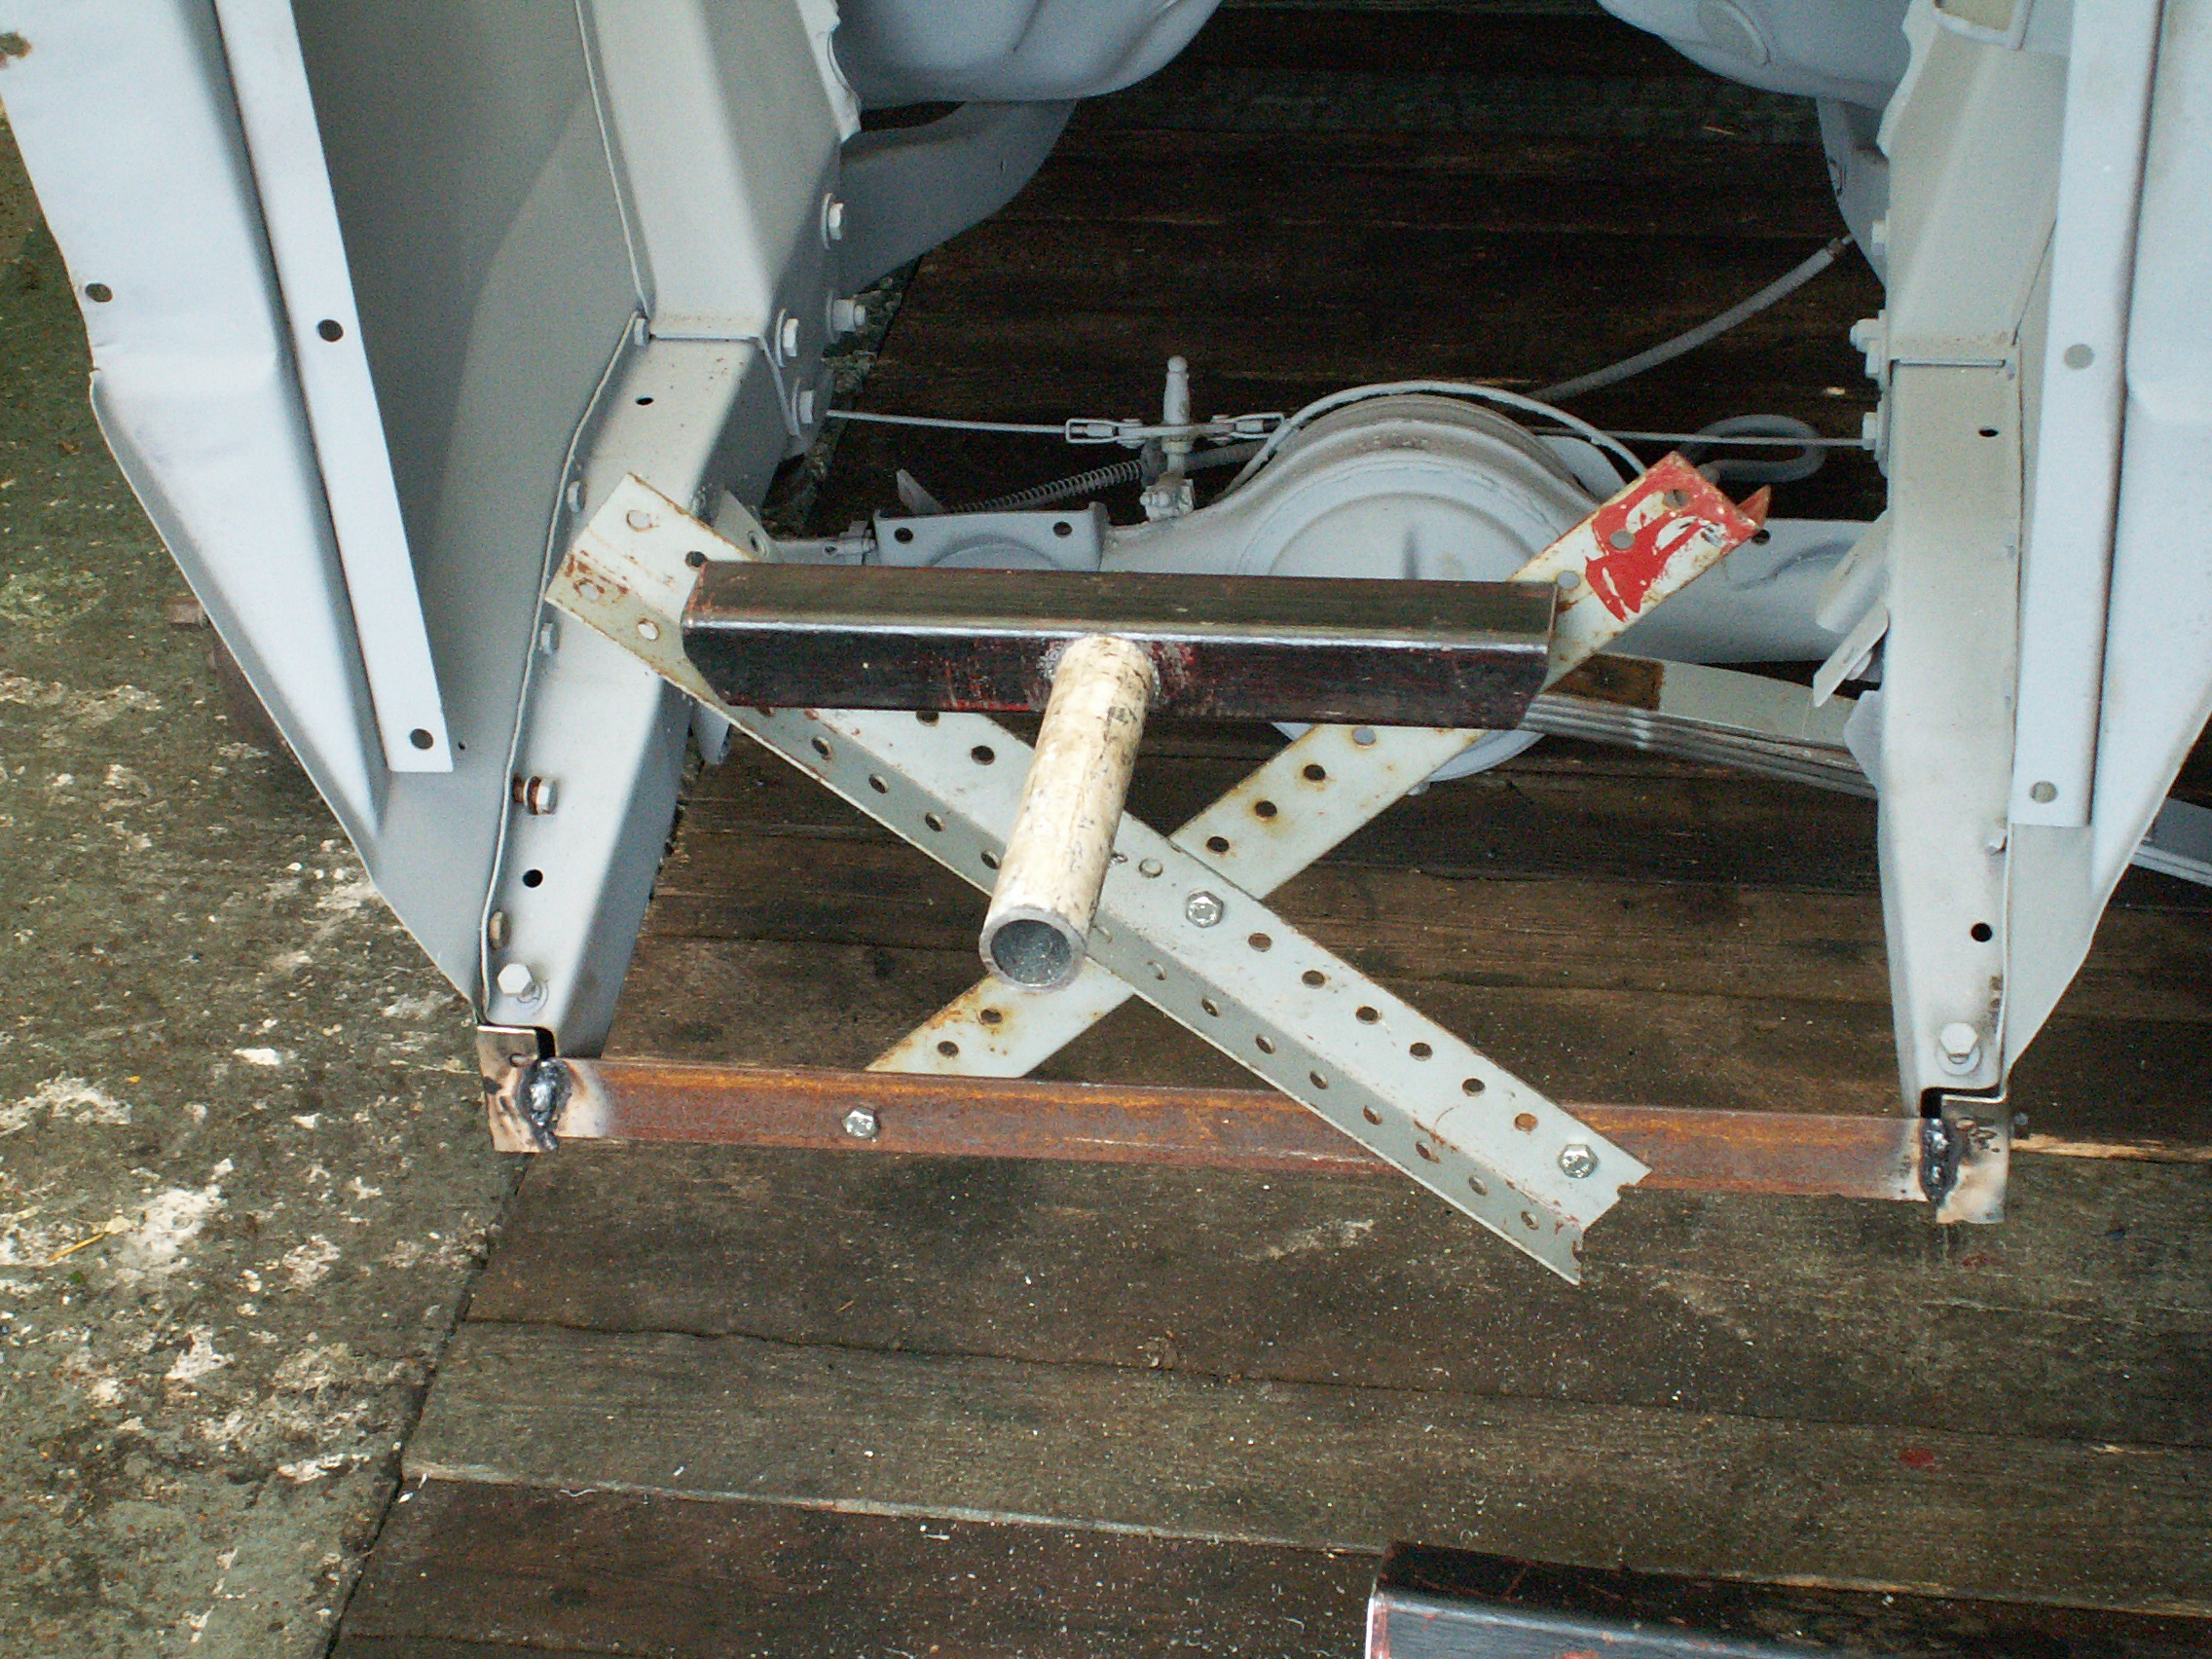
11. A couple of brackets and a bit of angle were used to support the rear of the shell.

KONICA MINOLTA DIGITAL CAMERA

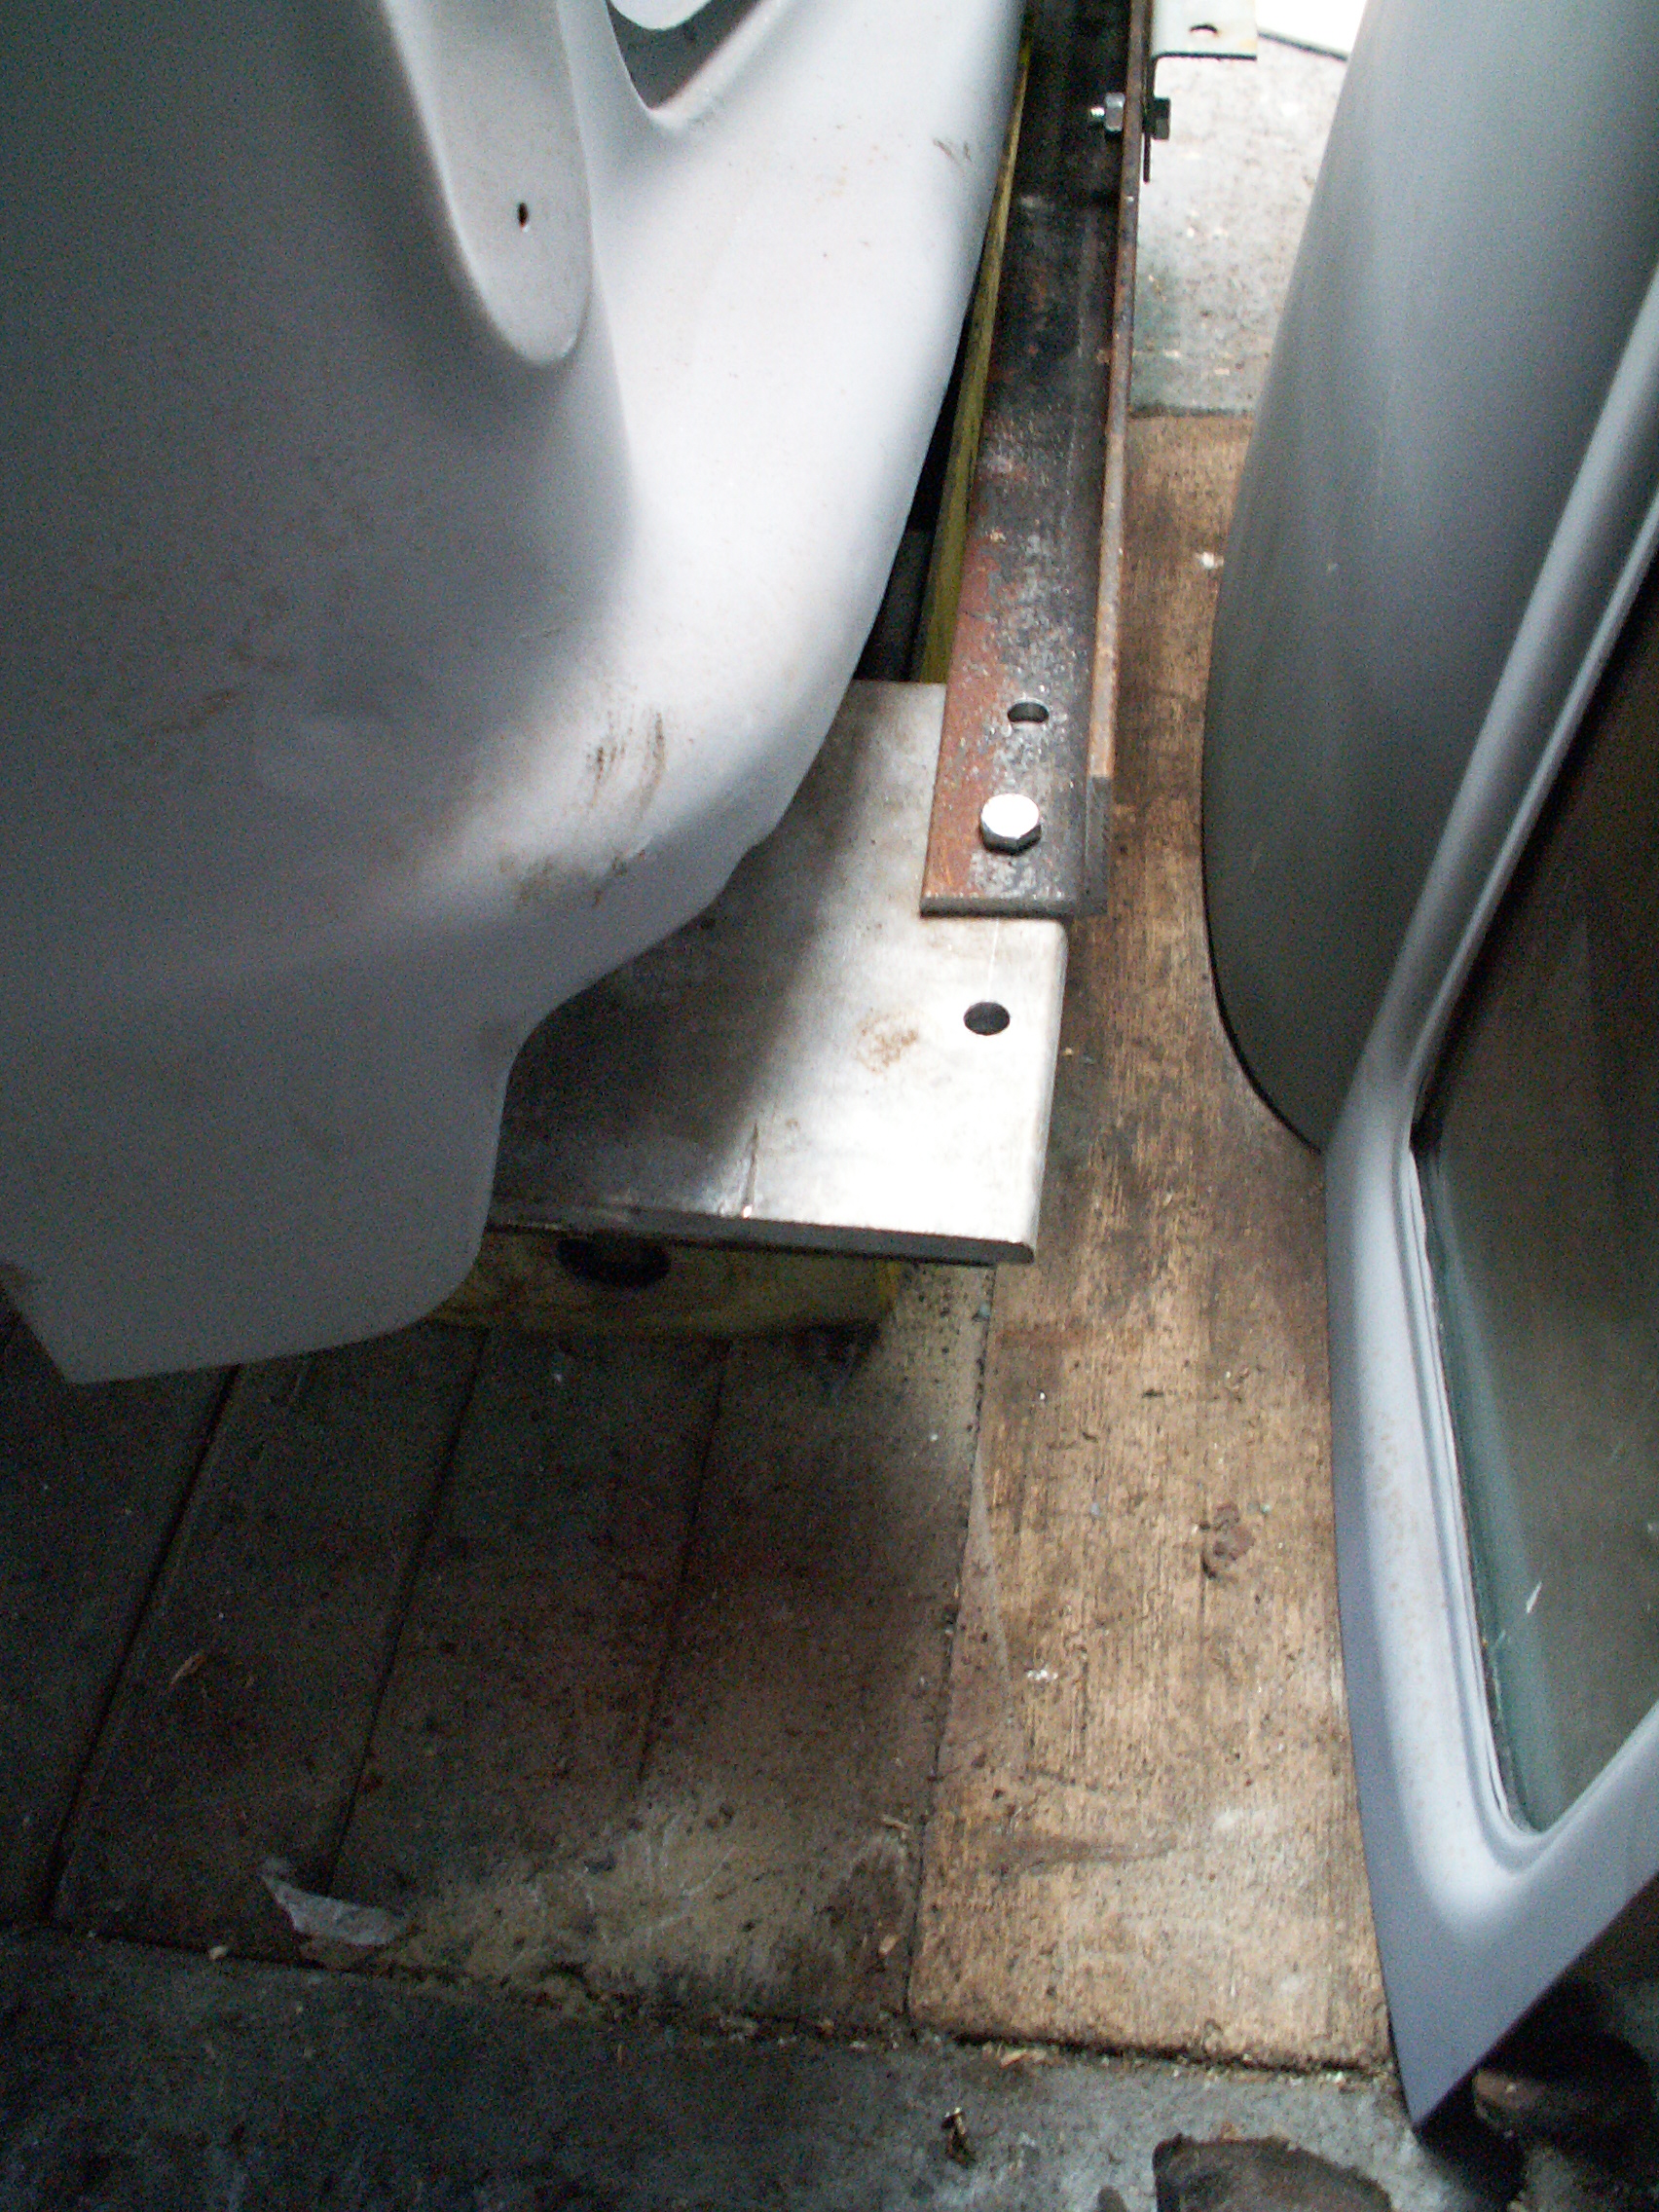
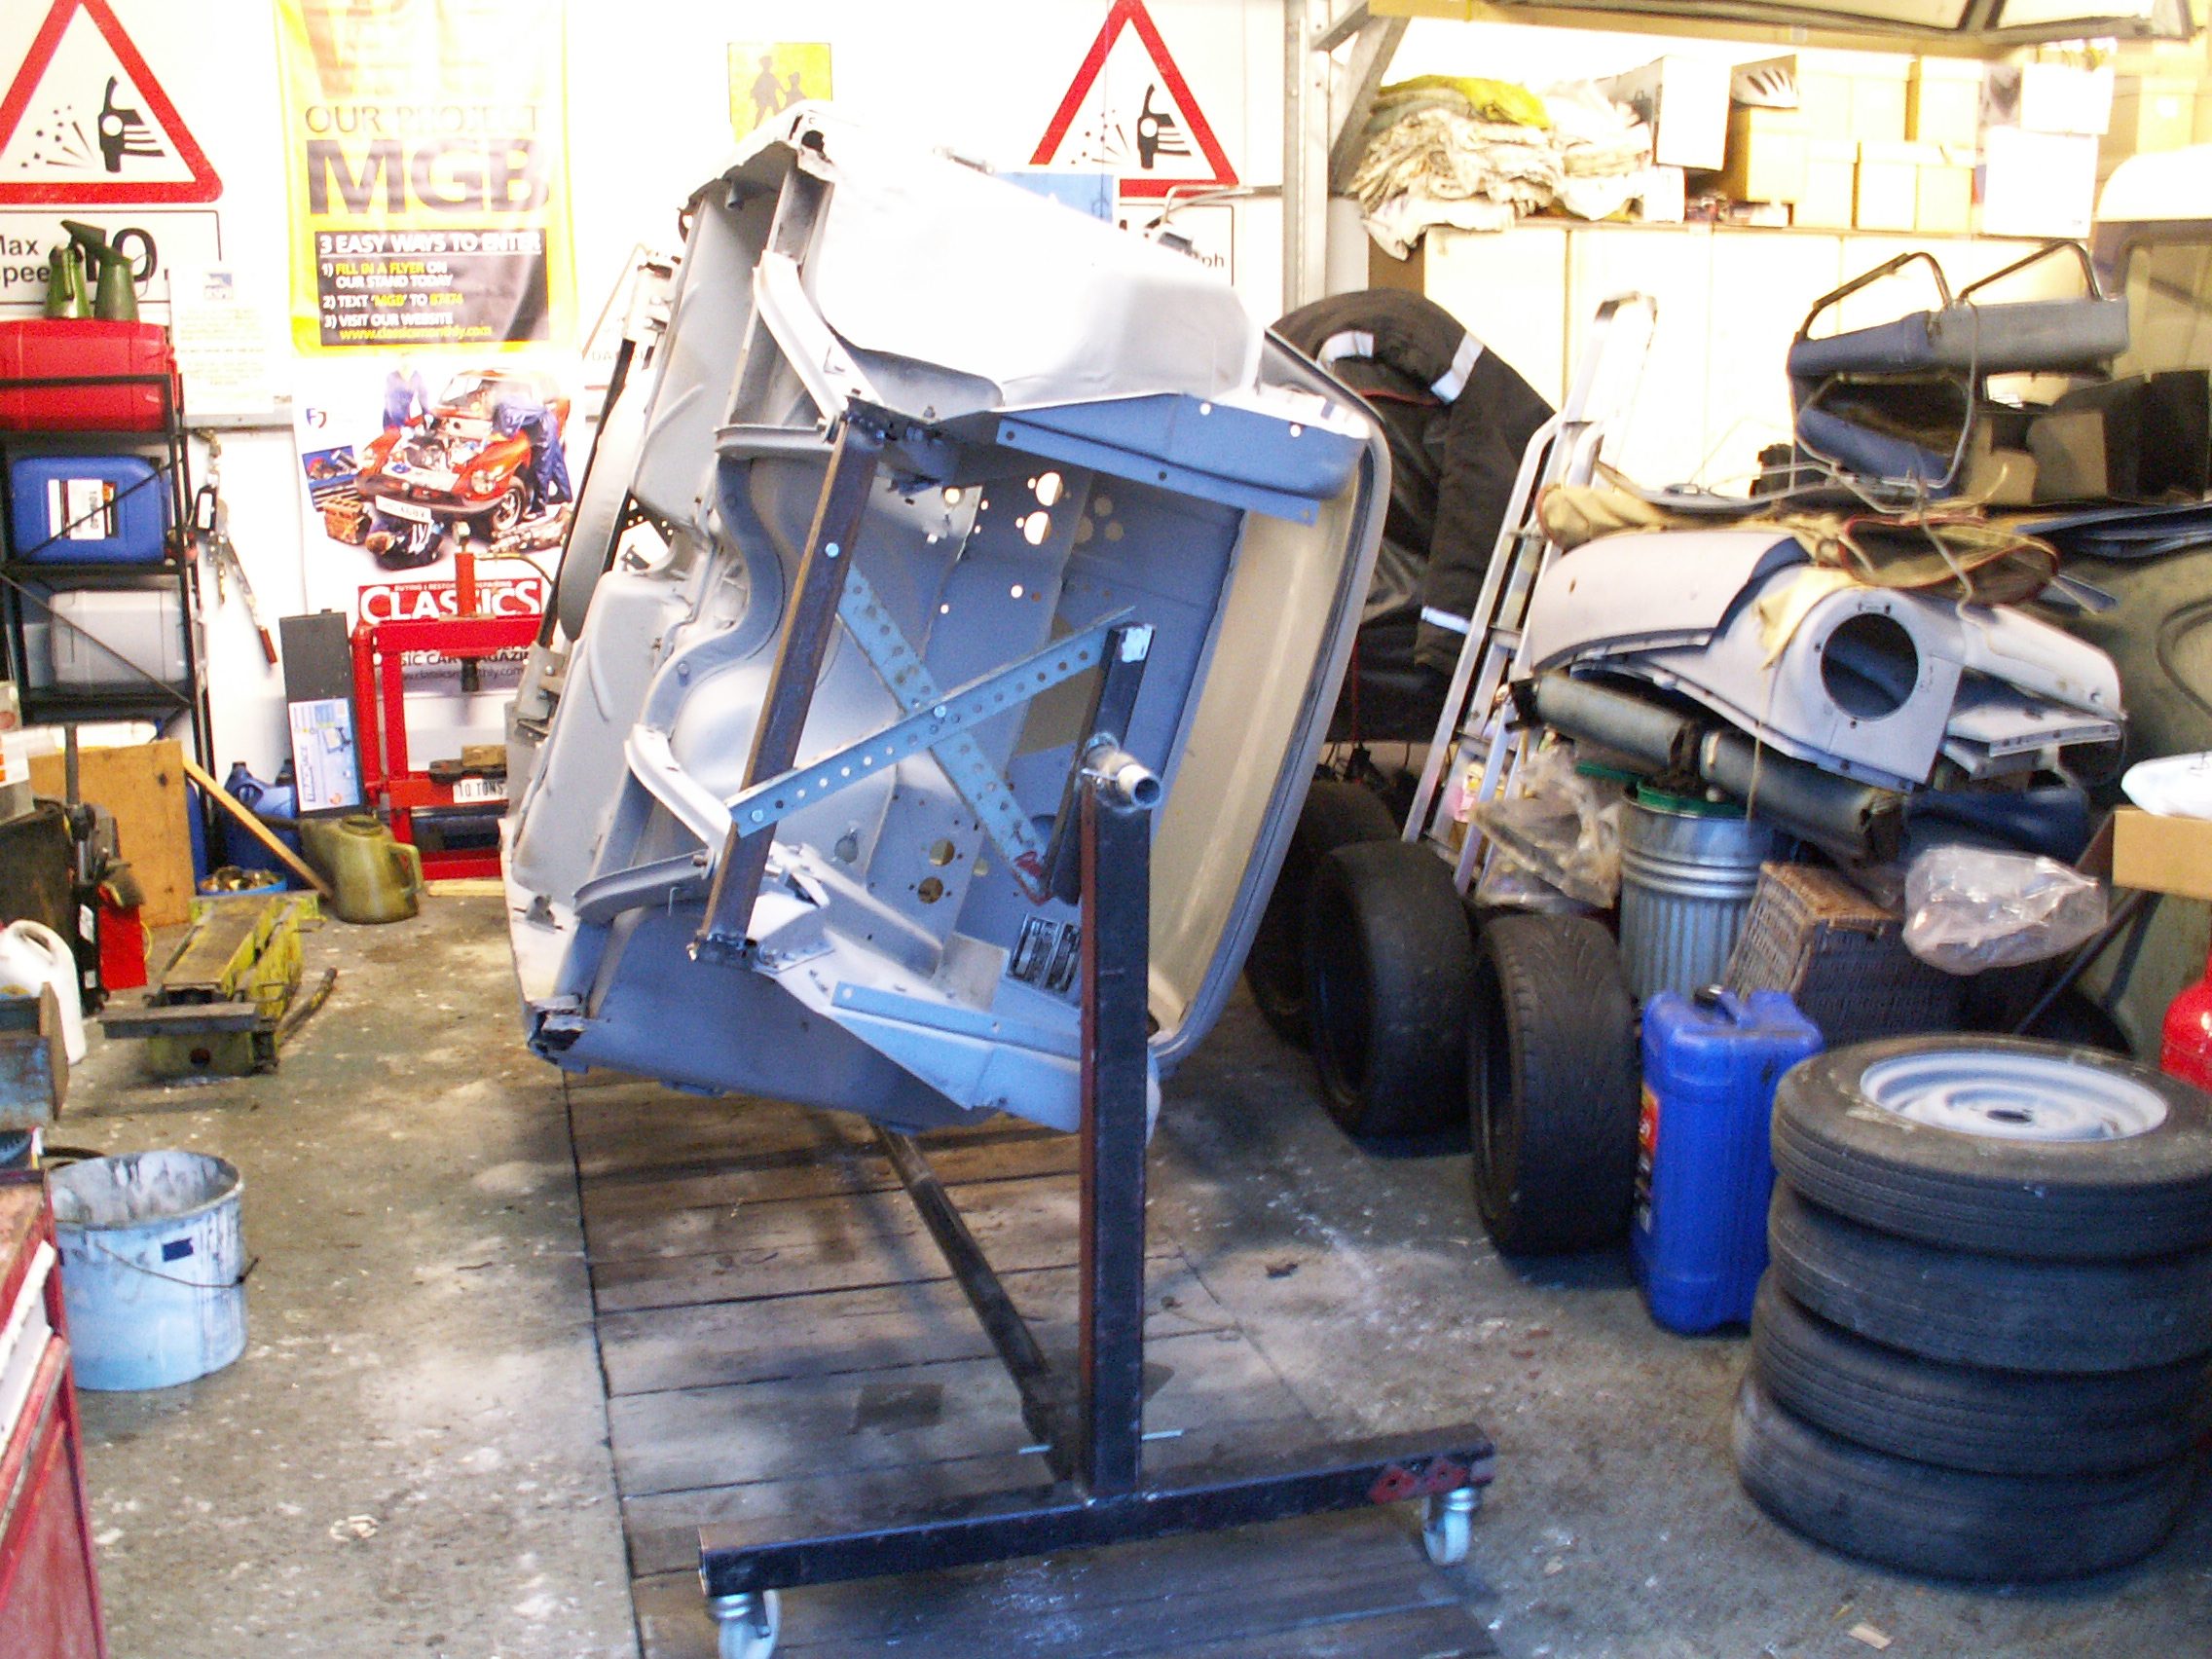
12. Dexion was used as an easily adjustable “interface” to the spit mount. Some trial and error is needed to get the mounting height correct so that the centre of gravity is in the middle – getting it right makes it easier to rotate the shell.

KONICA MINOLTA DIGITAL CAMERA

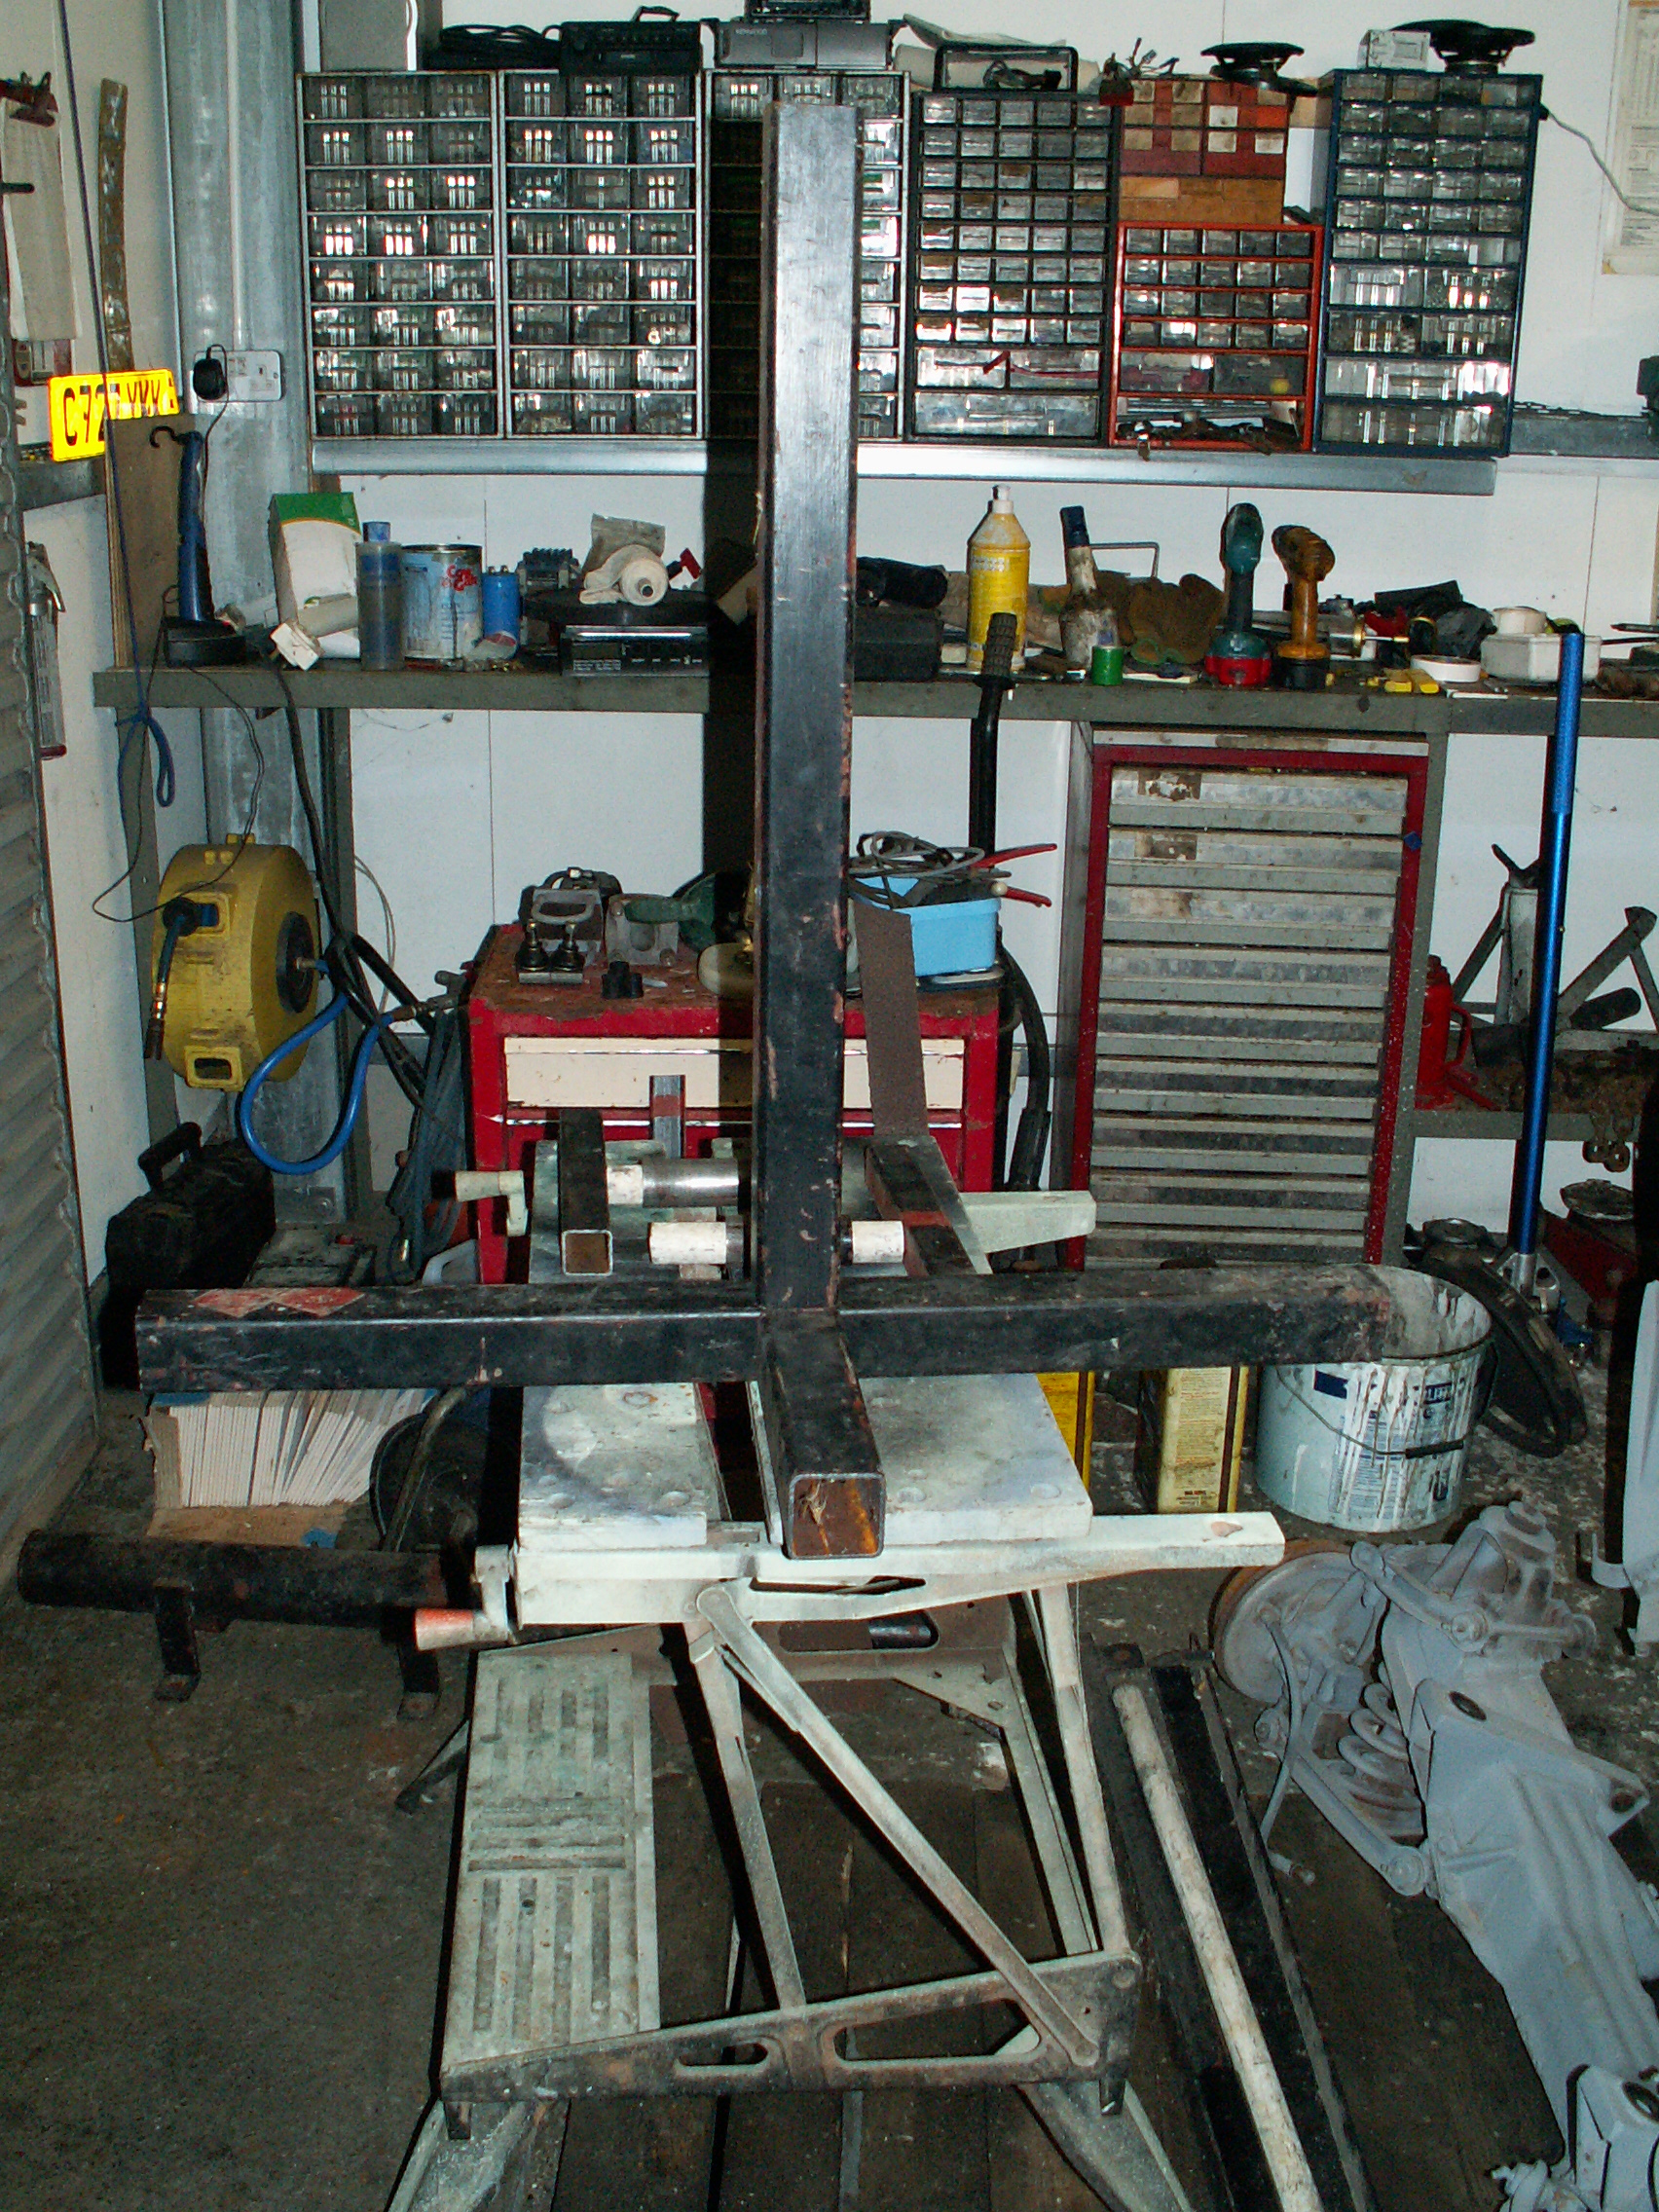
13.  Finshed Spit with shell mounted on it. There is a 2 1/2″round tube between the bottoms of the two support legs. All bolted together with M12 bolts.  Just a coat of Red paint need to make it look “professional”.

KONICA MINOLTA DIGITAL CAMERA

14. It works – put the shell at any angle!

KONICA MINOLTA DIGITAL CAMERA

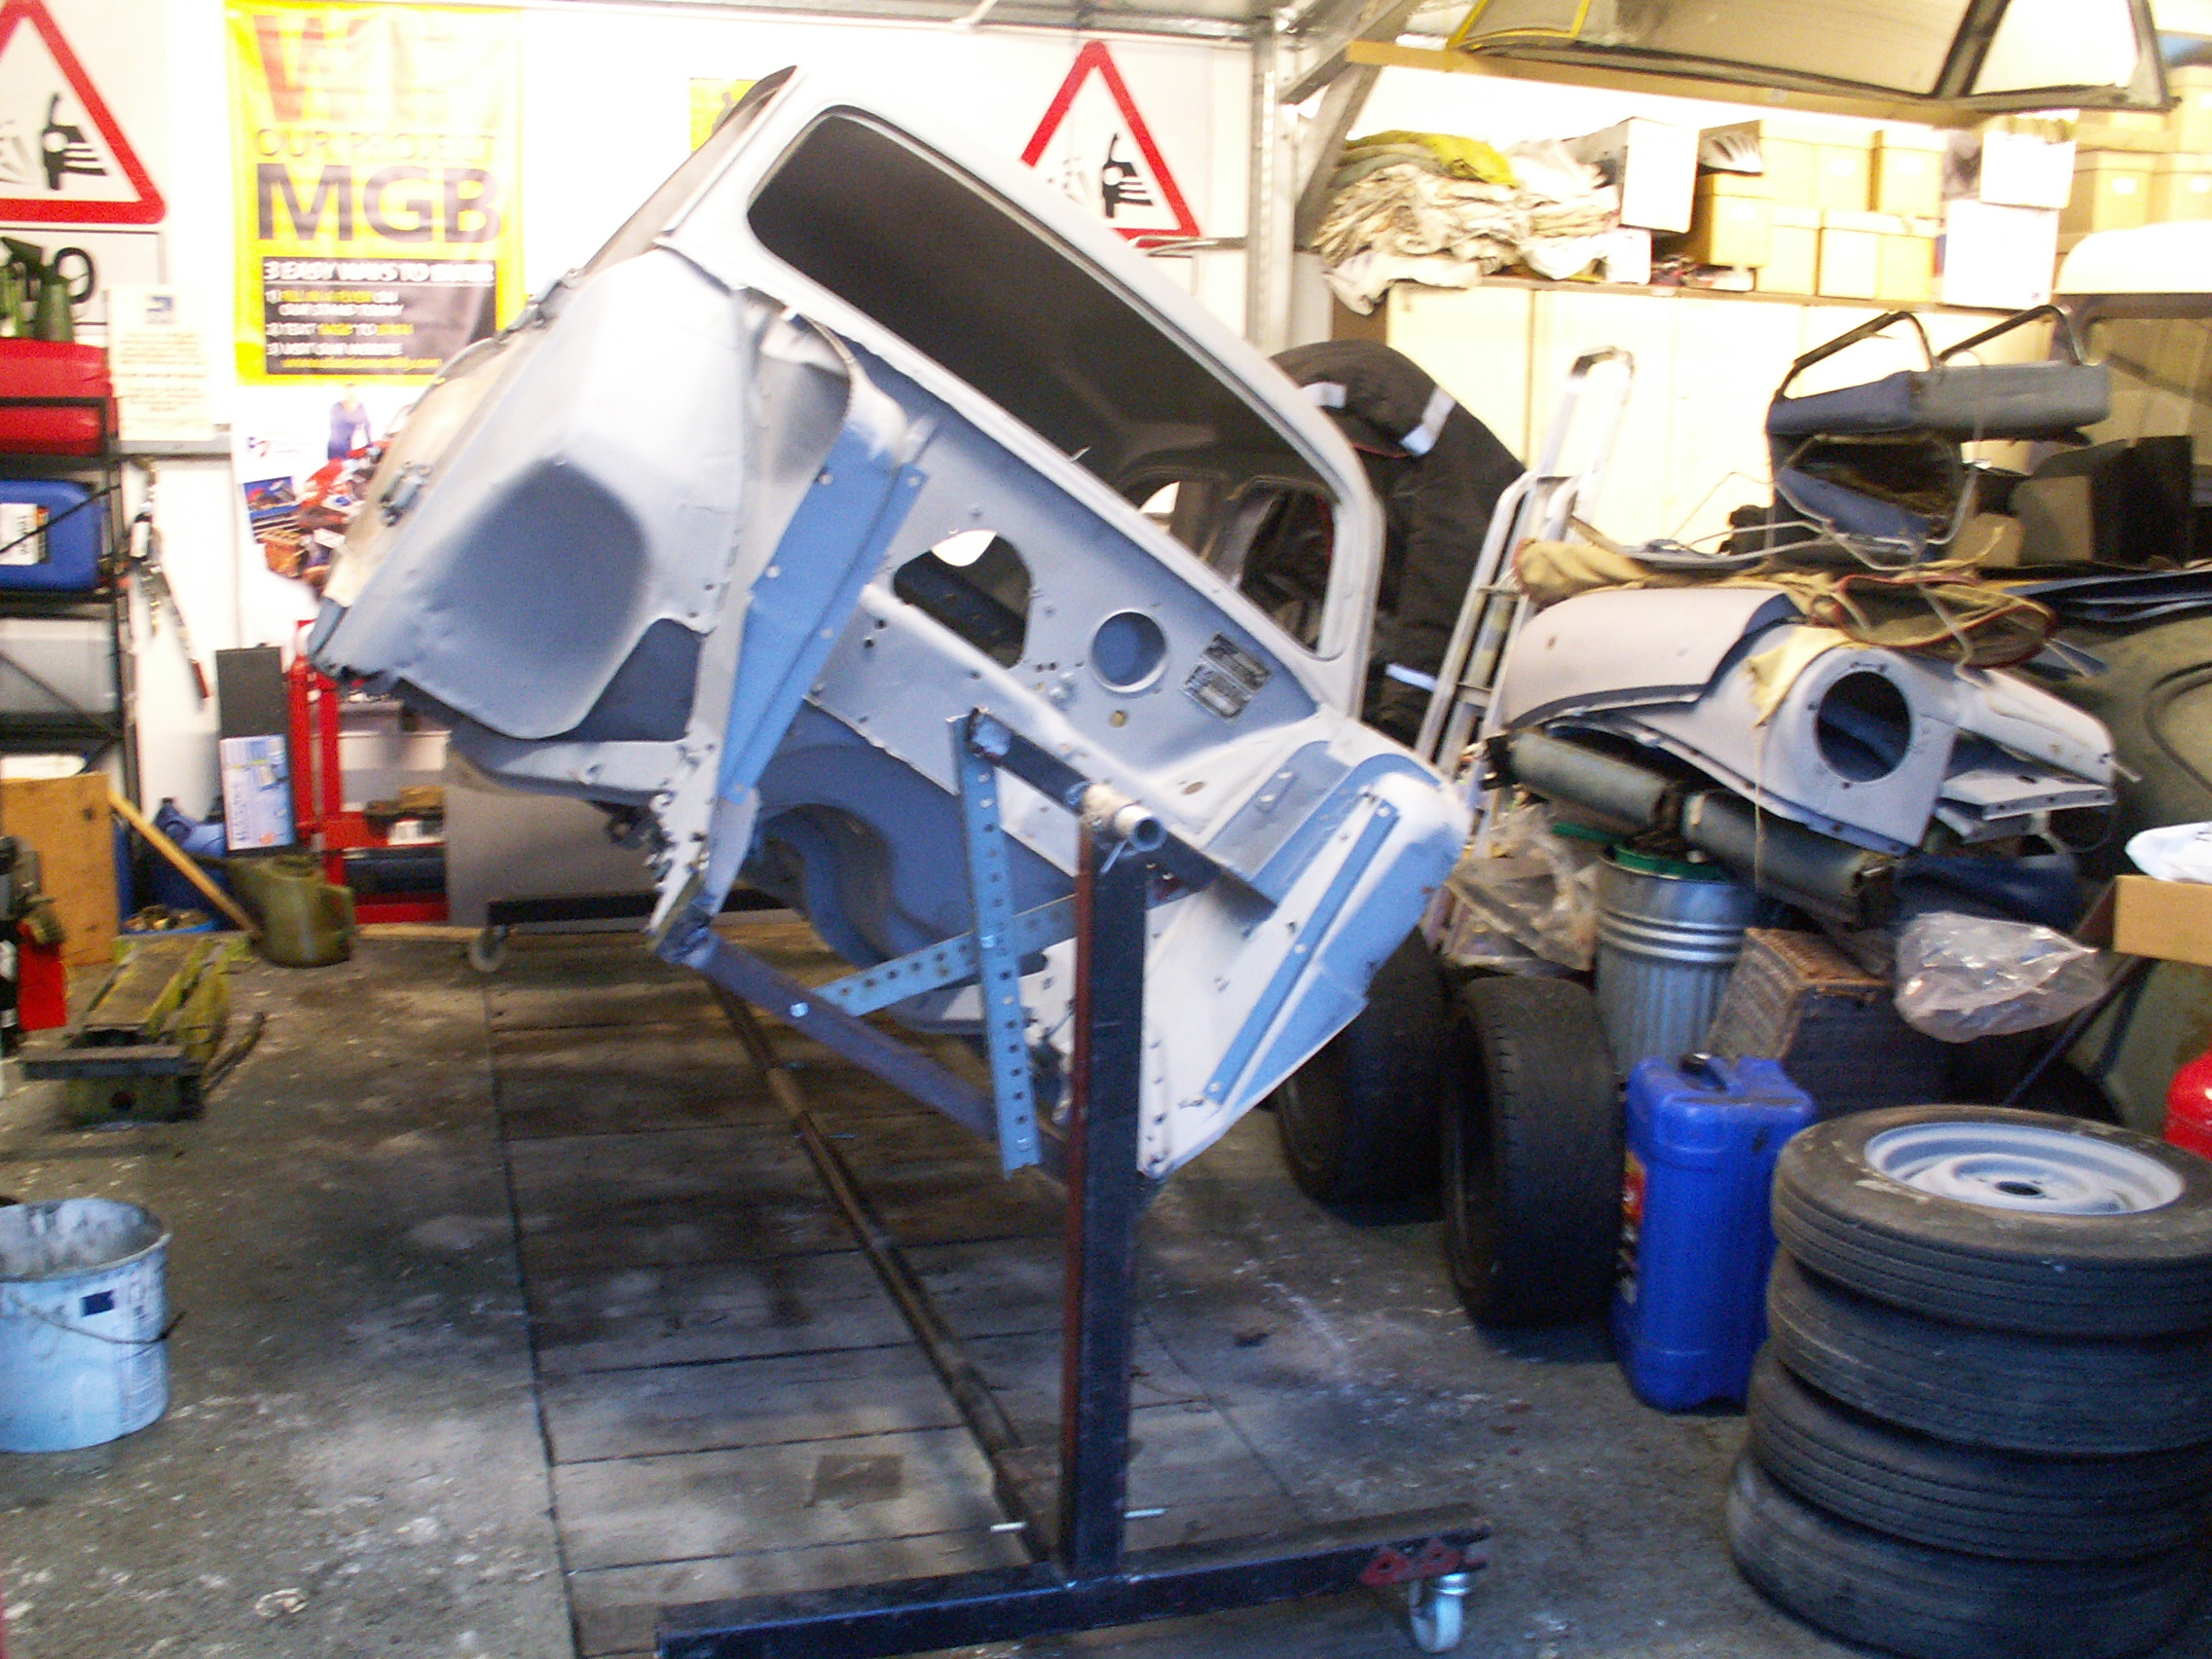
15.  At this point I discovered a miscalculation in that the roof hits the tie bar. so I had to demount the body and lift up the mounting bars on the legs.

KONICA MINOLTA DIGITAL CAMERA

All in all a really useful bit of kit, should have made one years ago. The castors make it easy to move the shell around. When not needed the centre bar is unbolted and the whole lot occupies only a little space in the corner of the garage.

The Lister Lives…….

I refitted the Lister to the saw bench today. Bolted it down, refitted the fan, flywheel and pulley. Then fabricated a longer exhaust pipe to  take the smoke well away. Next I made a shield between the engine and the bench to stop the saw dust being sucked into the fan, I simply used a sheet of old correx (thin plastic sheet) as a wall between the bench and engine.  I lubricated the main bearings on the saw bench – a good dose of EP80 gear box oil should keep it sweet for another 6 months or so. A quick tidy up of the saw blade and we were off – engine started first time – I had already purged/bled the diesel through to the injector.

Probably needs a silencer somewhere in the exhaust pipe but it now seems to run quite sweet and have plenty of power, its also a lot less smokey – no doubt due to good clean air flow and the lack of soot clogging everything up. I also think the compression is a bit higher – less gaskets used when reassembling the cylinder.

It had about an hours run and with the freshly sharpened blade happily went through the big lumps of wood I had ready – including a short length of telegraph pole.

KONICA MINOLTA DIGITAL CAMERA

Engine back in position with flywheel fitted.

KONICA MINOLTA DIGITAL CAMERA KONICA MINOLTA DIGITAL CAMERA

Correx shield fitted between saw bench and engine – should stop it getting choked up quite so quickly next time.

KONICA MINOLTA DIGITAL CAMERACover and exhaust pipe fitted.

KONICA MINOLTA DIGITAL CAMERA


All done, up and running – made short work of the pile of logs.


KONICA MINOLTA DIGITAL CAMERATop of exhaust pipe – you can see a mild smog around it – still needs a flap to stop the rain going down it. I left it with an upturned baked bean tin on this evening!


Lister rehab continues –

Having spent so much time over Xmas “playing” with the 3D printer it came to my attention that the woodshed is starting to look a bit bare – the cold spell last week “swallowed” a big chunk of the wood reserves! so thoughts turned to finishing the work on the Lister.

Yesterday afternoon I set about cleaning up all the metal work and fuel tank. Usual procedure – aggressive wire wheel on the mini angle grinder ( goggle people – those bits of wire really do dig in!) to clean off all the old paint and rust. Then a quick coat of what ever I have lying around in either a tin or rattle can (aerosol paint tin to the uninitiated). All was well until I got to the tank, 3 rust holes in the base of it – I assume its where the diesel floats on top of any water in the system, so the water rots out the bottom of the tank. Anyway, no problem I though – I have a spare engine somewhere, I’ll pinch the tank off of that, it’s been dry stored for years it’ll be OK. Well 15 minutes later after I had found the engine, moved it to where I could get at the tank and the removed the tank I found it had no bottom at all! – Back to square one. The solution was to clean up the base really well removing all traces of rust and then tin and solder the holes. Years ago I got a car body soldering kit for lead loading bodywork. It consists of a really aggressive flux, some tinning butter and some thick sticks of solder with a wide paste temperature range. Worked like a dream, I coated the whole bottom section.

Next repair job was on the ducting plates that direct the airflow around the cylinder, When I removed them I found four of the fixing tabs had snapped off. 5 mins with the gullotine and spot welder saw new tags fitted. Everything was then sprayed up and left to dry.

Next up setting the cylinder head clearance – I had already cleaned the head, removed the valves and reground the seats etc. They really were in quite good condition so only a light grind was needed.  To measure the clearance between the head and the piston you lay a thin piece of lead on top of the piston, fit the head, turn the crank to push the piston over top dead centre, then remove the head and measure the thickness of the lead. Not having a suitable piece of lead I used four bits of multicore solder twisted together to make a bit of lead “rope” – worked really well. The clearance was 1.06mm. so I ended up removing the copper gasket at the base of the cylinder and double checking that there were no burrs anywhere. When rechecked it was 0.8mm, just in tolerance.

KONICA MINOLTA DIGITAL CAMERA

“Squashed” solder rope!

KONICA MINOLTA DIGITAL CAMERATank cleaned, soldered and painted.

KONICA MINOLTA DIGITAL CAMERA

Duct panel with new fixing tags spotwelded on.

KONICA MINOLTA DIGITAL CAMERA

Tank looking like new – paint was still soft so the diesel took some of it off again!

KONICA MINOLTA DIGITAL CAMERA

Fan cover ready to go back on.

KONICA MINOLTA DIGITAL CAMERA

Cylinder and duct covers fitted.

KONICA MINOLTA DIGITAL CAMERA

Head, injector & rockers fitted.

KONICA MINOLTA DIGITAL CAMERA

Nearly there, rocker cover, fan cowl and manifold fitted.

KONICA MINOLTA DIGITAL CAMERA

Ready for the flywheel, airfilter and silencer!

More soon!

Lister LD1 Diesel

KONICA MINOLTA DIGITAL CAMERA Me thinks it needs a decoke!!!

This is a pic of my Lister LD1 Diesel engine. It normally lives outside driving my sawbench. It was fitted – if thats the right word – about 20 years ago and has lived outside eversince. It’s been regularly serviced – uh hum!  – ok. then I’ve kept topping up the oil and and diesel as required.  Anyway, the other weekend I started it up as usual and started to cut up some wood, after about 15 minutes I thought it doesn’t sound quite right and it smells a bit hot. So wisely I decided to stop it and have a look. Well it stopped quicker than usual and then smoke started appearing all around the engine, it was very, very hot.  Closer examination revealed that all of the cooling ducts were virtually blocked solid with oil and sawdust – shame on me!

So a strip down and clean up ensued.

KONICA MINOLTA DIGITAL CAMERA

Pic showing that even the cooling fins on the head were clogged up.

KONICA MINOLTA DIGITAL CAMERA KONICA MINOLTA DIGITAL CAMERA

Right hand pic shows cylinder cooling fins totally clogged, left hand shows the exit side – no air coming through so lovely and clean!

KONICA MINOLTA DIGITAL CAMERA


This is the flywheel / fan. Its not too bad but still needs a good clean.

KONICA MINOLTA DIGITAL CAMERAFan ducting – again covered in soot, oil and sawdust.

Now I just need to strip it down, clean it up and reassemble.


More Later……..