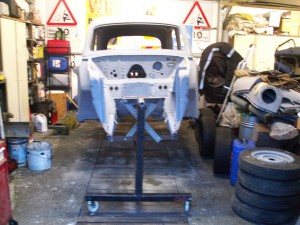
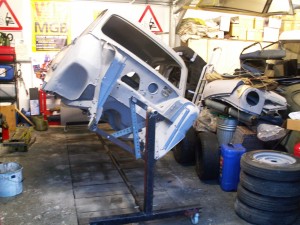
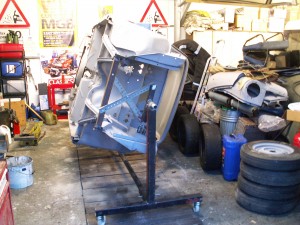
Not literally… this is how I made a rotisserie to mount a car body so that it is easily rotated to any angle to make it easy to access the underside primarily for cleaning, repairing rust and painting without getting covered in muck.
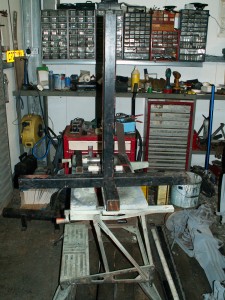
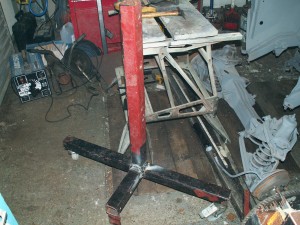
1. Find some scrap 2″ square box section to make the end supports. Weld together as shown.
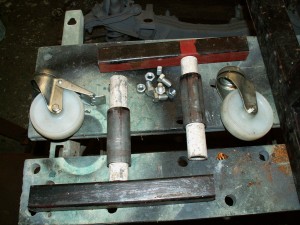
2. Fabricate the swivel/pivots bits. A short square section is where the shell will bolt onto the spit. A couple of offcuts of old galvanised iron pipe – approx 1 1/4″ diameter was used. I found some tube that they just about fitted in. A few minutes on the lathe to bore out the outer tubes to get a good fit.
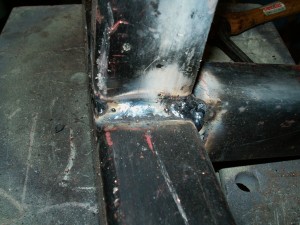
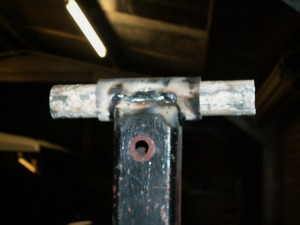
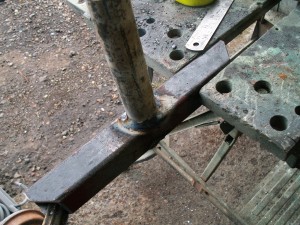
3. Close up of the welds. It was all arc welded in my best joined up welding – it will carry quite a lot of weight so need to make sure its not going to snap!
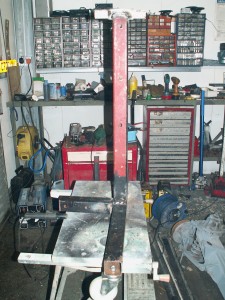
4. Leg 1 complete. The castors are heavy duty industrial ones with hard nylon wheels. I fitted one braked caster to each end.
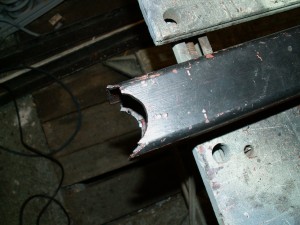
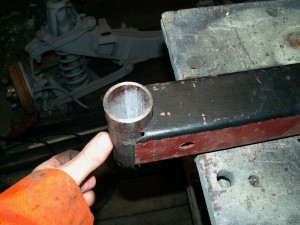
5. Next is the inserts to the legs, this was some box section that slide quite nicely into the leg section. I then profiled the top to accept the pivot tubes.
6. Check the fit before welding!
7. Leg complete with insert. The insert can be raised or lowed to get the shell the right height.
8. Close up of the pivot.
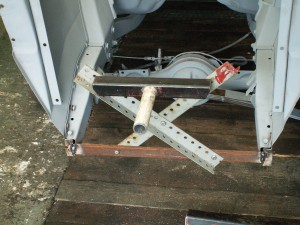
9. Spindle mounted to a body shell – this shell is a 1955 Standard Eight I am supposed to be restoring.
10. Slightly in the wrong order but this pic shows the spindle welded onto the support bar.
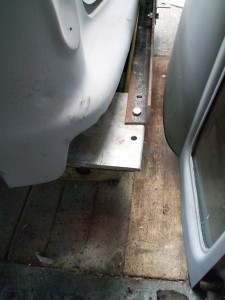
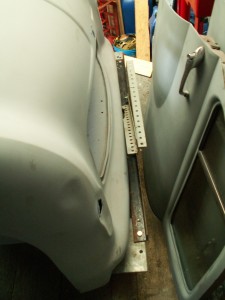
11. A couple of brackets and a bit of angle were used to support the rear of the shell.
12. Dexion was used as an easily adjustable “interface” to the spit mount. Some trial and error is needed to get the mounting height correct so that the centre of gravity is in the middle – getting it right makes it easier to rotate the shell.
13. Finshed Spit with shell mounted on it. There is a 2 1/2″round tube between the bottoms of the two support legs. All bolted together with M12 bolts. Just a coat of Red paint need to make it look “professional”.
14. It works – put the shell at any angle!
15. At this point I discovered a miscalculation in that the roof hits the tie bar. so I had to demount the body and lift up the mounting bars on the legs.
All in all a really useful bit of kit, should have made one years ago. The castors make it easy to move the shell around. When not needed the centre bar is unbolted and the whole lot occupies only a little space in the corner of the garage.

