
Ok so I’m getting carried away here now but as I’ve got so far might as well get it down to pretty much a bare shell, will make it easier to cut out the rotten bits and weld it up again – tonights stripping removed the handbrake and gear lever, rear bumper, rear loom, tail gate catch, spare wheel carrier and finally the rear beam.
1. First remove all the plastic blanking plugs – two big black ones over the diesel tank and four smaller white ones covering the rear beam mounting bolts.

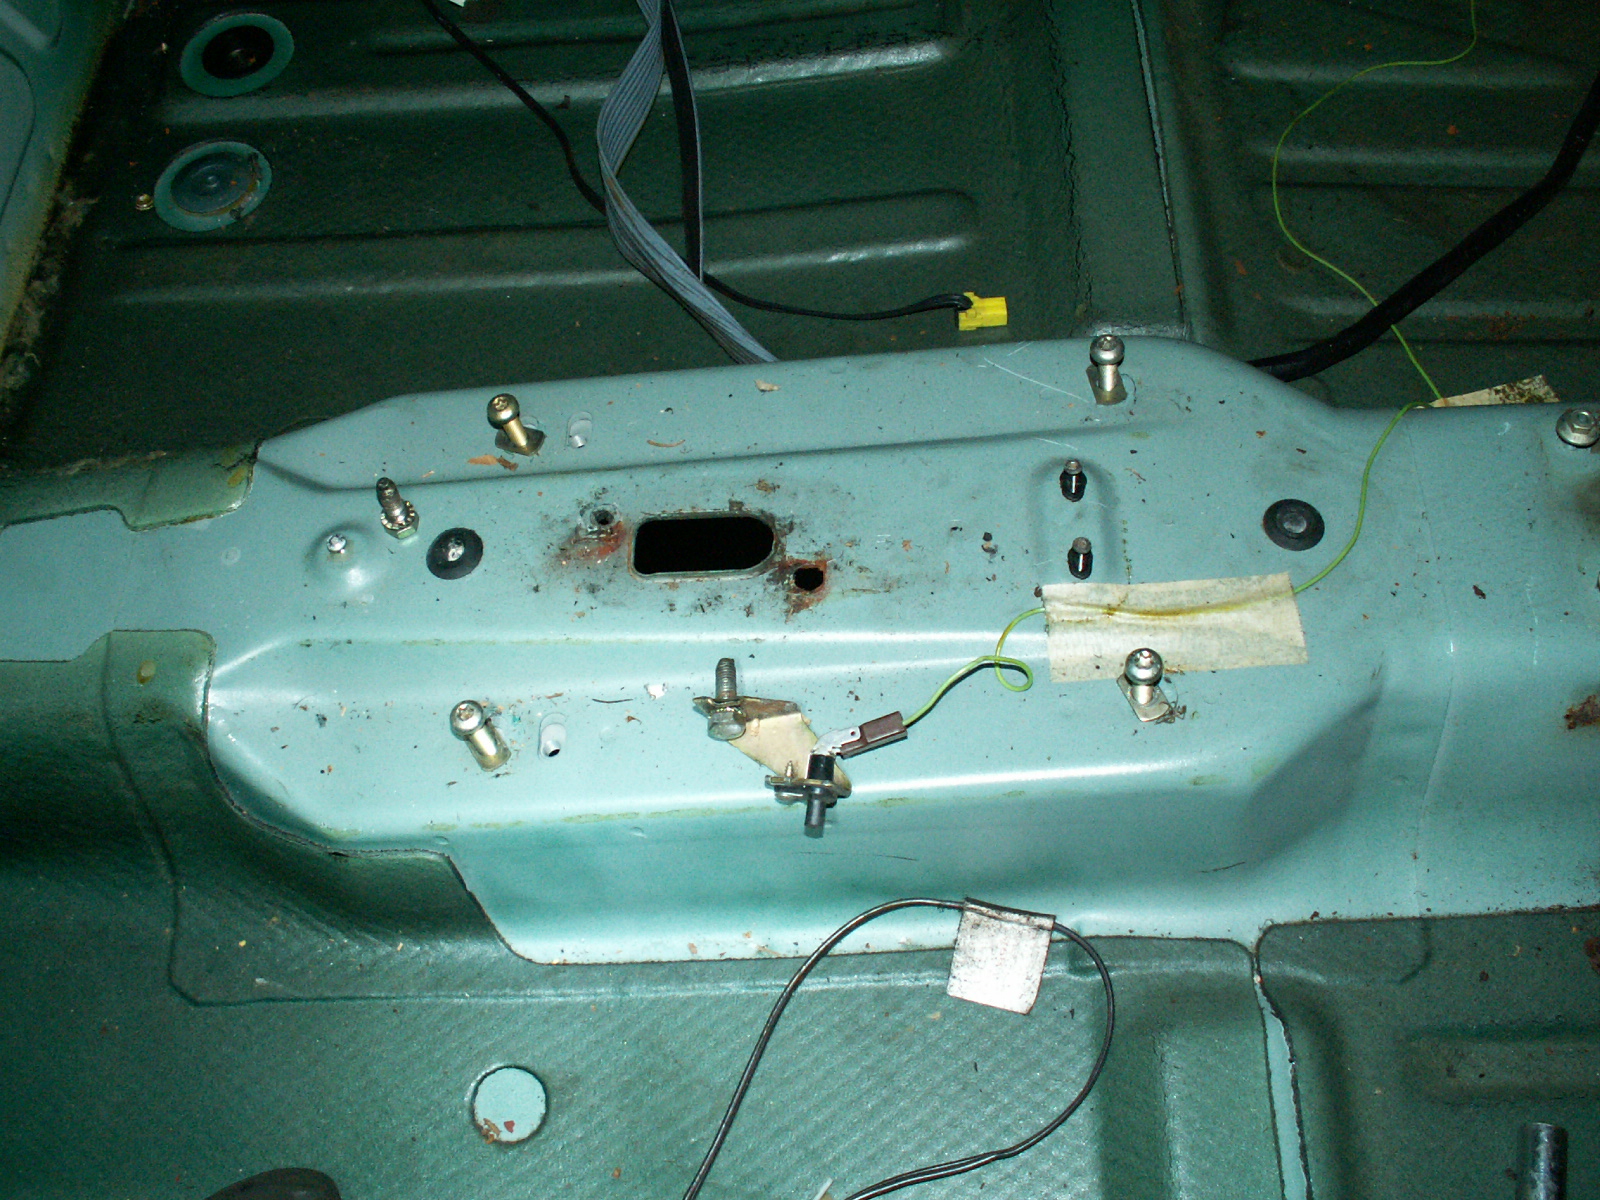
2. On petrol AX’s one hole has the fuel pump and the other the fuel gauge sender unit. On the diesel the pump is on the engine so there is nothing under one of the blanking plugs. This picture shows the flow and return pipes and the loom connecting to the sender unit.
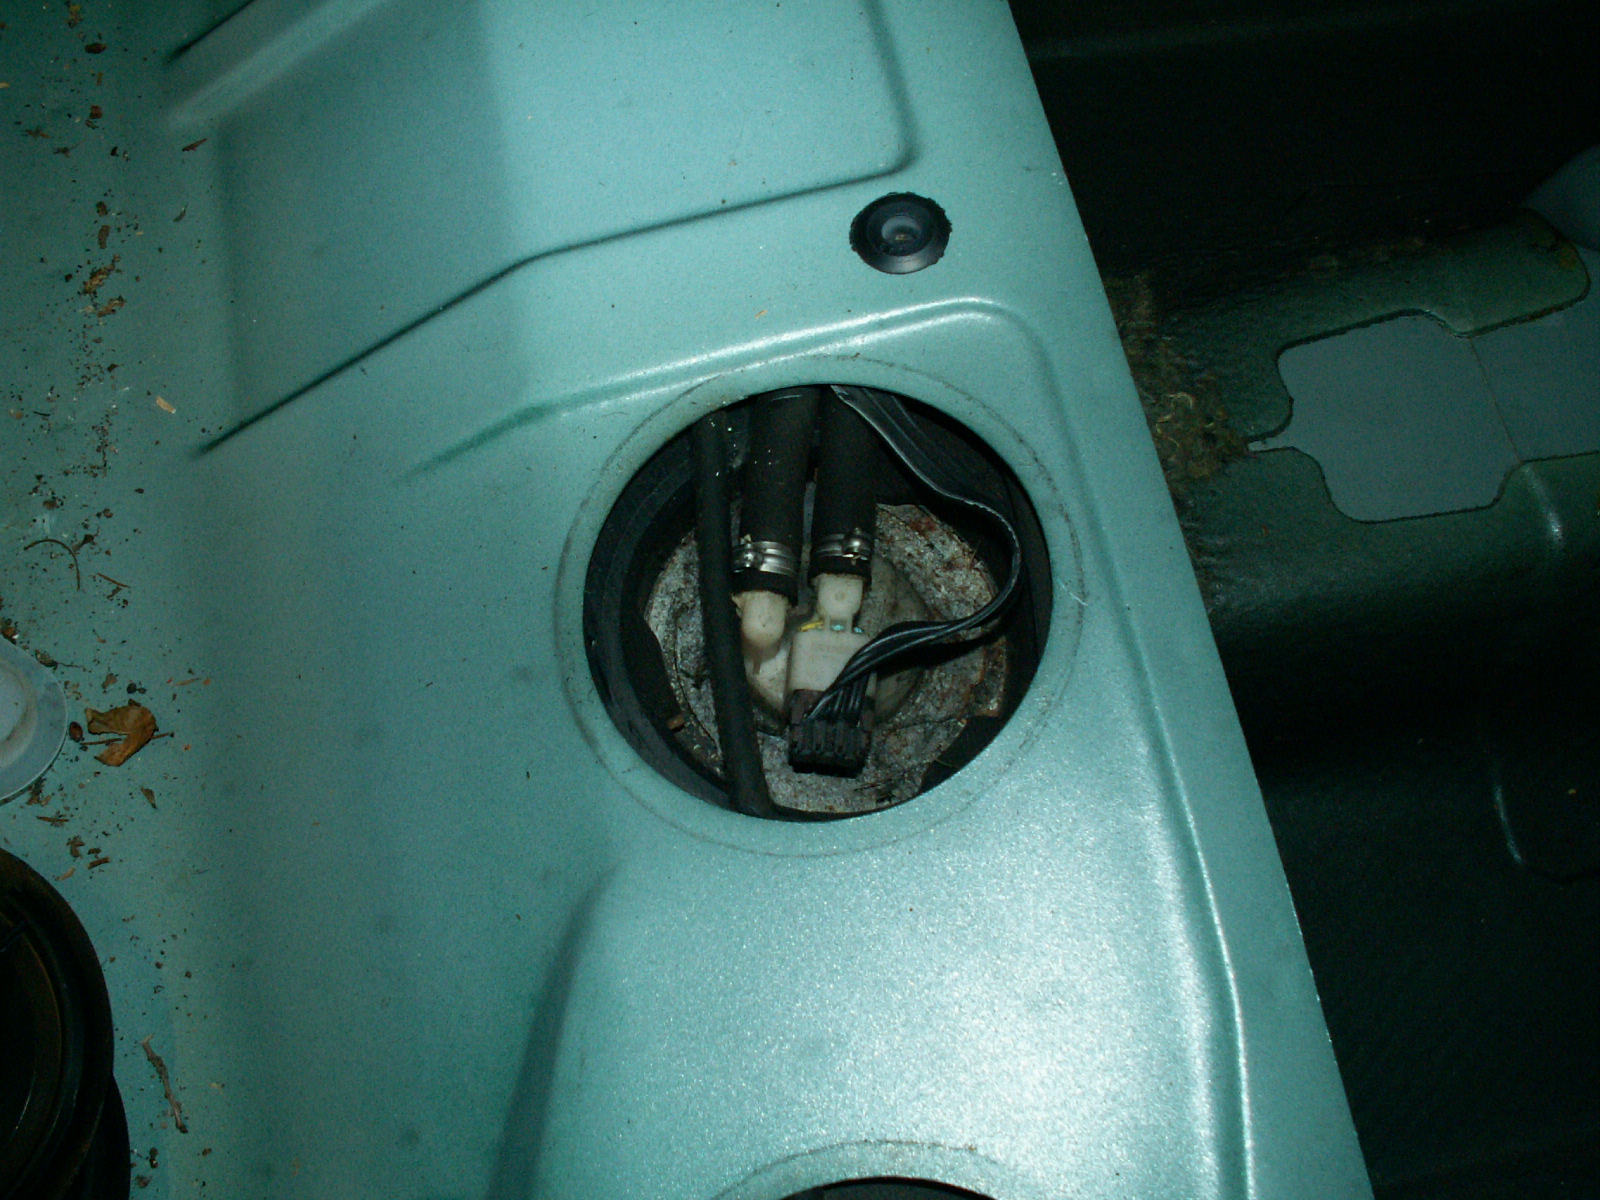
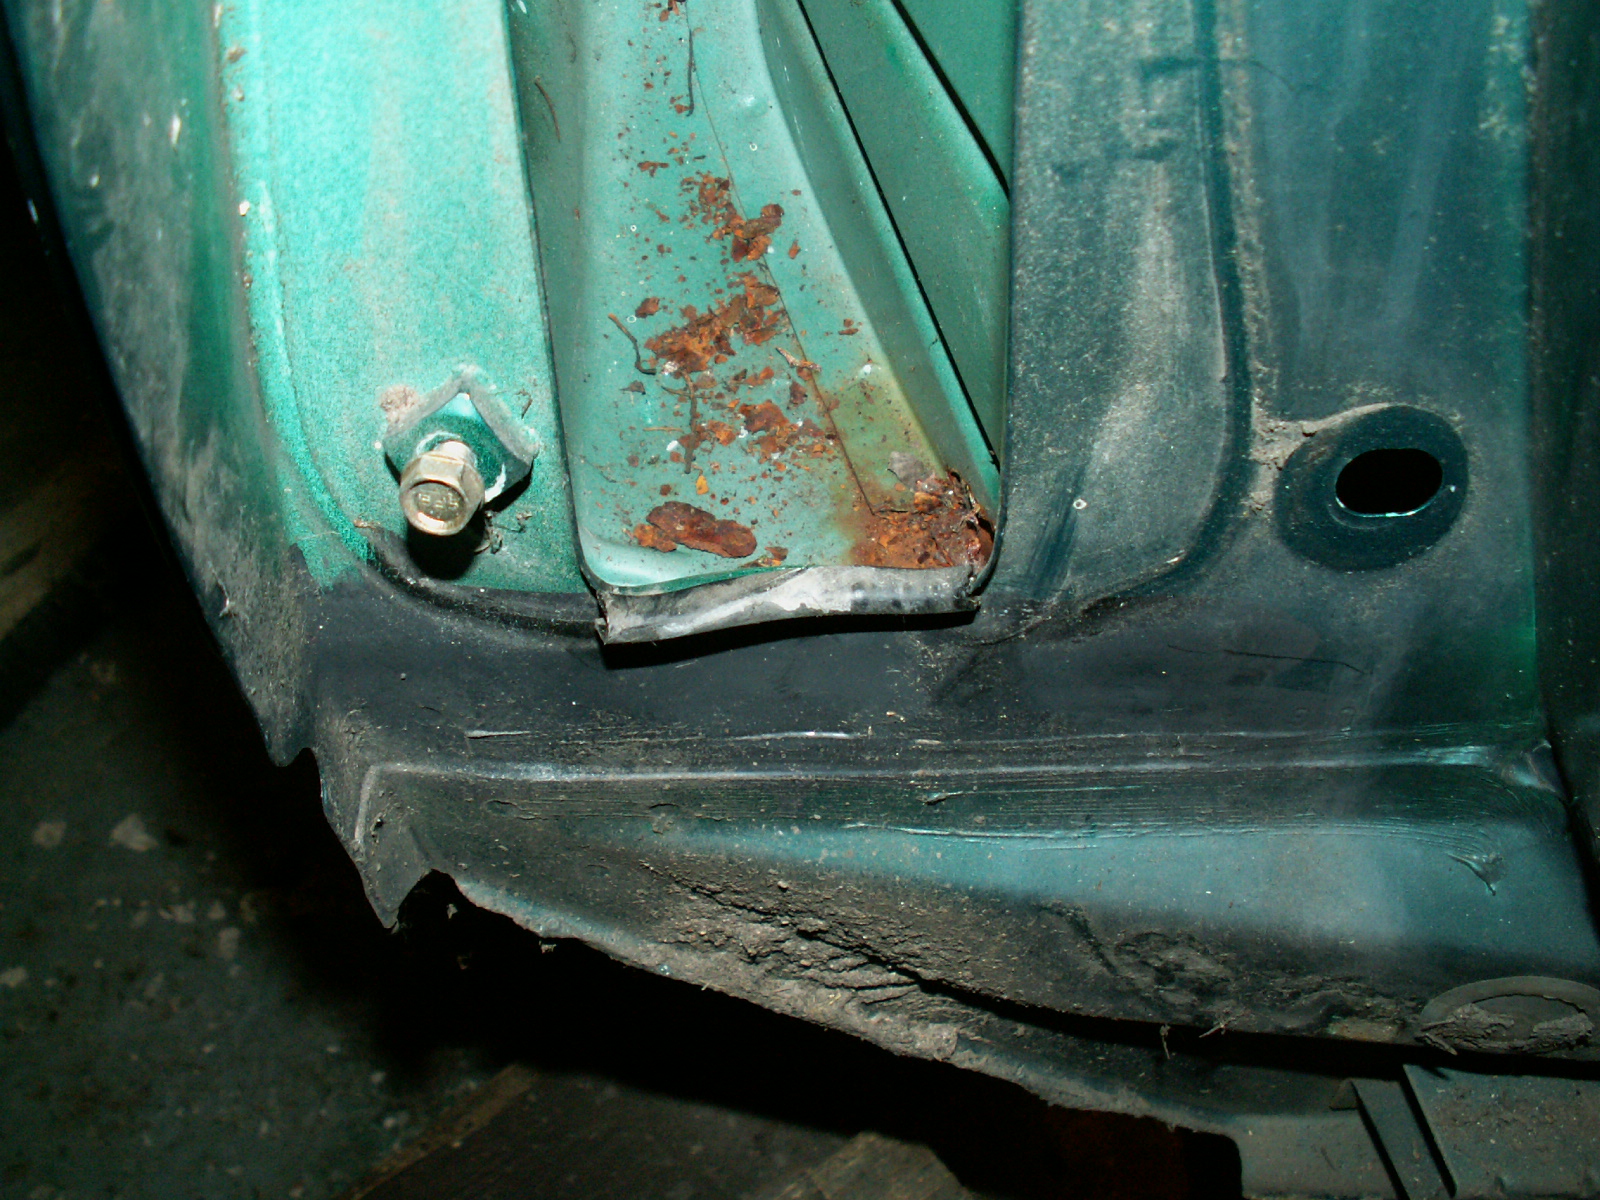
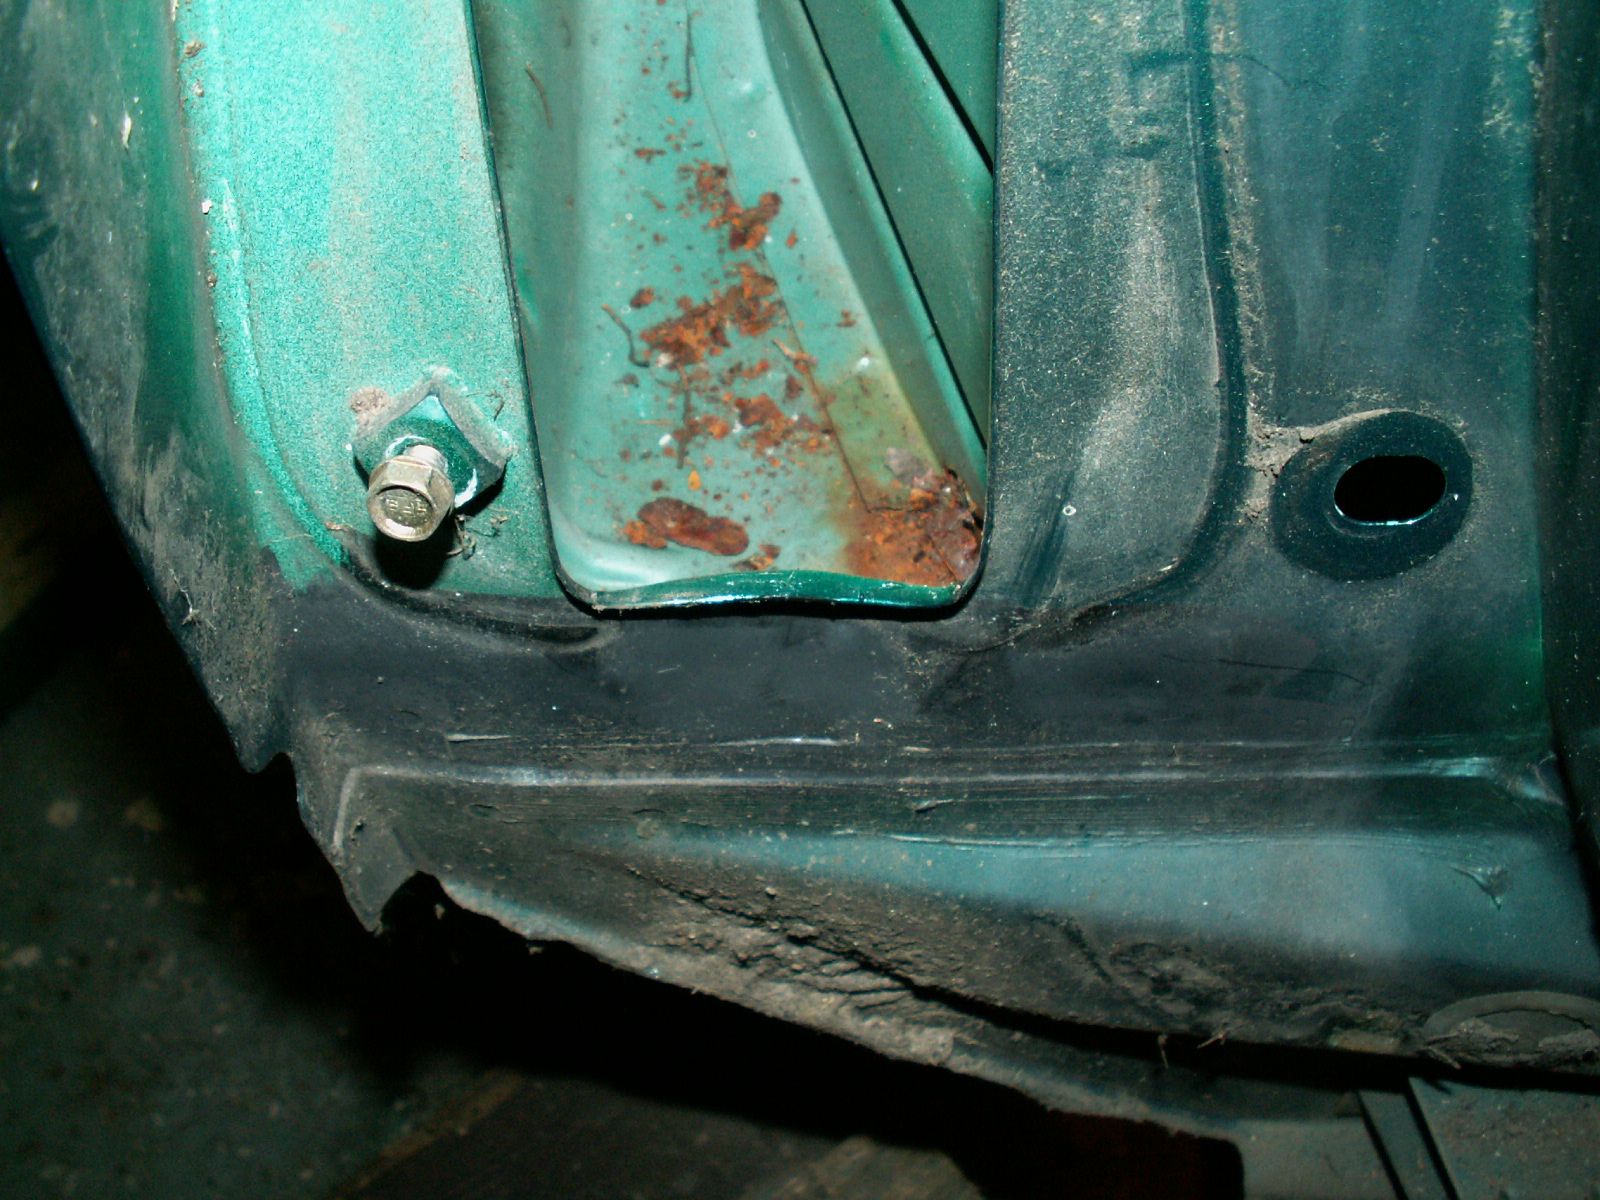
3. This shows the passenger side front rearbeam mounting hole, also the wiring loom that runs to the rear of the car removed and also the fuel pipes which will have to be removed to allow the rear of the sill to be welded.
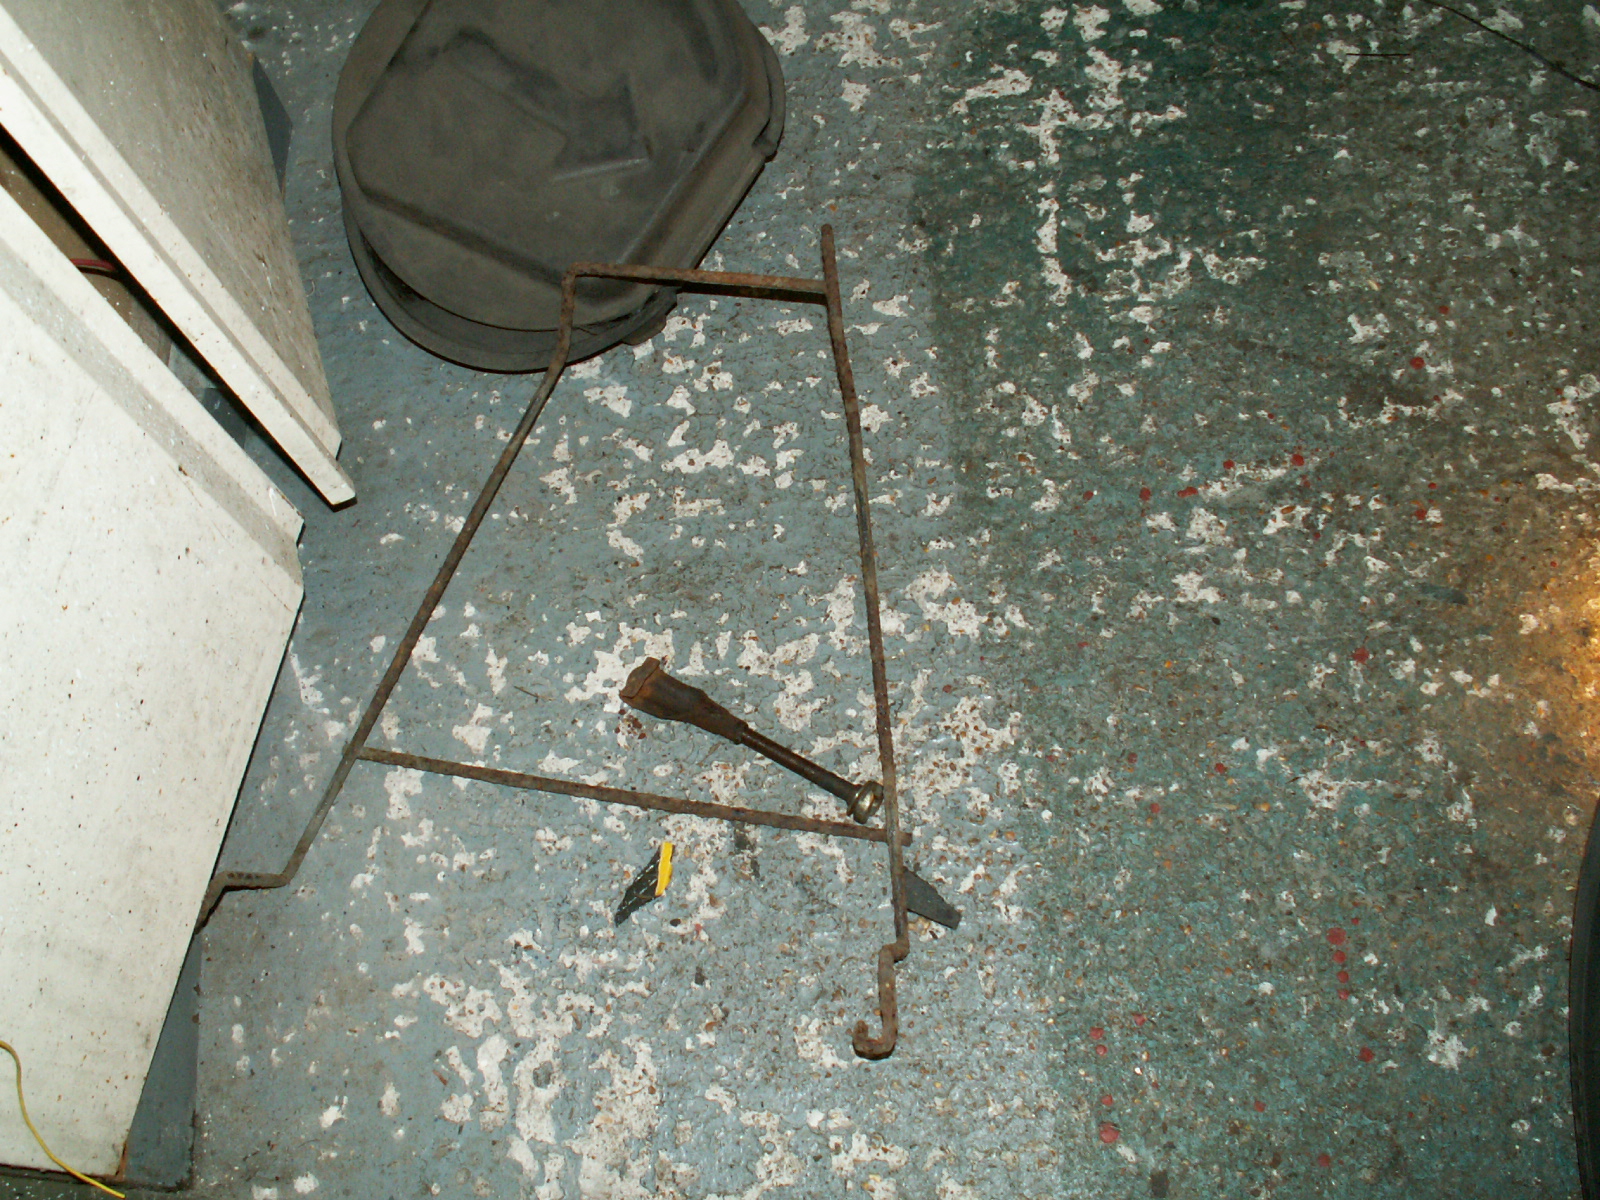
4. This is the spare wheel carrier removed, simply completely undo the retaining bolt and then unhook the carrier.
5. Most of the bolts at the rear end were pretty corroded so a quick squirt of penetrating oil on all the bolts and also the brake unions before proceeding further should make things easier.
6. More squirts! (and an errant rubber exhaust hanger)
7. Whilst waiting for thepenetrating oil to do its magic remove the gear lever.
8. Inside the car undo the four M10 nuts around the gear lever.
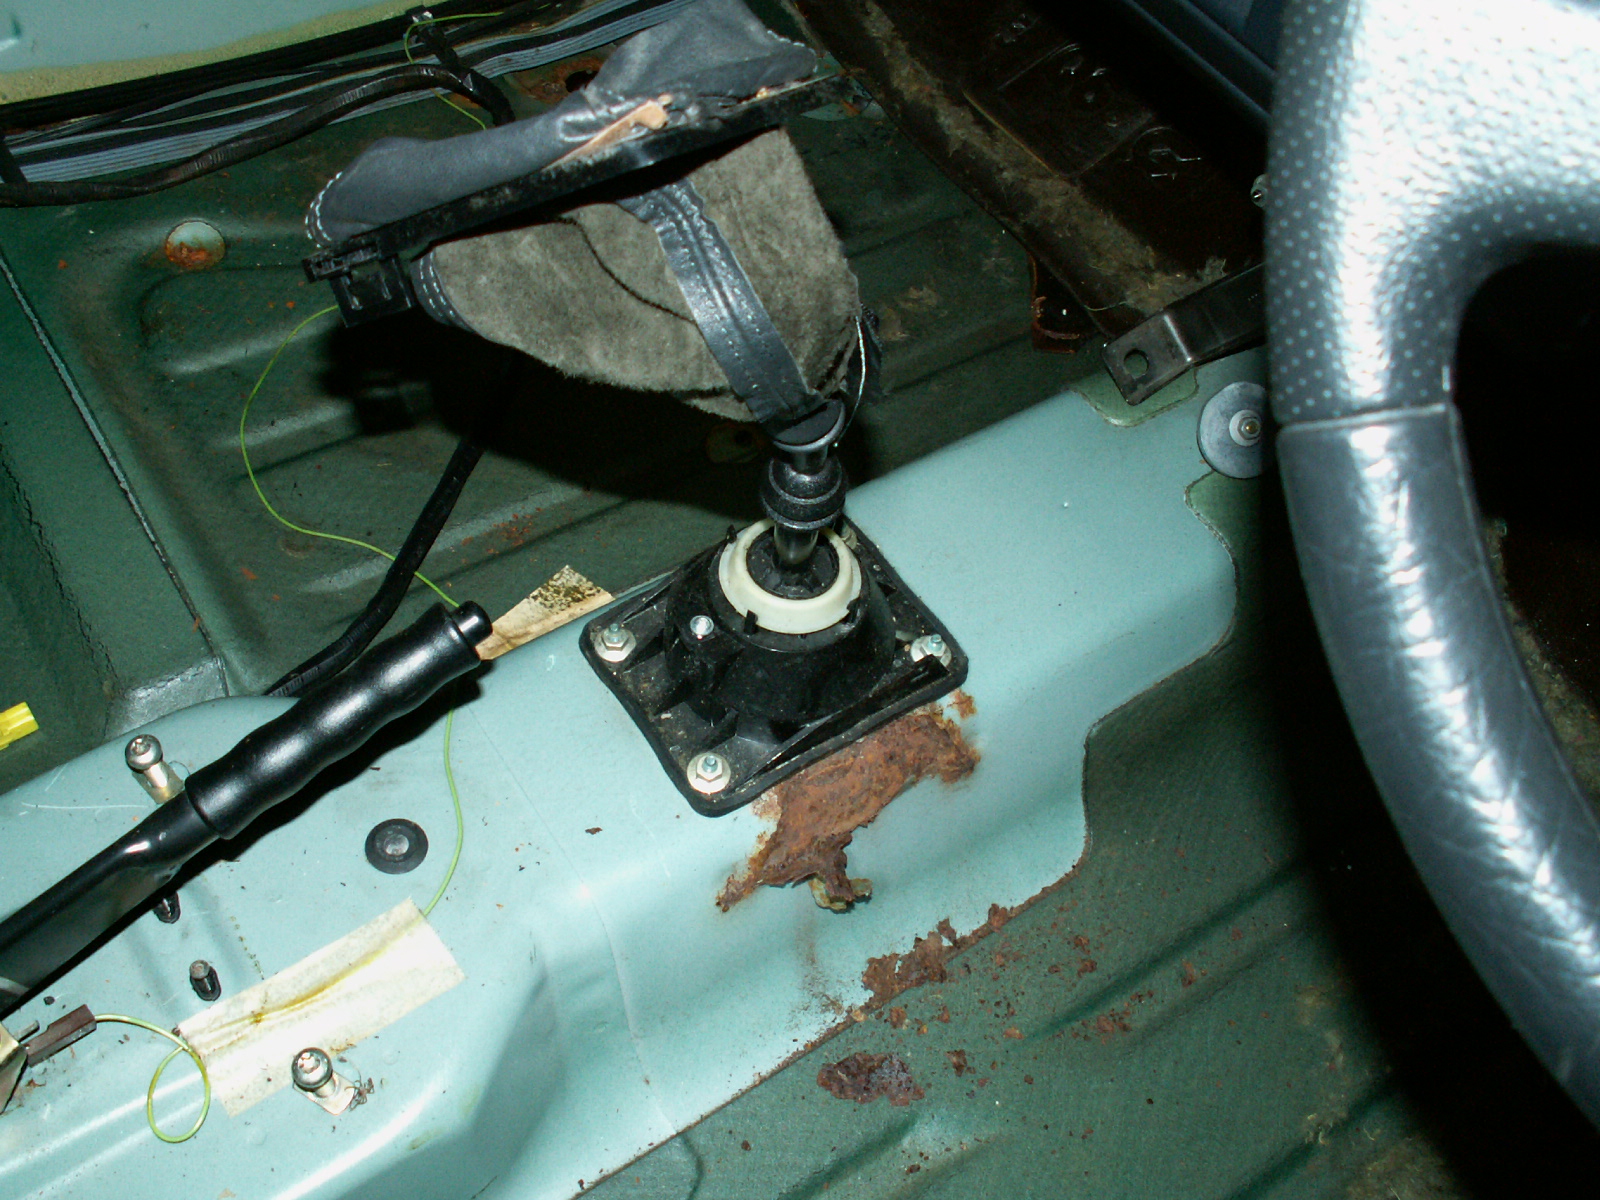
9. Lever removed and also large patch of rust.

10. Next the handbrake, the cables need to be unhooked. Usually you slacken off the adjusters at the back of the brake drums, in this case being lazy I unbolted the lever to enable it to be moved back enough to be able to unhook the cables.

11. From above undo the two 13mm bolts.

12. And lift out the lever after disconnecting the cables from below.
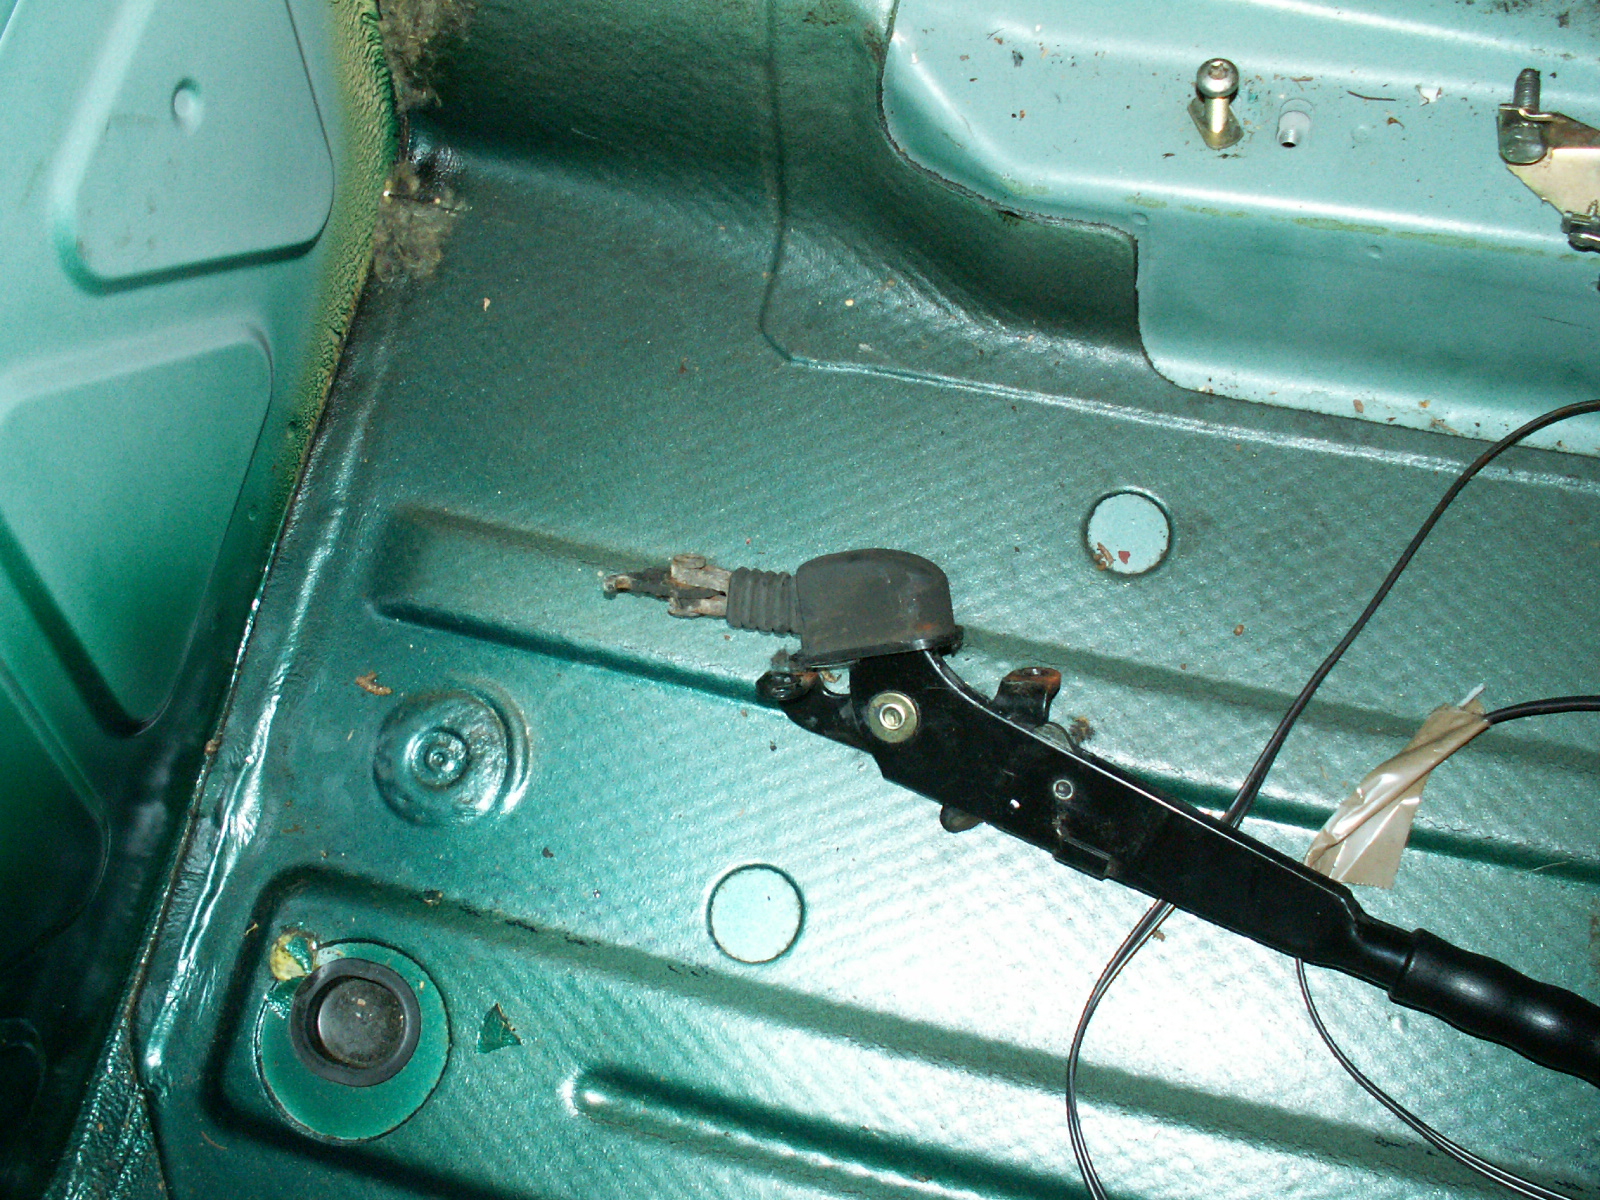
13. Handbrake removed. Now go underneath and unclip the handbrake cables all the way back to the rear brake drums.
14. Now onto the rear bumper, first remove the two 10mm nuts underneath.
15. On top lift out the three black plastic “rivets”
16. Picture shows centre and left hand plastic fixings.
17. Finally at either end of the bumper underneath releasethe clips, the bumper “cover” will then simply slide back.

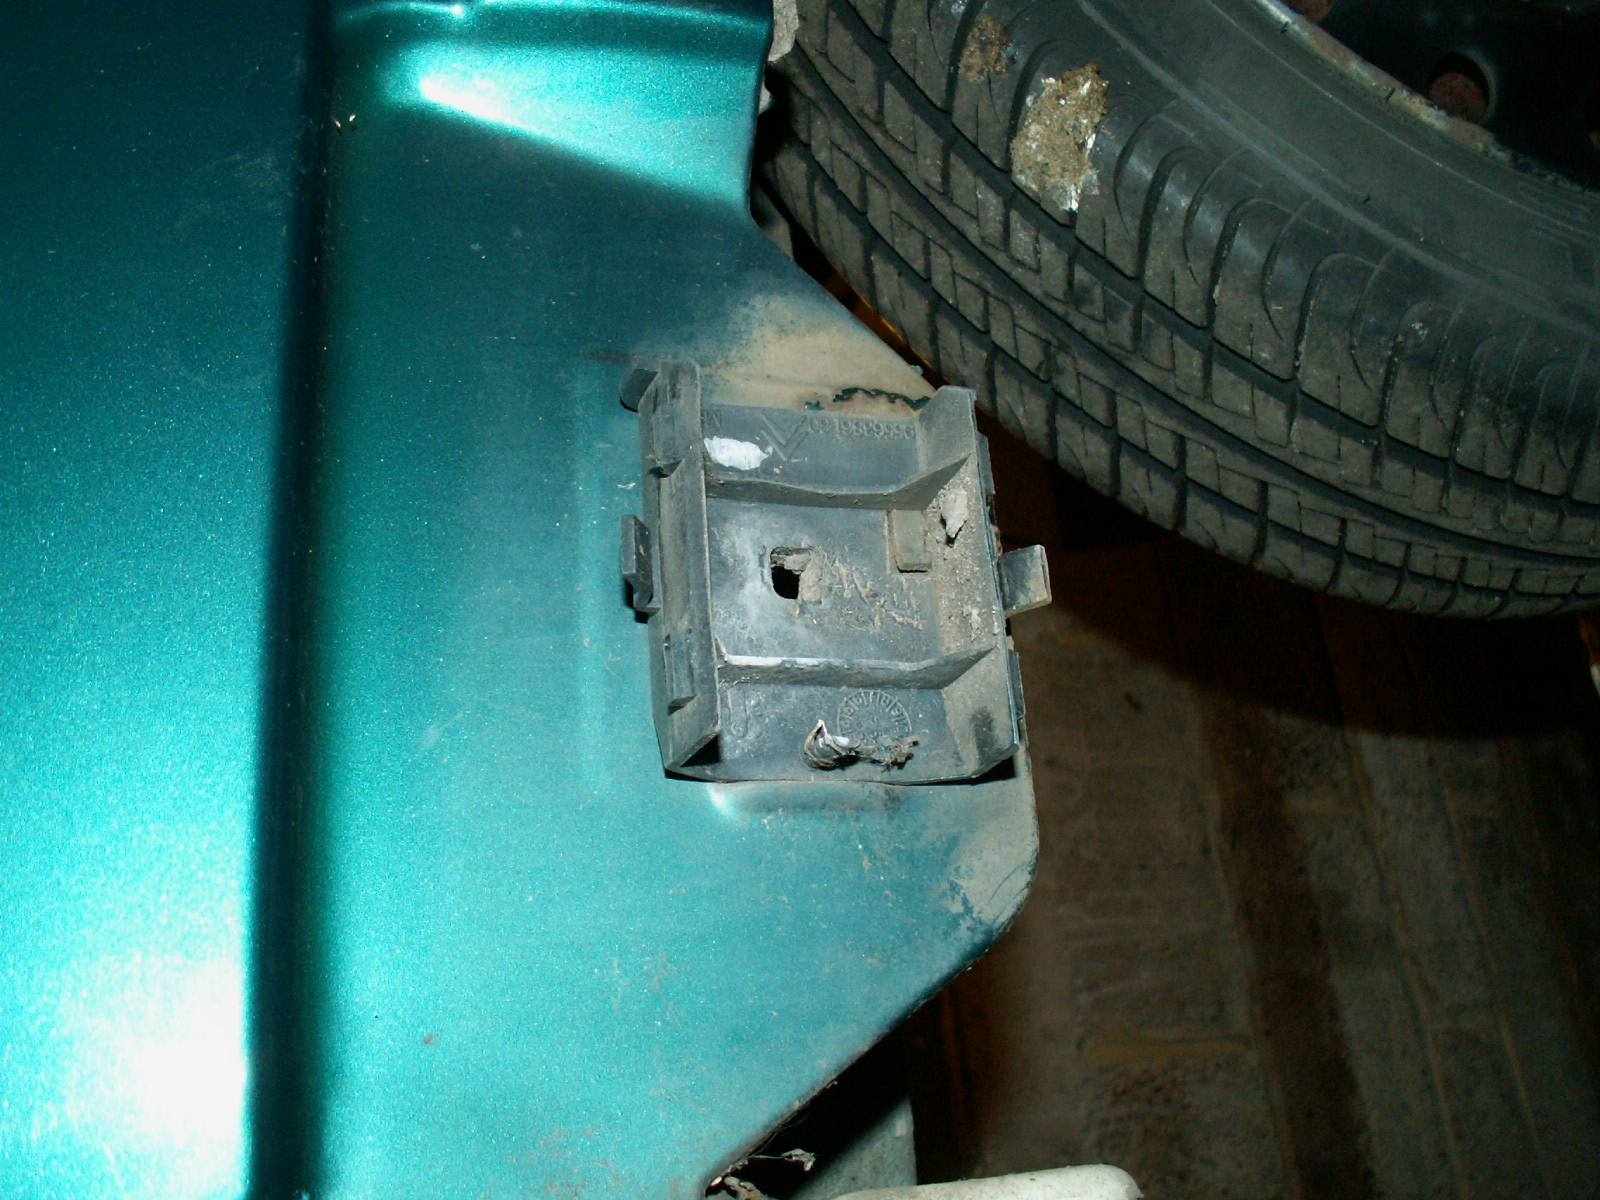
18. This shows the plastic bracket on the shell.
19. This is the bumper itself, held on by two 10mm nuts. Undo the nuts and remove.
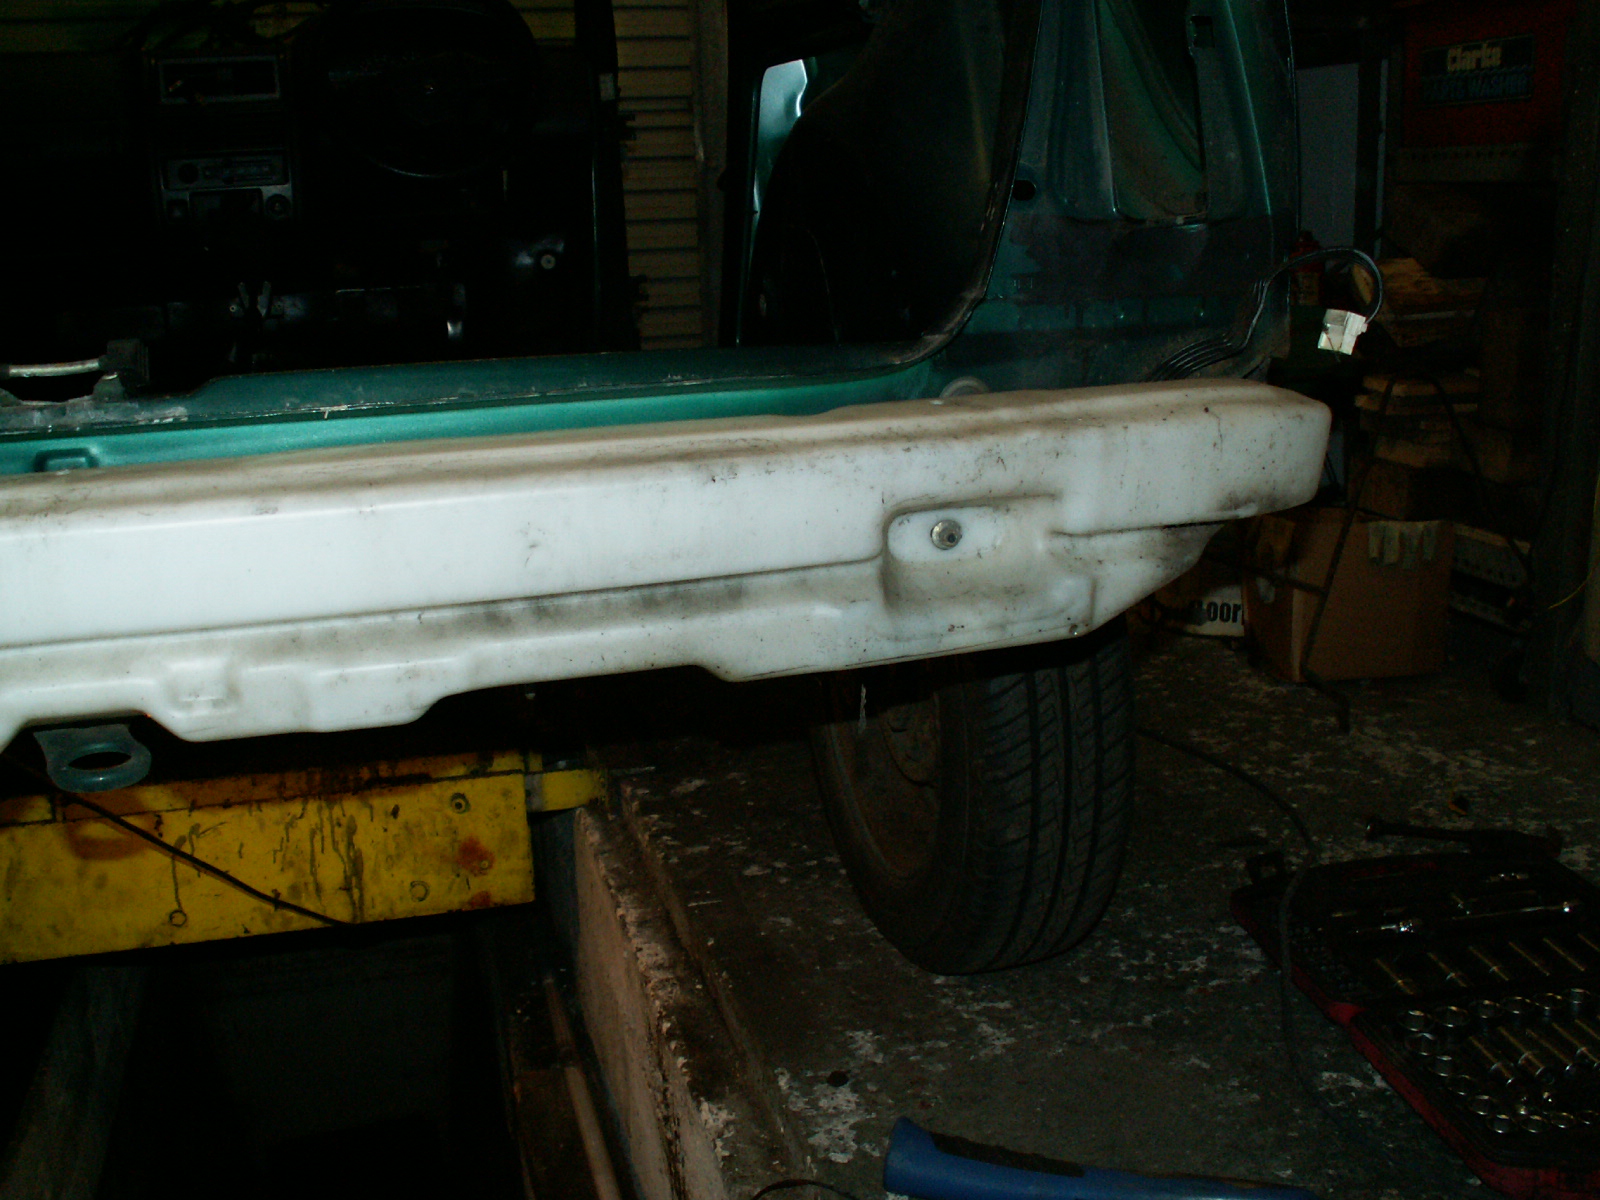
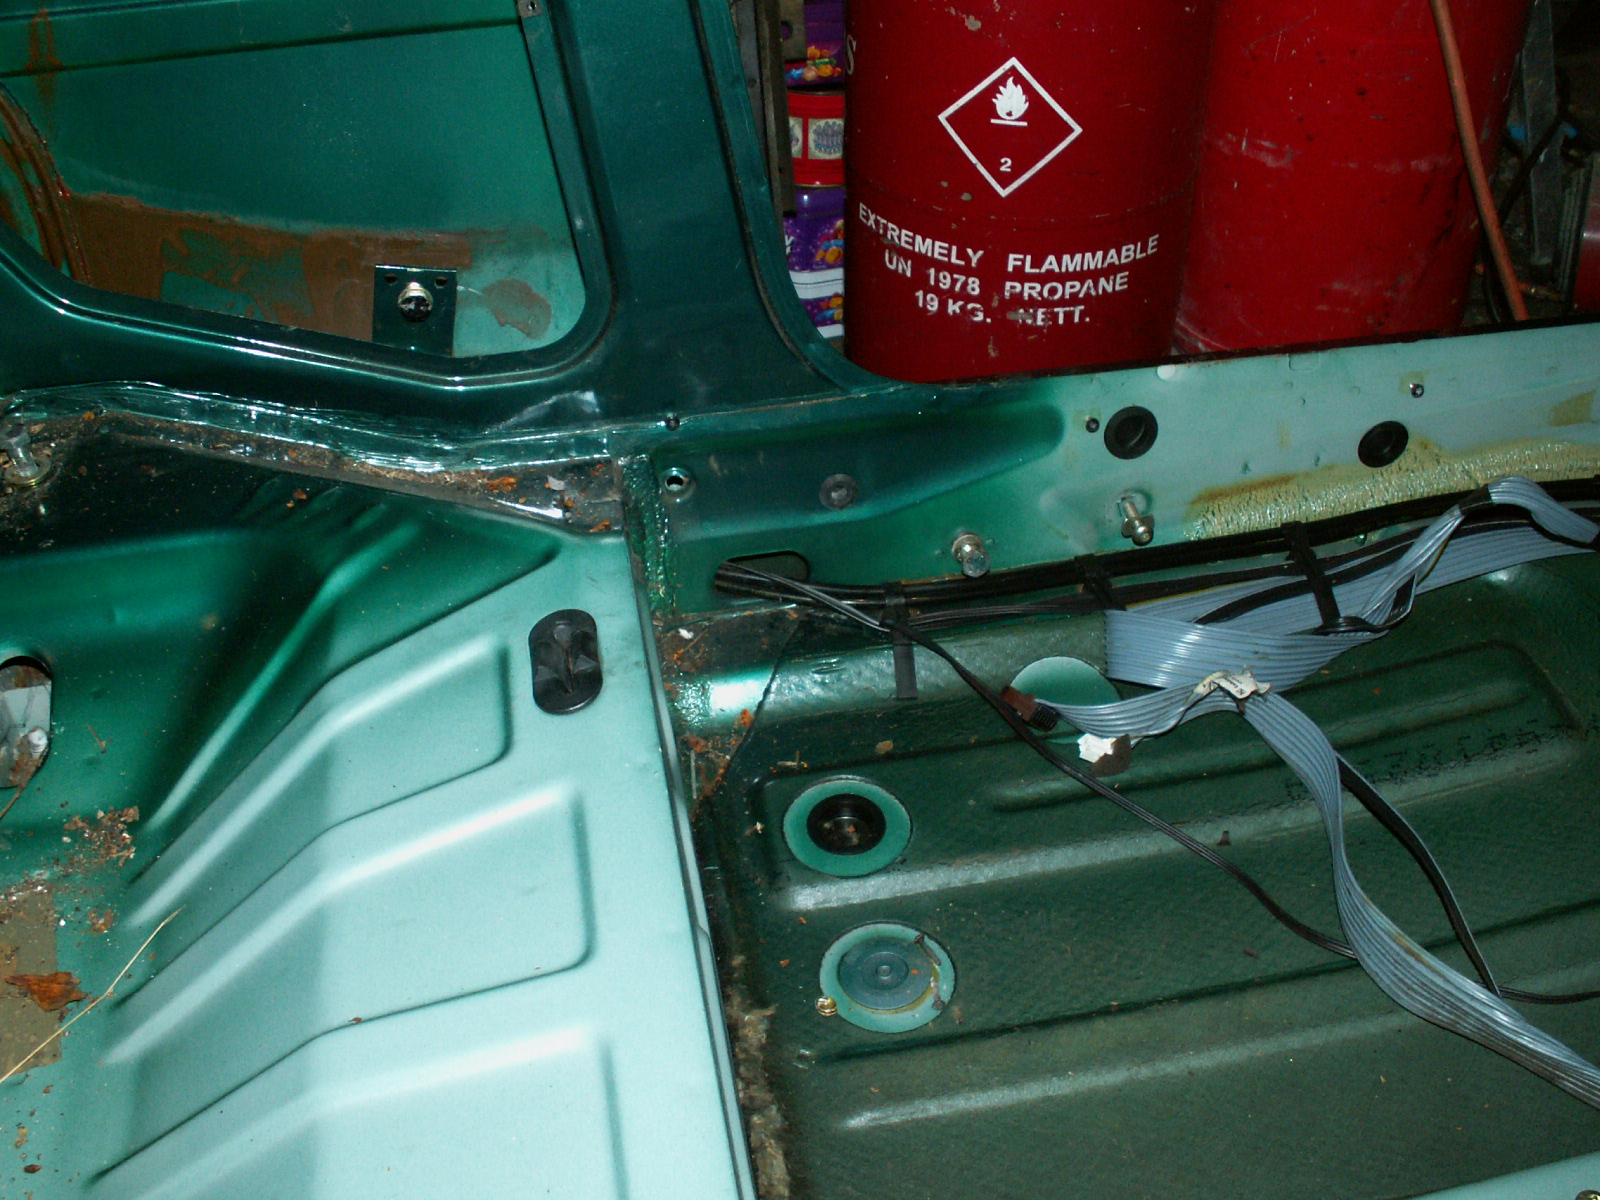
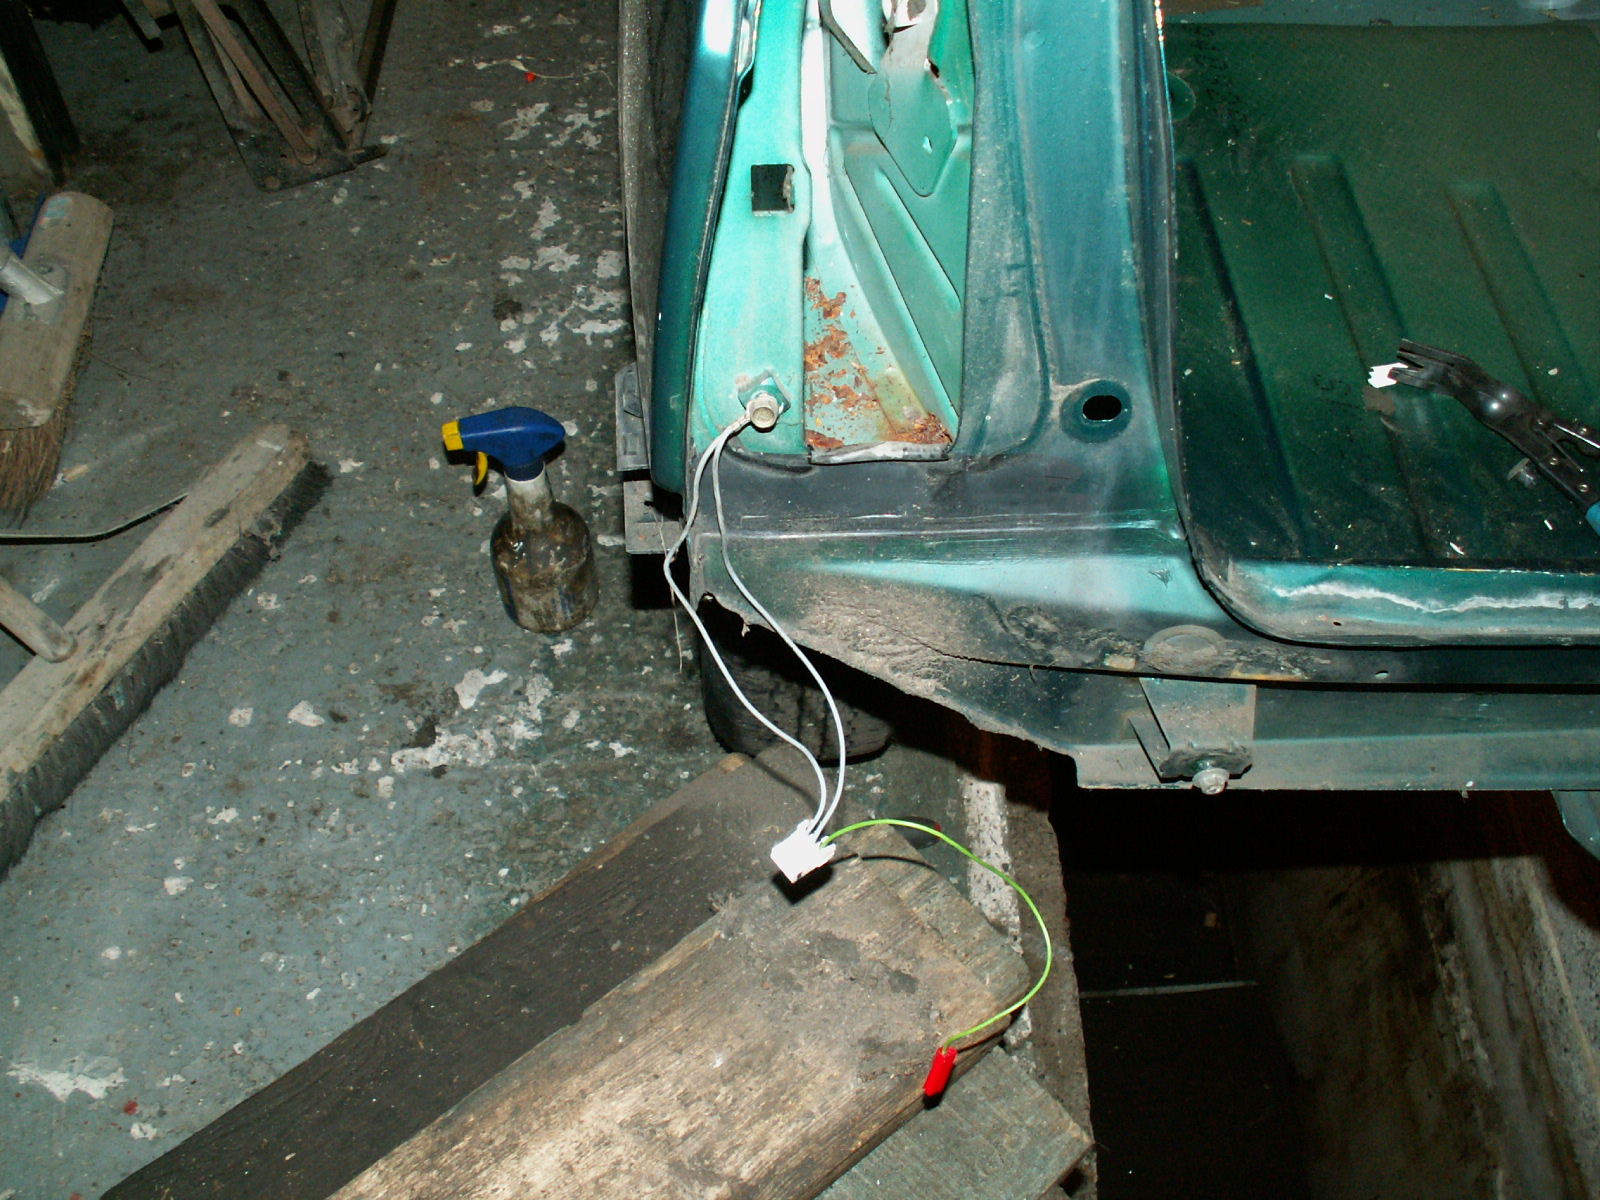
20. Bumper removed, at the sameime unclip the wiring loom running from side to side.
21. Remove the earth wire.
22. Pull off the two plastic edge covers in the tail light apertures.
23. Gone!
24. Remove the tailgate catch, undo the two 10mm bolts.

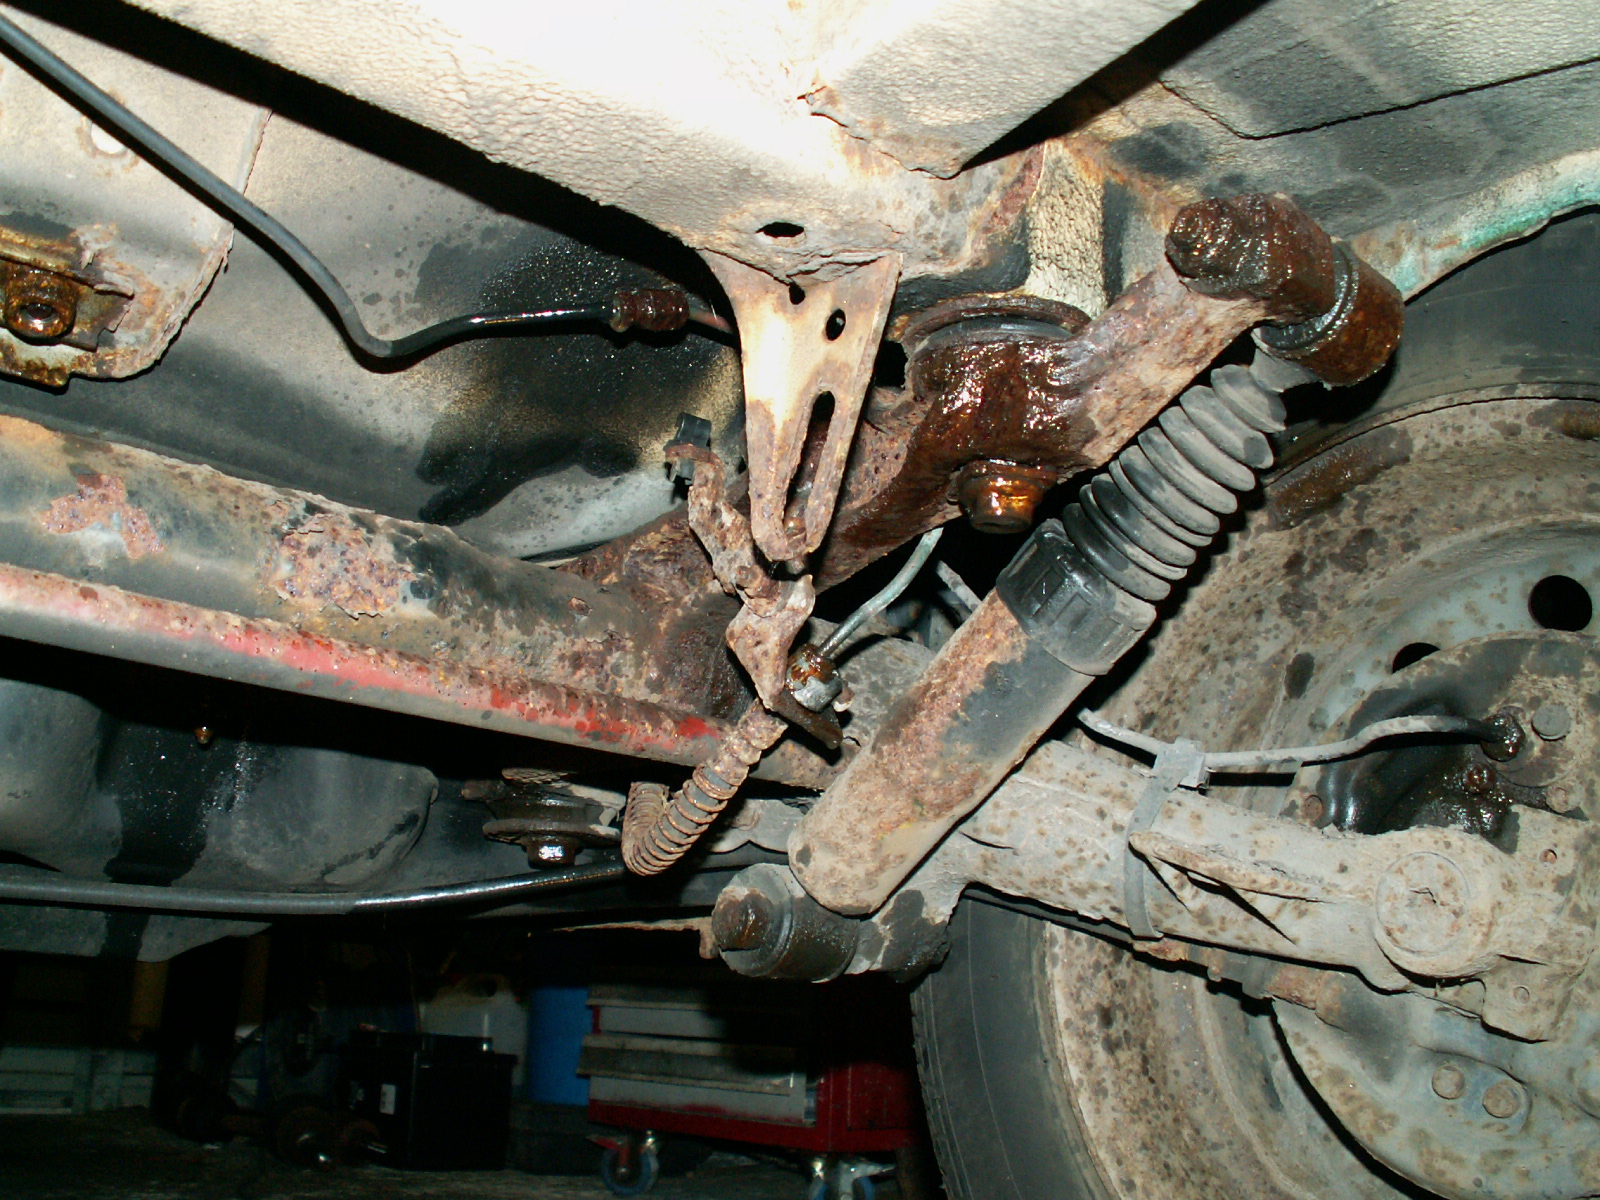
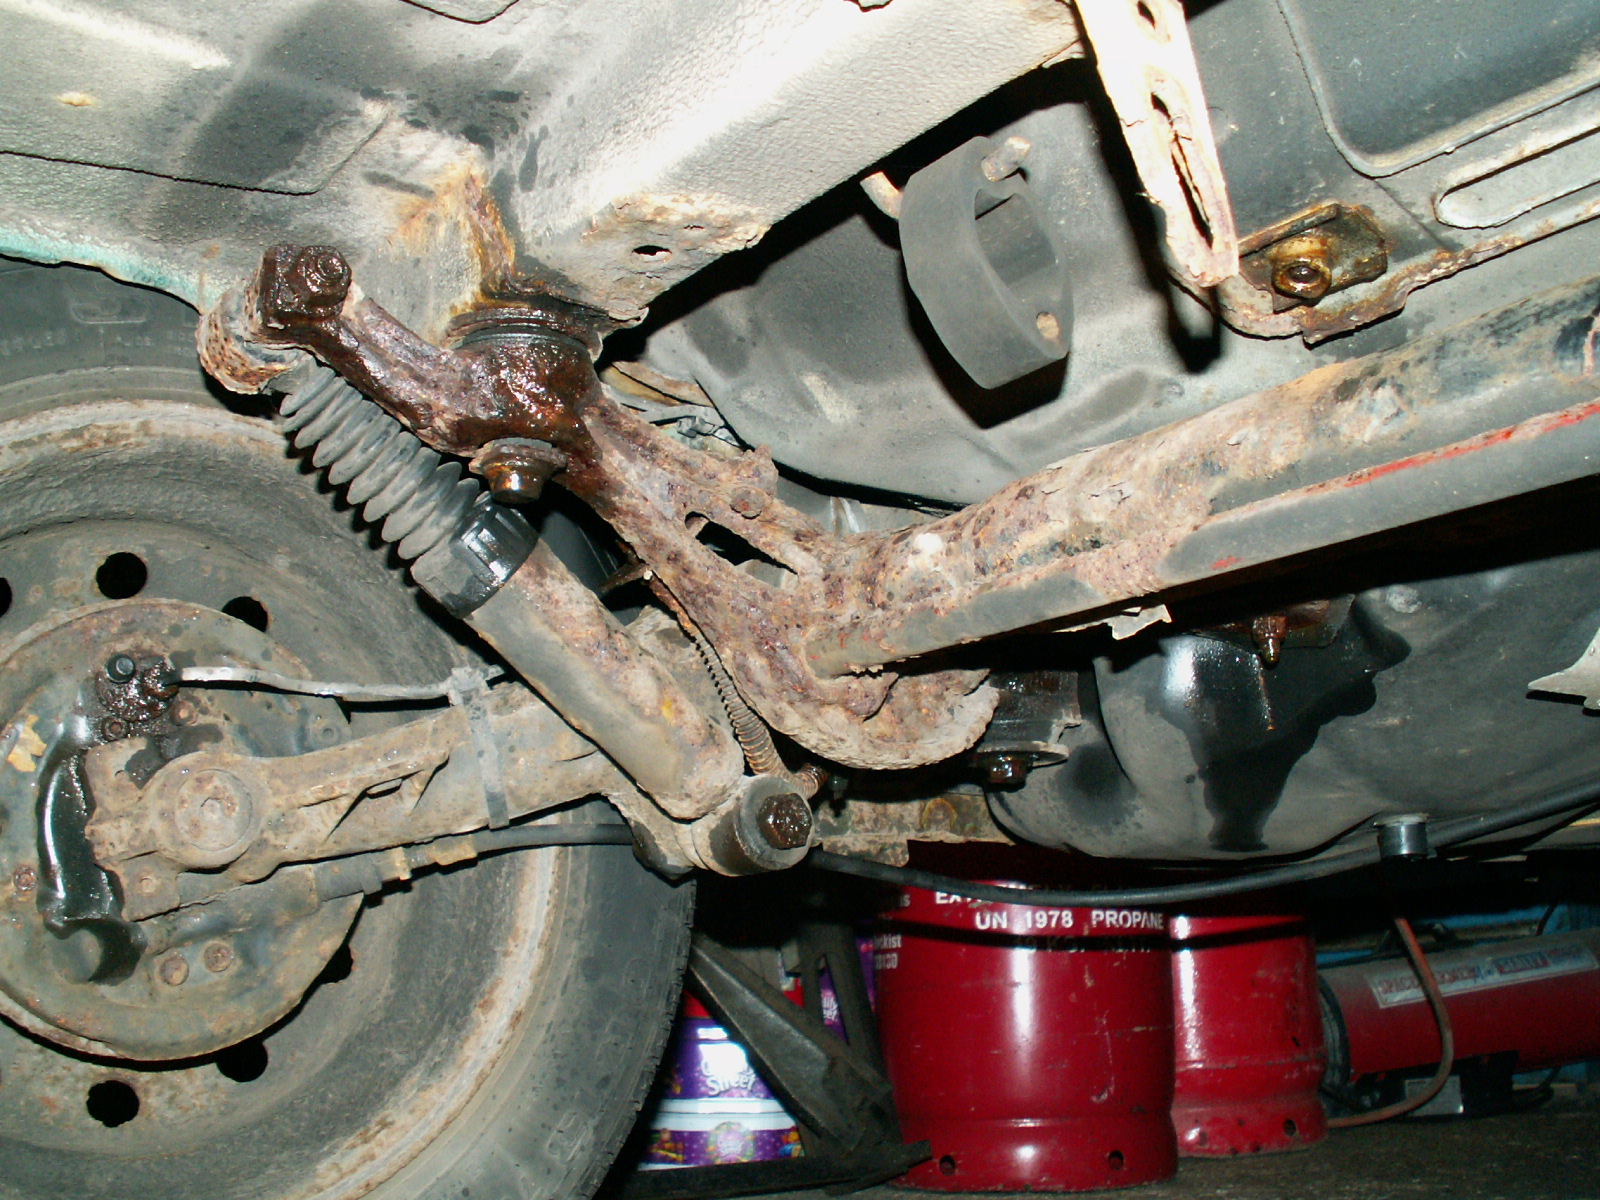
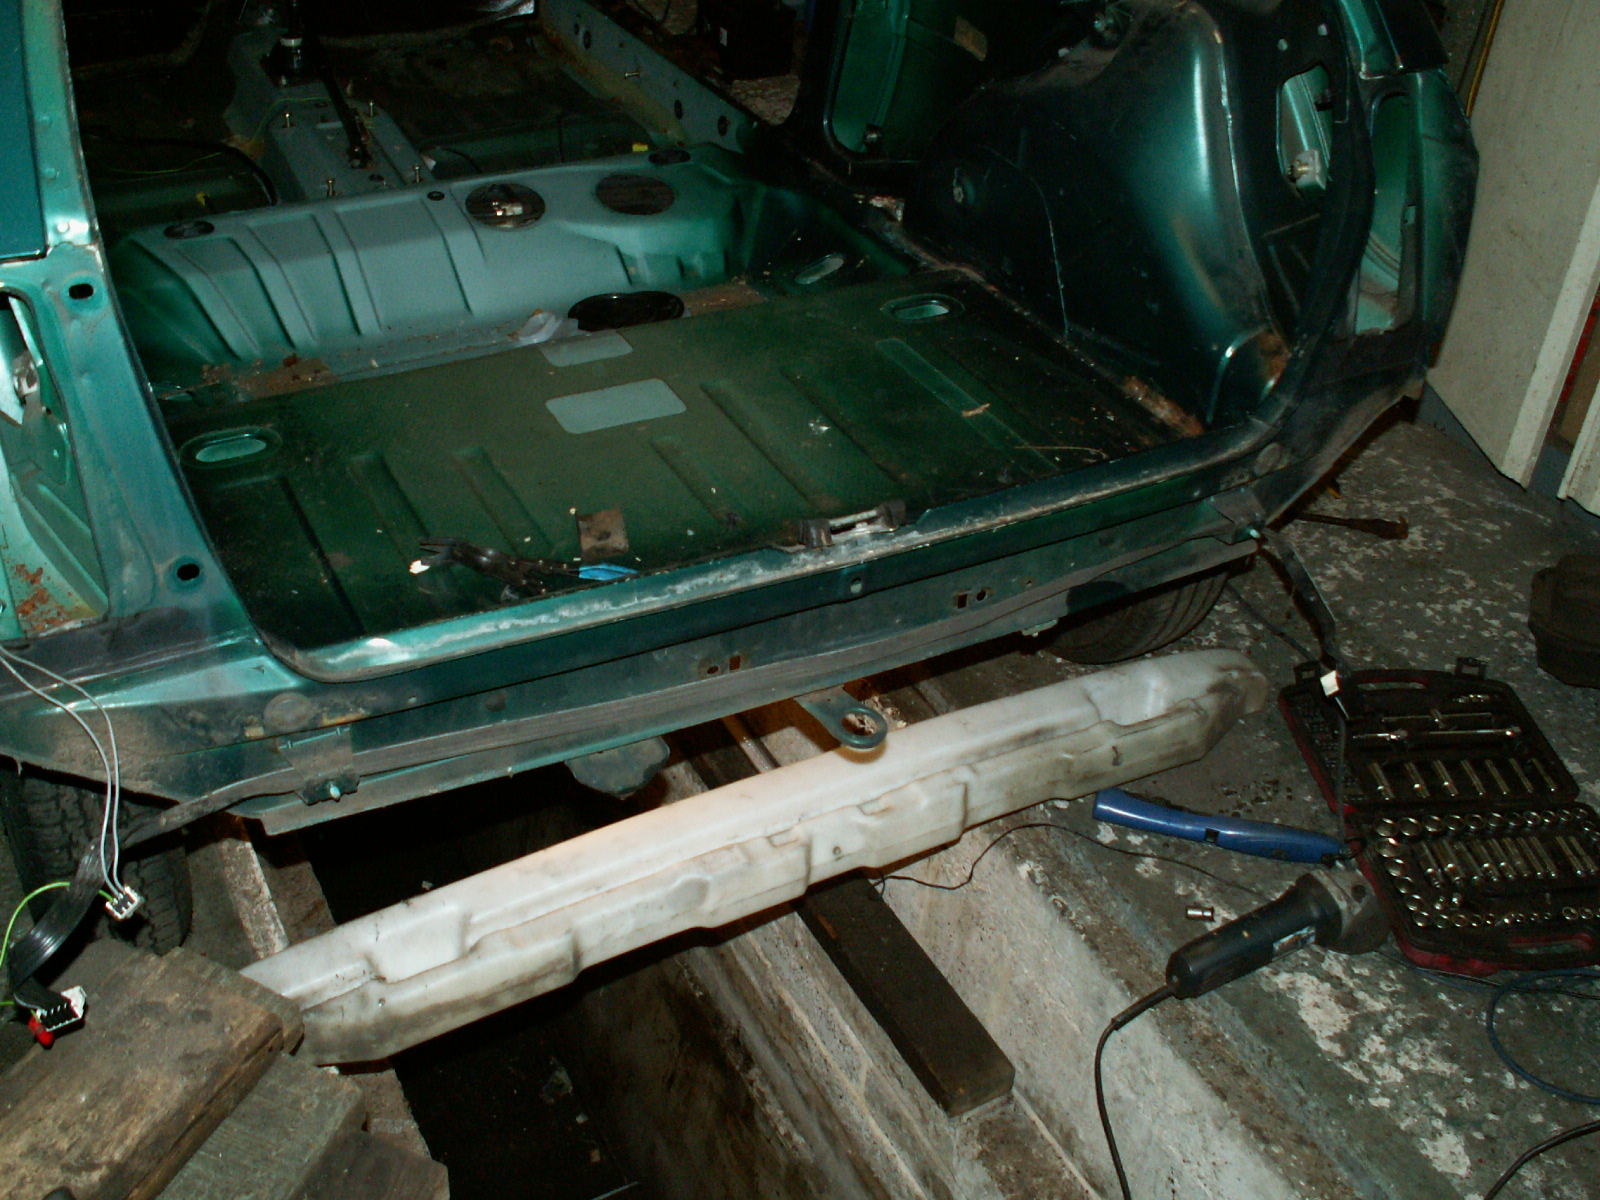
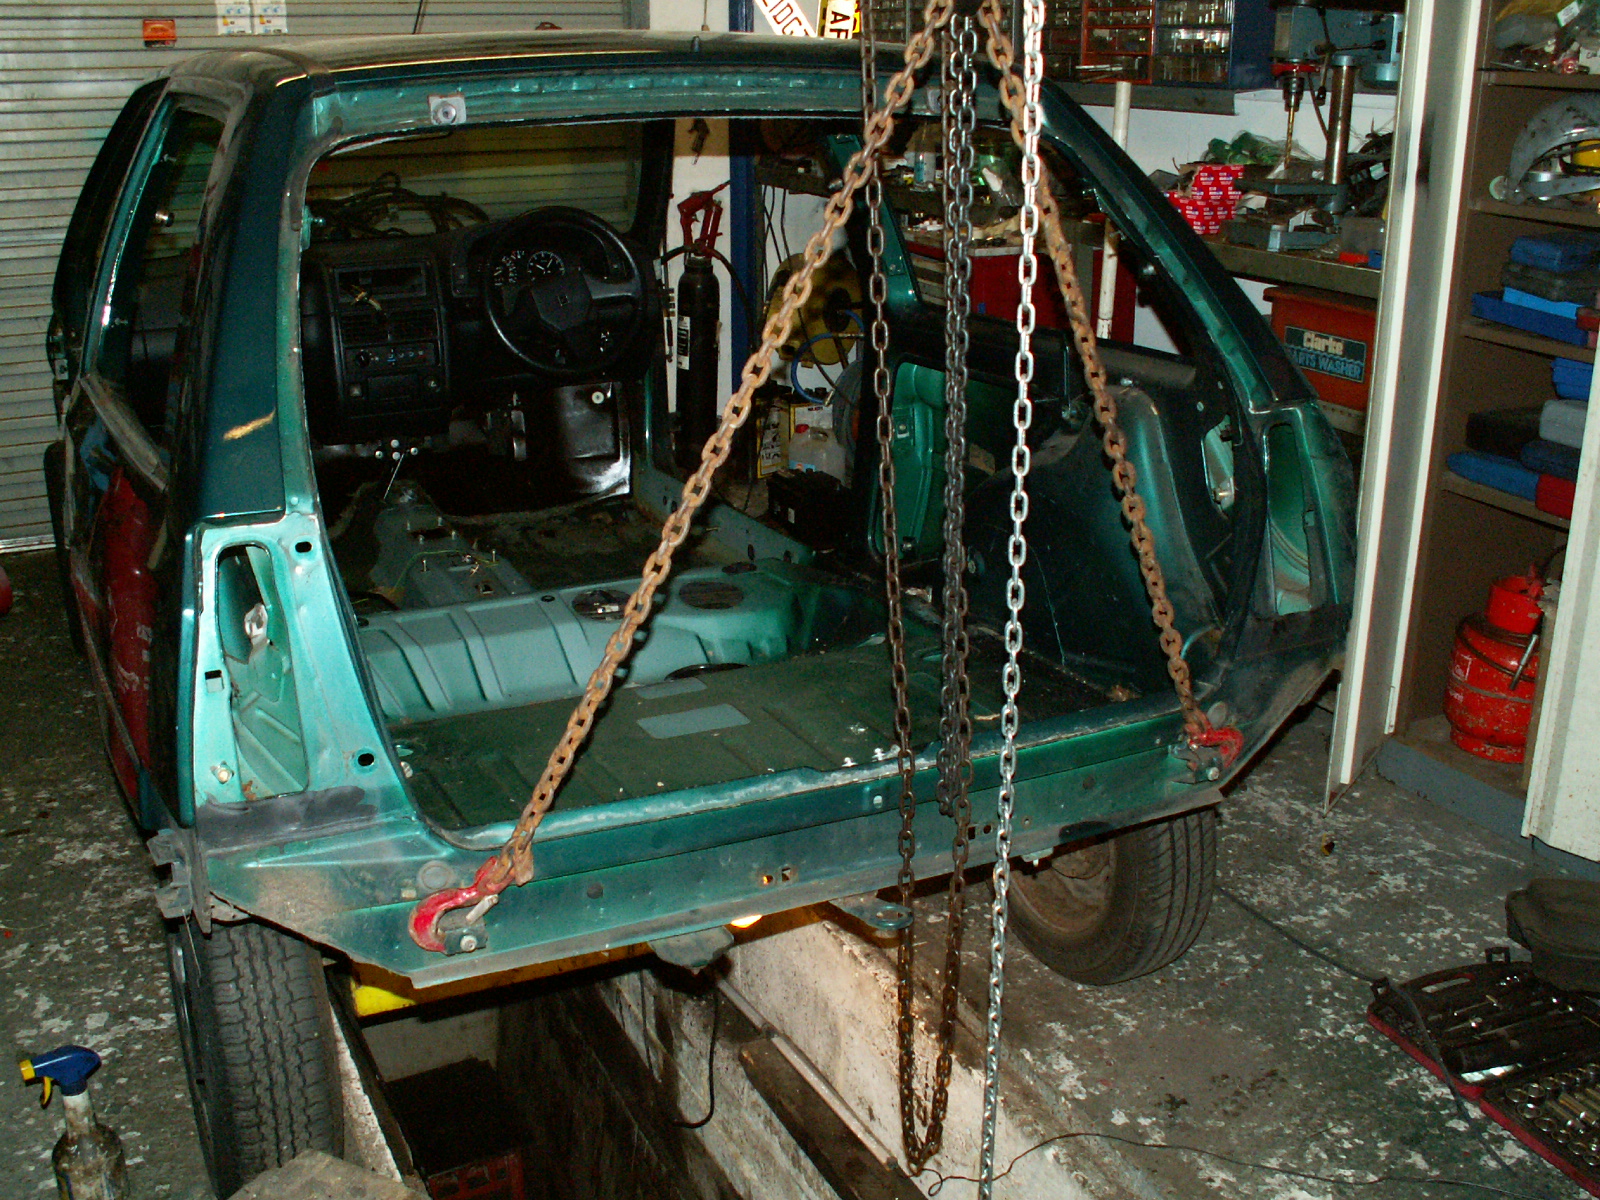
25. Lastly we are removing the rear beam (or axle). To do this you need to lift the back end of the car.
26. Before starting to lift, disconnect the brake pipes from the hoses – watch out as the fluid will escape so be prepared to catch it. I’m replacing all pipes and hoses so the system will be drained anyway. Then undo the four large nuts from above. If you are lucky the nuts will undo without the bolts rotating. If not then you will need a helper to hold a spanner below, or you need to wedge a spanner above and undo the bolts from below. Beware as the front of the beam will drop down so it is wise to support this with an axle stand under the shock absorber mounting.
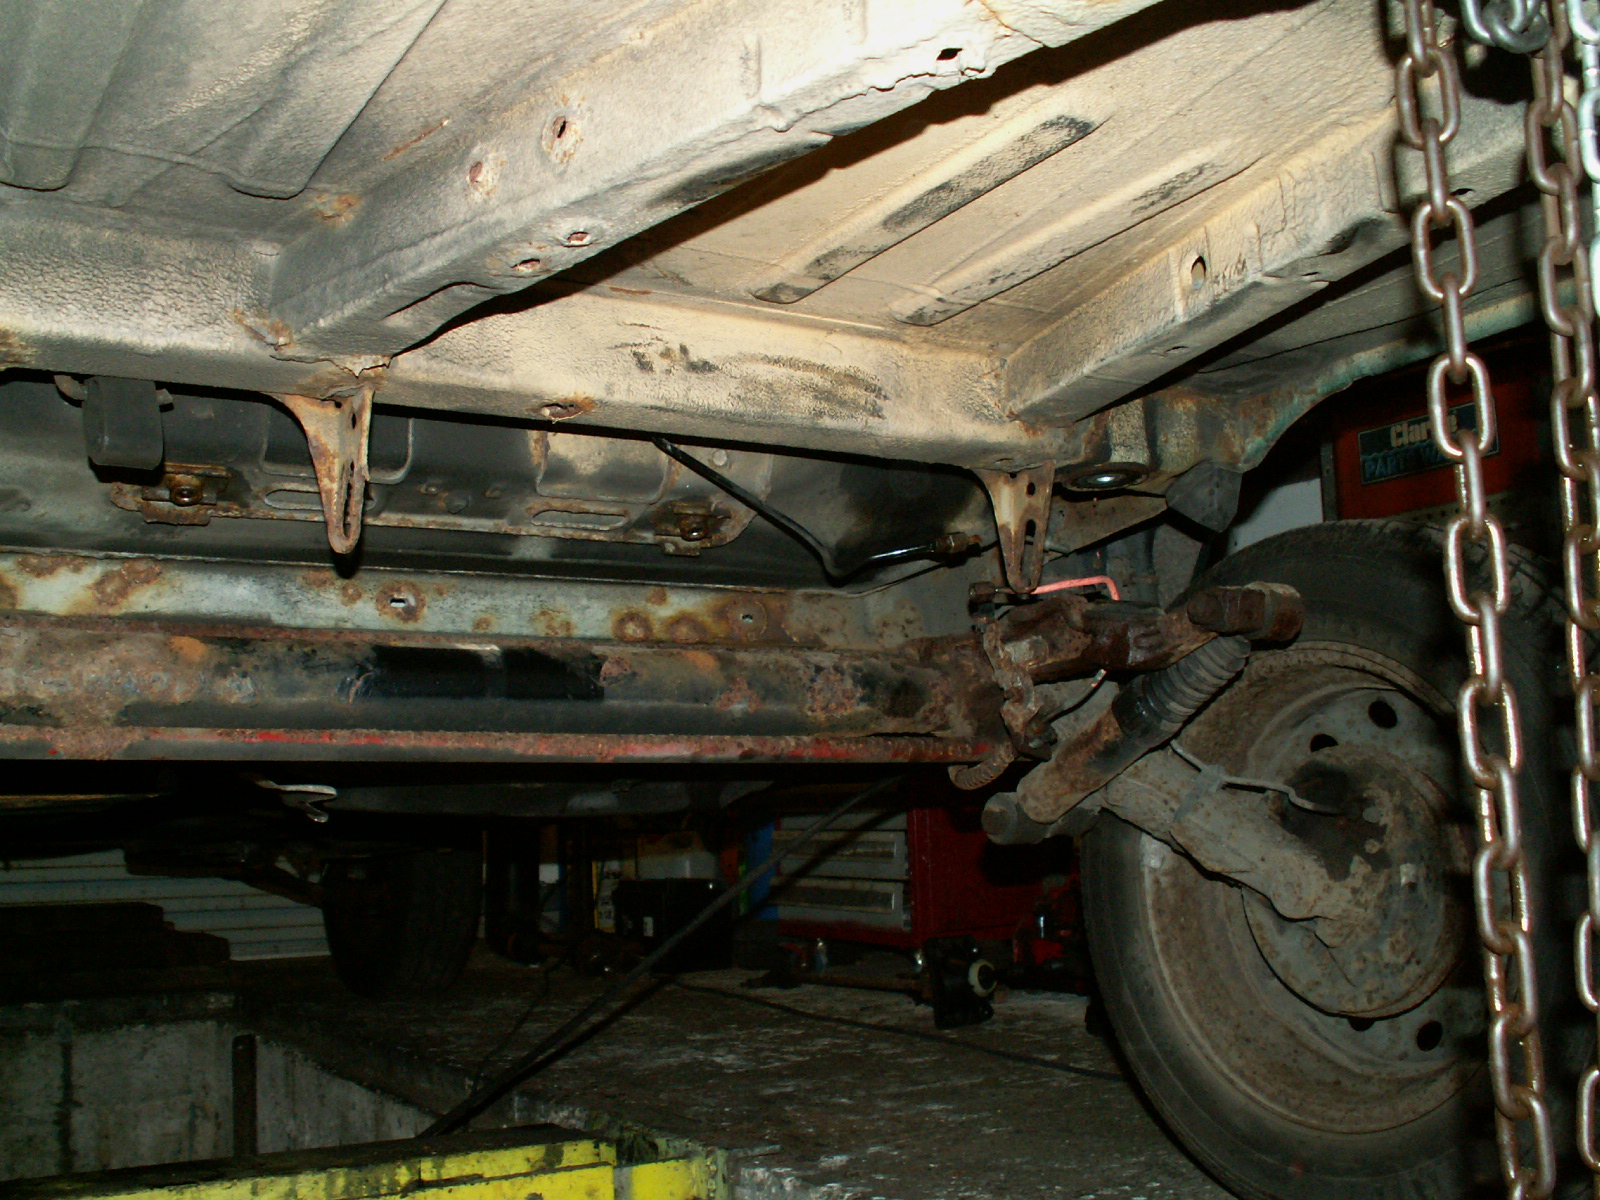
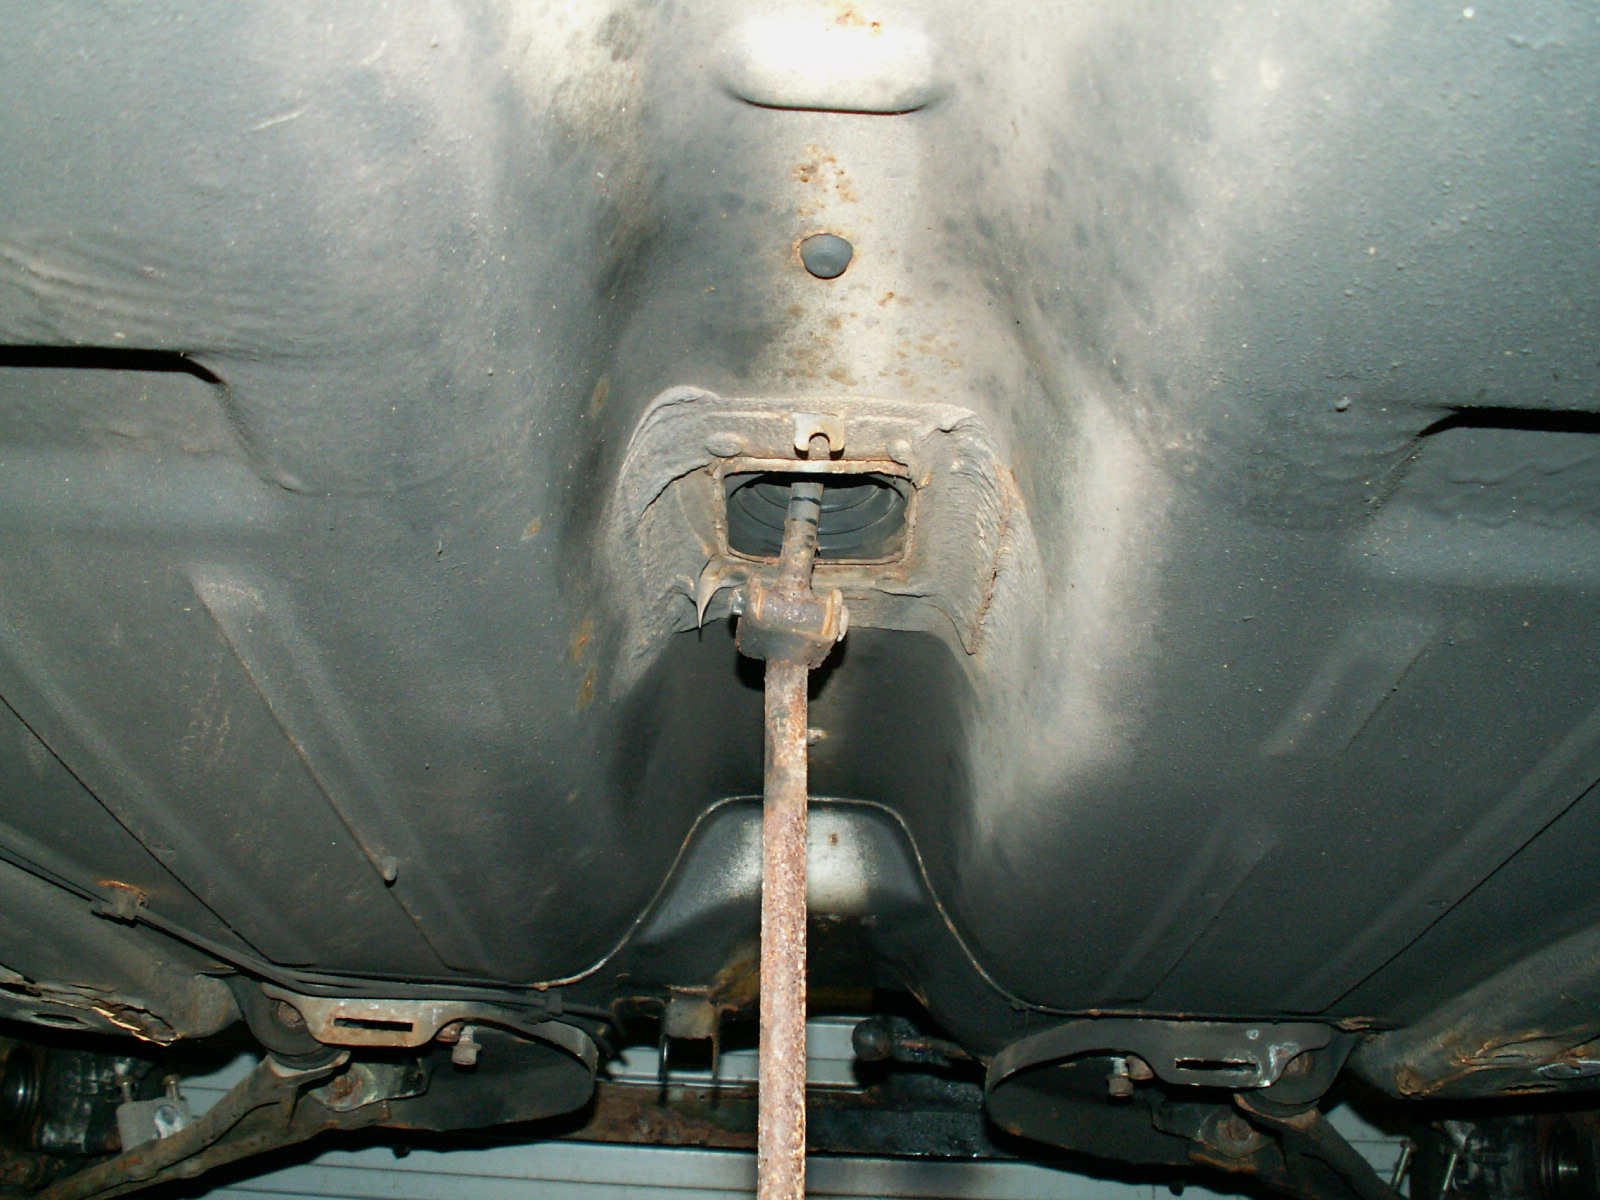
27. Now lift the back end right up and the axle will be free. Lift the body high enough so that the rear axle can be rolled out on the wheels.

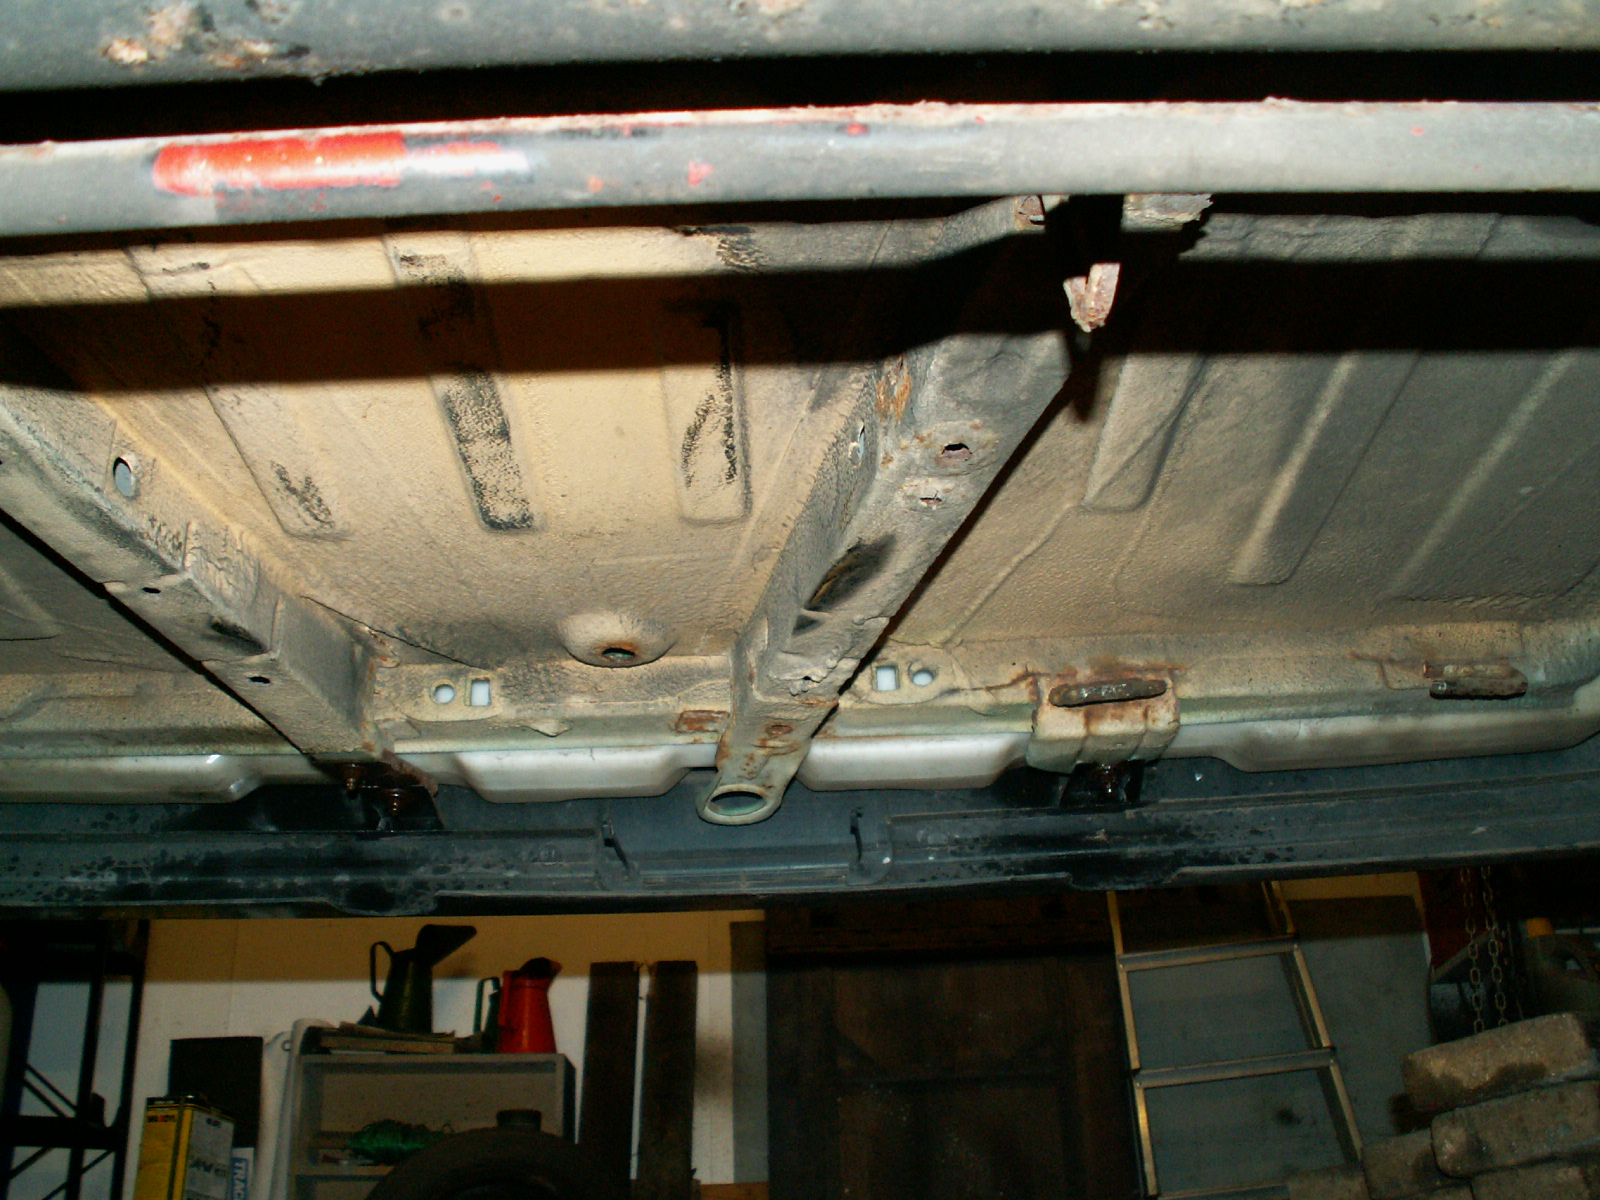
28. Bare bottom! Back end stripped and free of clutter ready to clean up and have the rusty bits repaired.

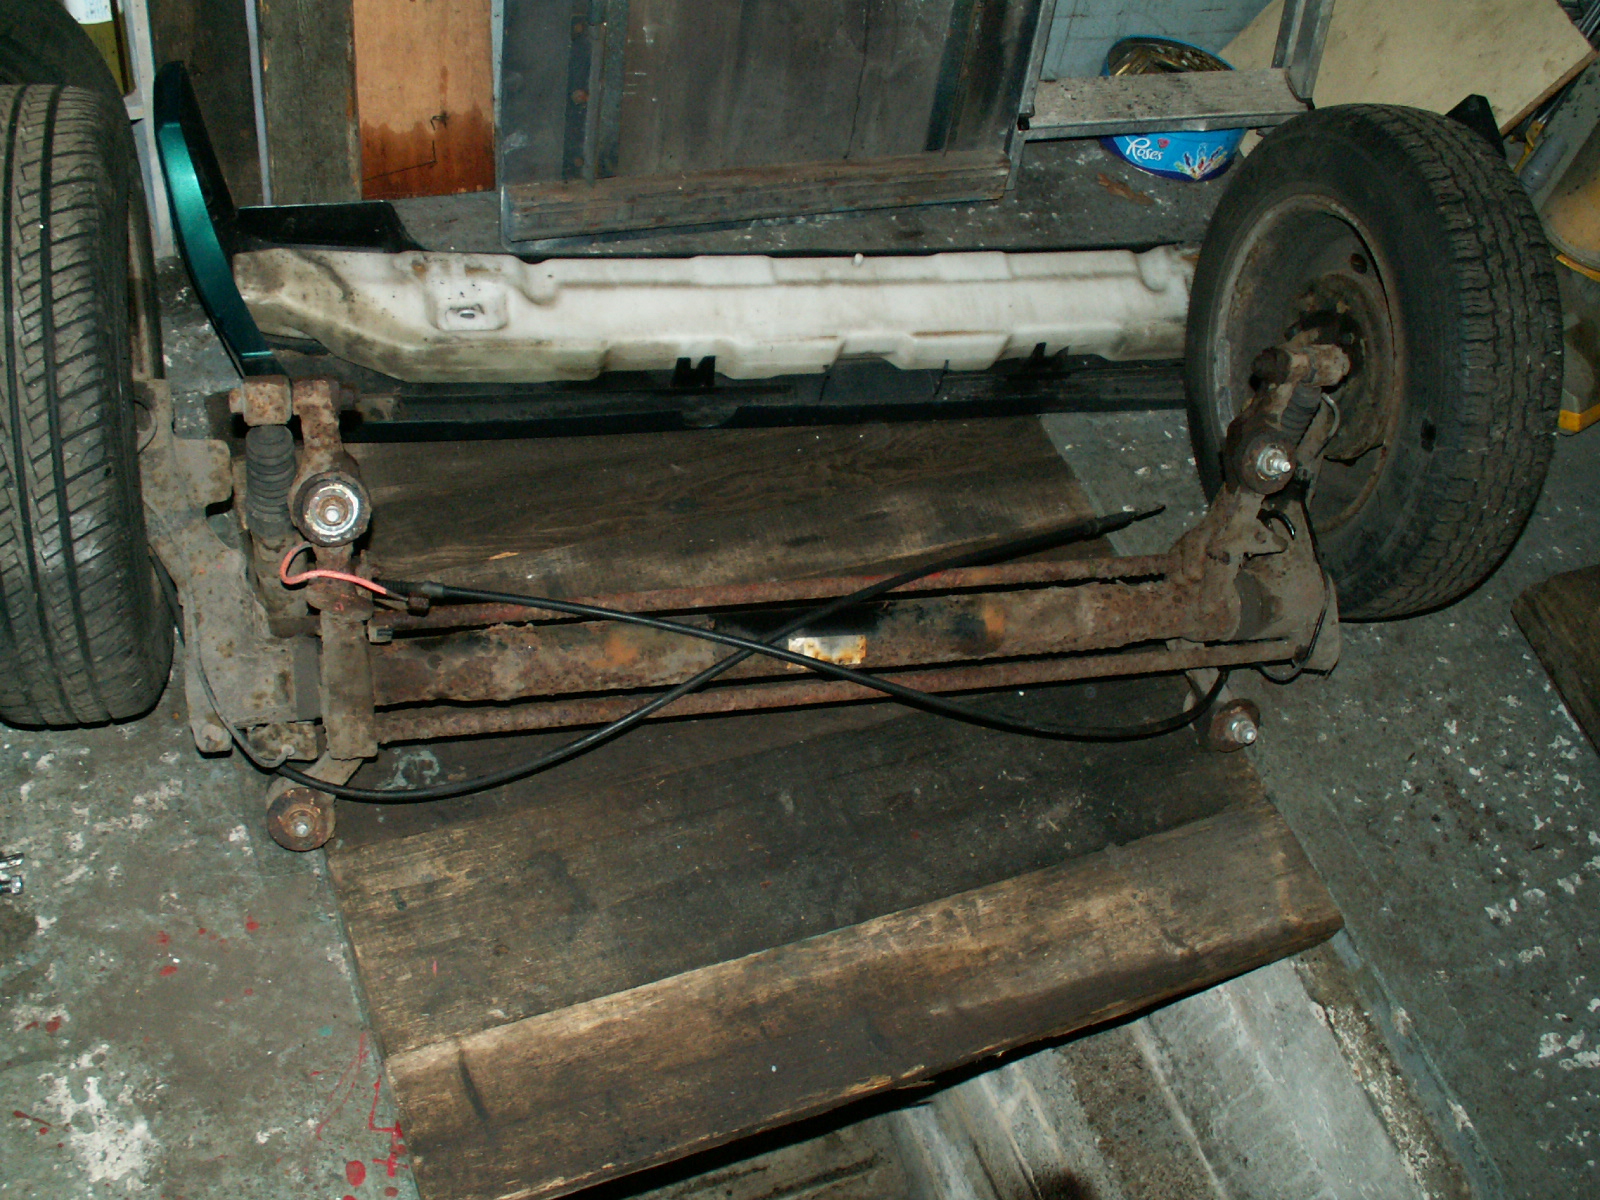
29. Rear Beam and bumper removed.
Next time – removing the last bits at the front – oh and also the fuel tank!