The first main task in getting the AX back on the road – or at least seeing if it is worth the effort of getting it back on the road – is to get to the bottom of the grinding noise. The noise is present at any speed, is road speed related and is load enough above a few MPH to drown out the diesel engine. It almost disappears when turning – even gently – right and gets a lot worse or harsher when turning left. This made me think a) front wheel bearing and b) passenger side – (this is based on the fact it gets worse as more weight is transferred onto that wheel).
Pics below show the way I did it – took about 2 hours for the passenger side.
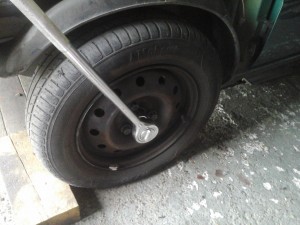
1. Before jacking up the car or removing the road wheel slacken off the hub nut. This is tight! Use a 30mm socket and a 3 foot long bar. You will need to “chock” the front wheel. Make sure you push down and don’t be tempted to pull up as usually you end up lifting the wheel and the wheel spins round – the AX is a very light car!
2. Now jack up the car, Lift the entire front and support on axle stands placed under the “Y” pieces under the front foot wells. You need both wheels “hanging” on the suspension to remove any stress/twist from the anti-roll bar. Next remove the road wheel.
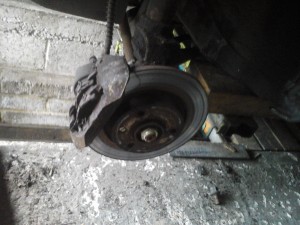
3. Next unplug the brake pad wear indicator wires if fitted then undo the two bolts holding the calliper on, slightly ease the piston back and slide the calliper off. Use a thin bit of steel wire, string, rope or a bungy cord to tie up the calliper to the inner wing. DO NOT LET IT HANG ON THE BRAKE HOSE.
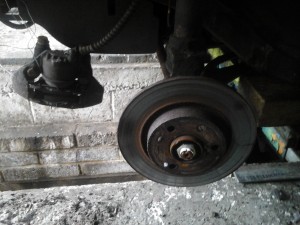
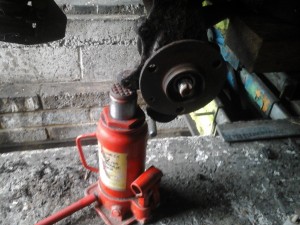
4. Undo the small torx headed crew which holds the brake disc in place and then remove the disc. Then use a jack to slightly lift the bottom of the suspension strut, this takes any twist out of the anti roll bar. Next undo the two bolts securing the roll bar to the wich bone. Once the bolts are free lower the jack and the wishbone should come away from the roll bar. At this point also undo the nut holding the track rod end to the strut, Once removed split the ball joint – if you are lucky a light tap from a hammer will free it (take care not to damage the threads – leave the nut on until the joint is cracked), if not either use a ball joint splitter or use two hammers, one resting one side of the strut arm and give the other side a smart crack with the other hammer. This “squeezes” the taper joint and forces it apart – usually! Remove the hub nut.
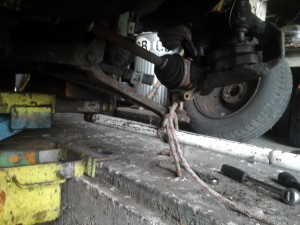
5. Now underneath the car remove the pinch bolt from the bottom of the strut that secures the bottom swivel pin. Then use a long pole as a lever, tie the pole to the wishbone as shown and use it to pull the wishbone down to free the pin from the strut, some help from a hammer may be required at this point
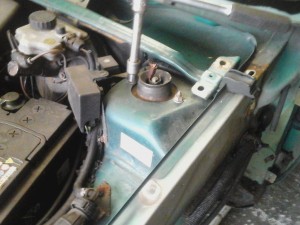
6. Undo the two nuts holding the top of the strut. As you undo the last one use one hand to hold the strut up – if you don’t it will drop on the floor, the drive shaft will slide out of the final drive and oil will go everywhere!
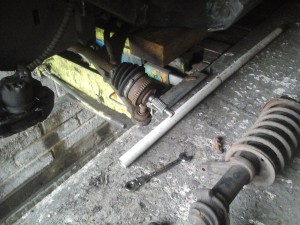
7. Lastly, tap the end of the drive shaft so it slides out of the hub. As you pull the strut away from the car ensure the drive shaft stays pushed fully into the gearbox/final drive to prevent any oil coming out. When the strut is free lay it down and carefully rest the end of the drive shaft on the wishbone. Hopefully it will stay there and no oil will escape.
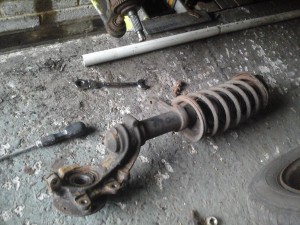
8. The strut is now free and the bearing can be replaced.
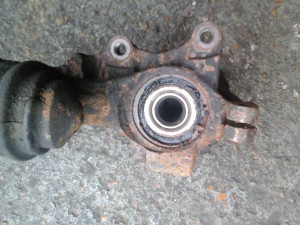
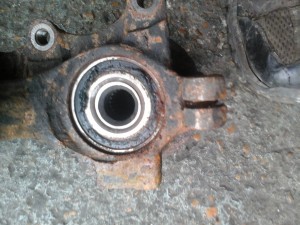
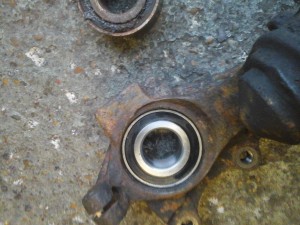
9. This pic shows the back of the bearing and the grease that has escaped – could this be the cause of the noise?
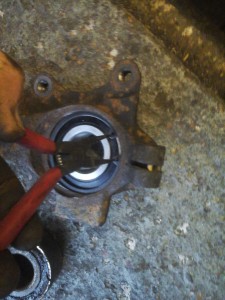
10. Now remove the large circlip, you may need to clean it up first using a wire brush and then free it off by tapping the holes in the end of the circlip with a punch.
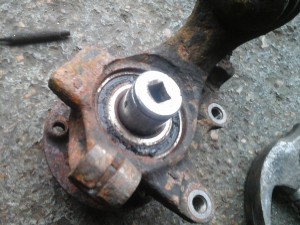
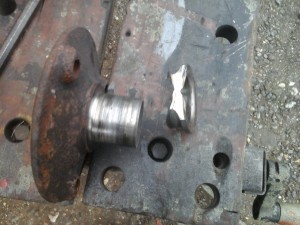
11. Now you need to separate the hub from the strut. Use a suitably sized socket to fit over the centre part of the bearing and hit with a large hammer. The hub will gradually come out, usually bring one half of the bearing inner with it.
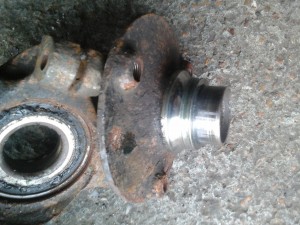
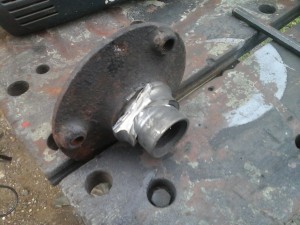
12. This pic shows the hub with the bearing race half still in place. You can waste time here trying to use bearing puller to remove it but almost invariably you will be wasting your time. The method I use is to cut it of using a small grinder fitted with a cutting disc.
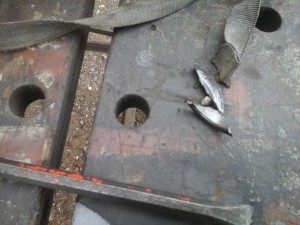
13. Take lots of small cuts and take care not to damage the hub. The bearing race is hard and the last bit will crack if hit with a small cold chisel.
14. The inner race is now off. That’s probably the worst bit!
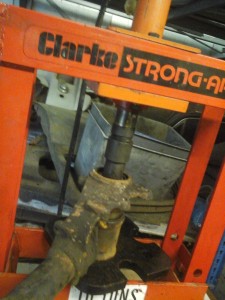
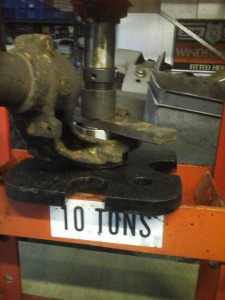
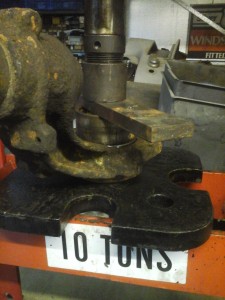
15. Now You need a press, support the under side on a large diameter tube – I use an old TU5 1.1 cylinder liner! Then press the bearing out, it will only go a little way but the press will crack the joint and get it moving. To finish the job off, remove from the press, rest the strut on a block of wood, use a large socket or similar and a large hammer and bash the bearing out It will move quite easily once the press has started it off.
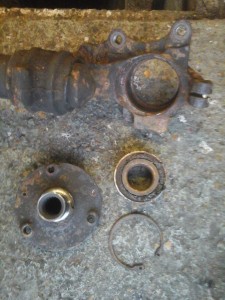
16. Here it all is in bits, justr wants cleaning up and putting back together.
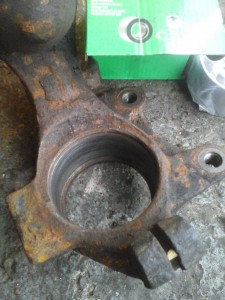
17. Clean up the recess in the end of the strut, ensure there is no rust or dirt around the bottom that will stop the new nearing going fully home, also make sure the groove for the circlip is clean.
18. Next get the new bearing and smear the outside with a bit of oil to help it slide into the strut. Then go back to the press, ensure the strut is resting “square”, place the bearing in position, uses a thick metal bar to spread the pressure across the face of the bearing. Then press the bearing in.
19. You need to use the old bearing placed on top of the new one to push the bearing fully home.
20. Bearing is now in place.
21. Now refit the circlip, ensure the circlip is fully seated in the groove.
22. Clean the surface of the hub and cover with some oil and offer up to the strut. Squeeze the hub home in a large vice. Support the rear inner race with a large socket other wise the hub will push it out of the bearing. Finally refit the strut – in true Haynes manual style refitting is reverse of removal. Ensure all nuts are torqued up to manufacturers setting, Use a new hubnut and lock it, also use a new nyloc nut on the wishbone pinch bolt and track rod end. Also use some thread lock on the two calipper bolts.
23. Finally go for a test drive. If you are fortunate you will find the noise has gone and the car is almost silent apart from the clatter and growl of the diesel engine. In my case it was still noisy. So time to look at the drivers side. Exactly the same procedure. This time however the bearing was really rusty and felt really rough. Once replaced the car was indeed it’s usual refined self!

